Recognizing of the layout of folders
After installation, the bundle will display multiple directories. Below is an overview of each file and its accompanying data:
Please keep in mind that the offered snapshots are only intended to serve as templates and should not be used in actual production situations.
Theme: This location contains every requirement WordPress theme files.
"lawyer-legal-firm-pro" This folder contains all of the necessary WordPress theme files.
Developing via the Template
The installation of a WordPress theme is a straightforward process that can be accomplished using one of two methods outlined below.
Initial Progress Log into your WordPress Admin as an administrator to activate the selected theme.
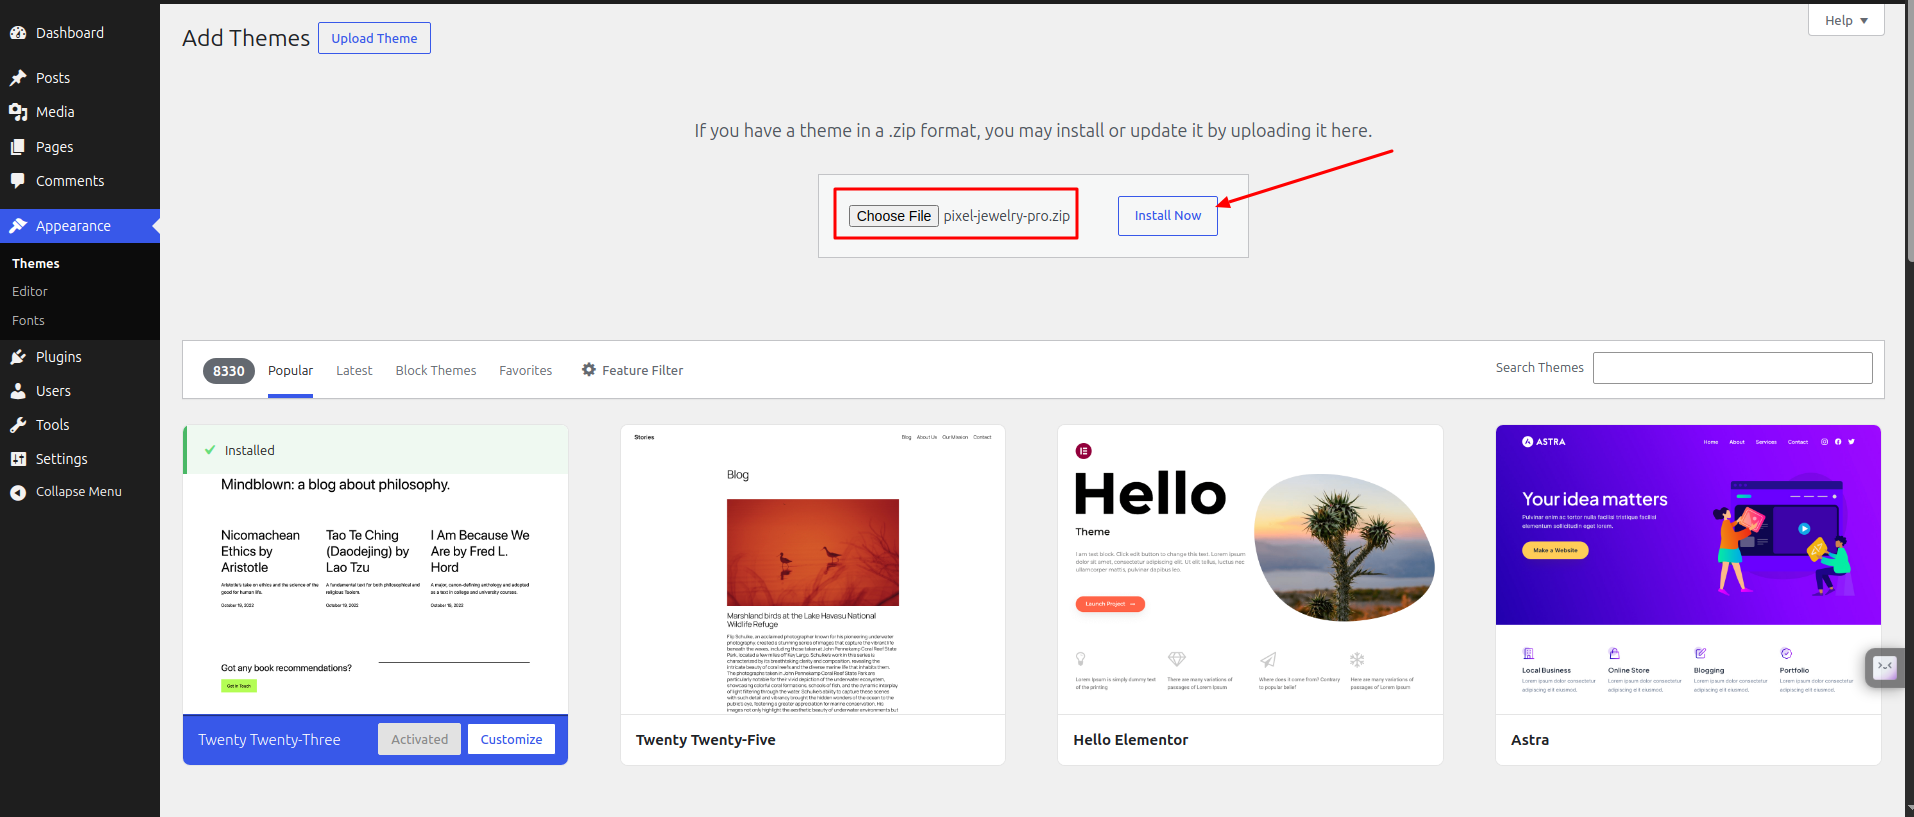
Next Progress while hitting "Dashboard" Discover "Appearance" Move forward "Themes" then "Add New" and lastly "Upload Themes" previous tapping "Install Now" .
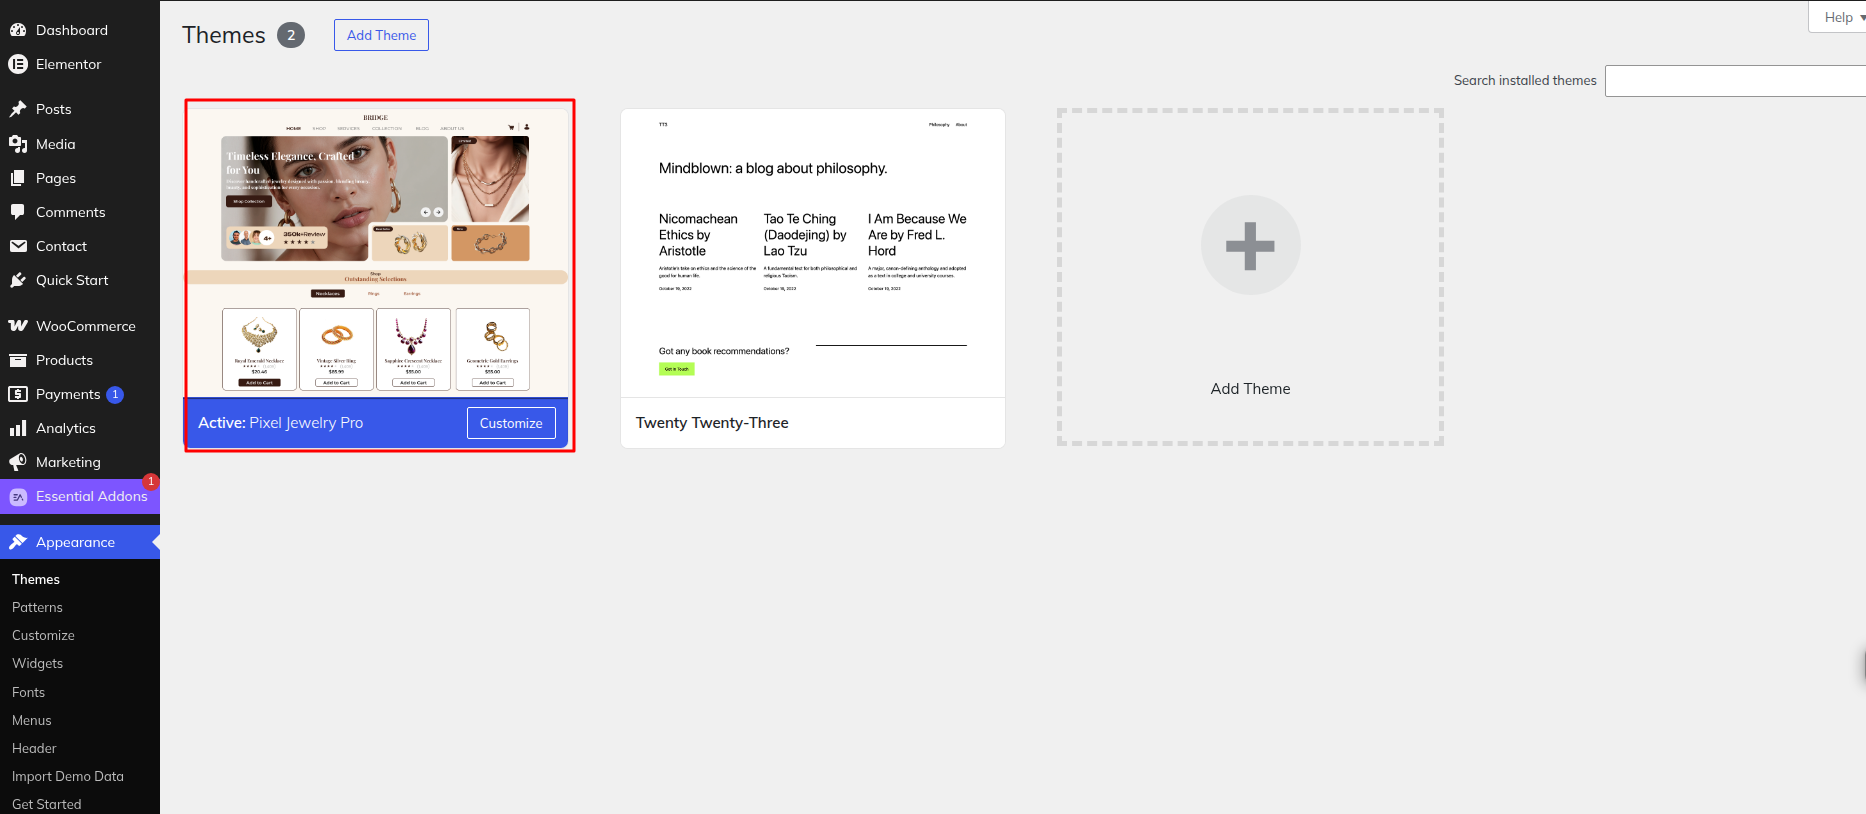
Final Process while hitting "Dashboard" Discover "Appearance" and lastly "Themes" previous tapping "Activate" .
Transmissions through FTP
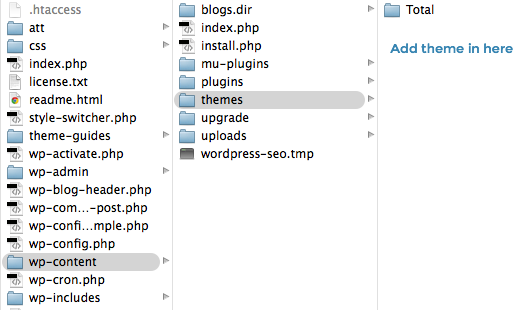
Use FTP as a last resort. Open your FTP client, log in, and locate wp-content and your theme. Download, unzip, and transfer the folder to the server's "themes" directory. The new template will show under "Appearance" in your WordPress Dashboard.
Theme activation and Plugin installation.
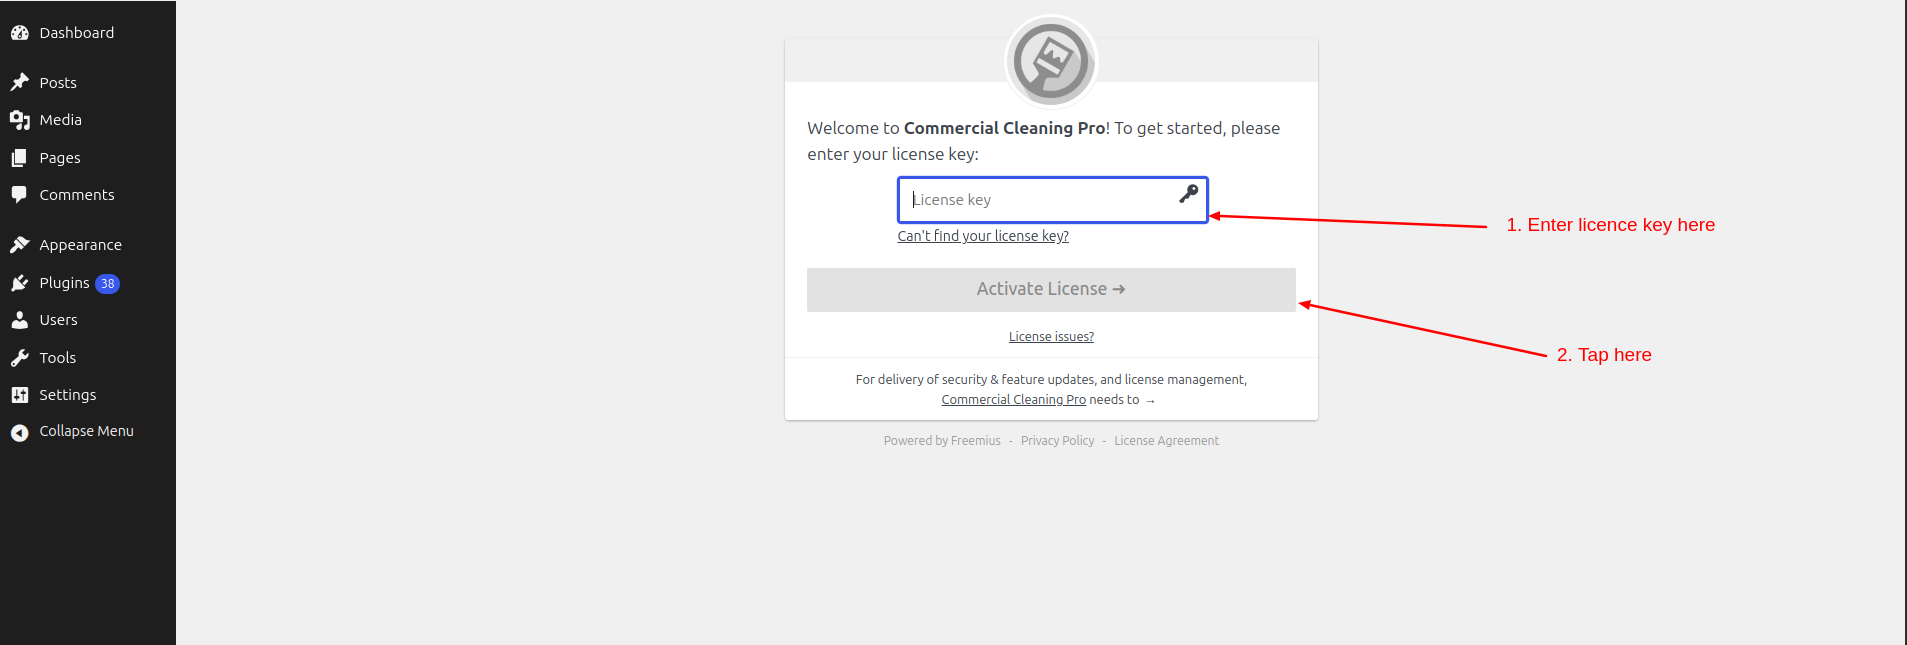
1.After activating the theme, you will see the following screen, now enter your license key, select "Activate."
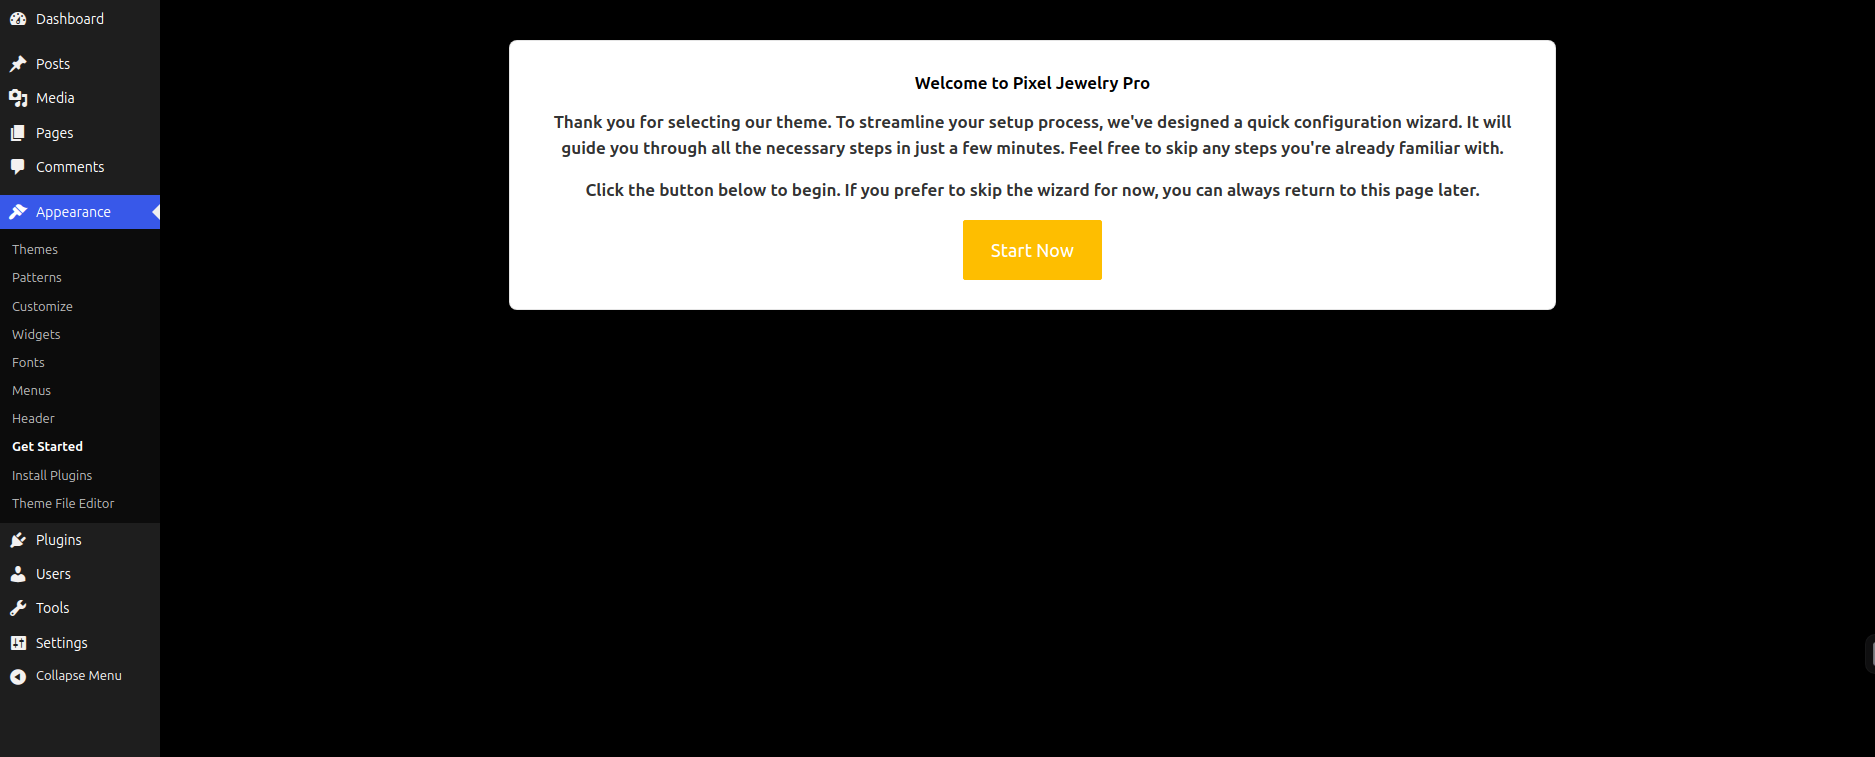
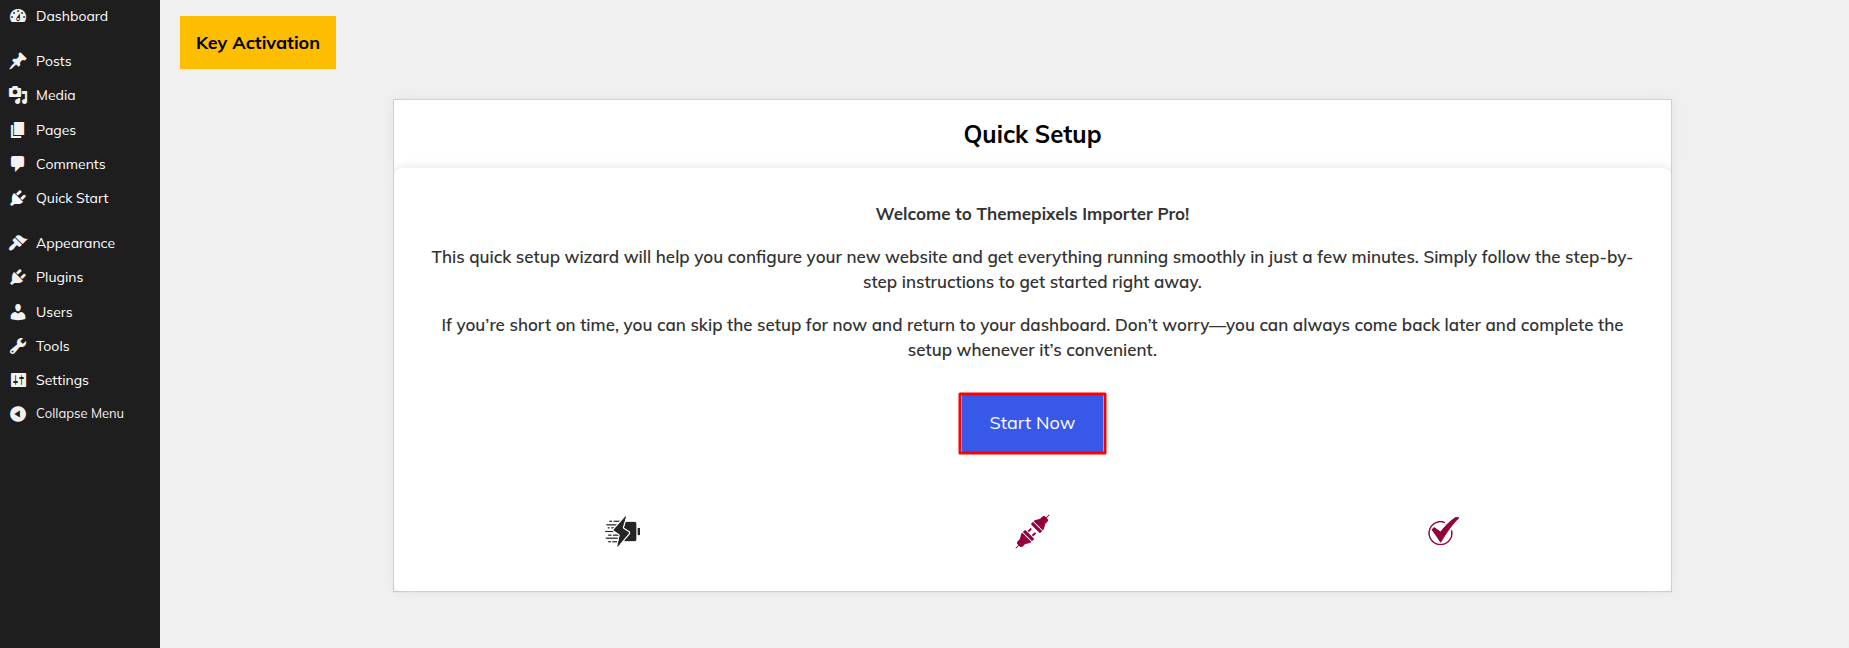
2.Example Import Procedure Simply click the "Start Now" button to get started.
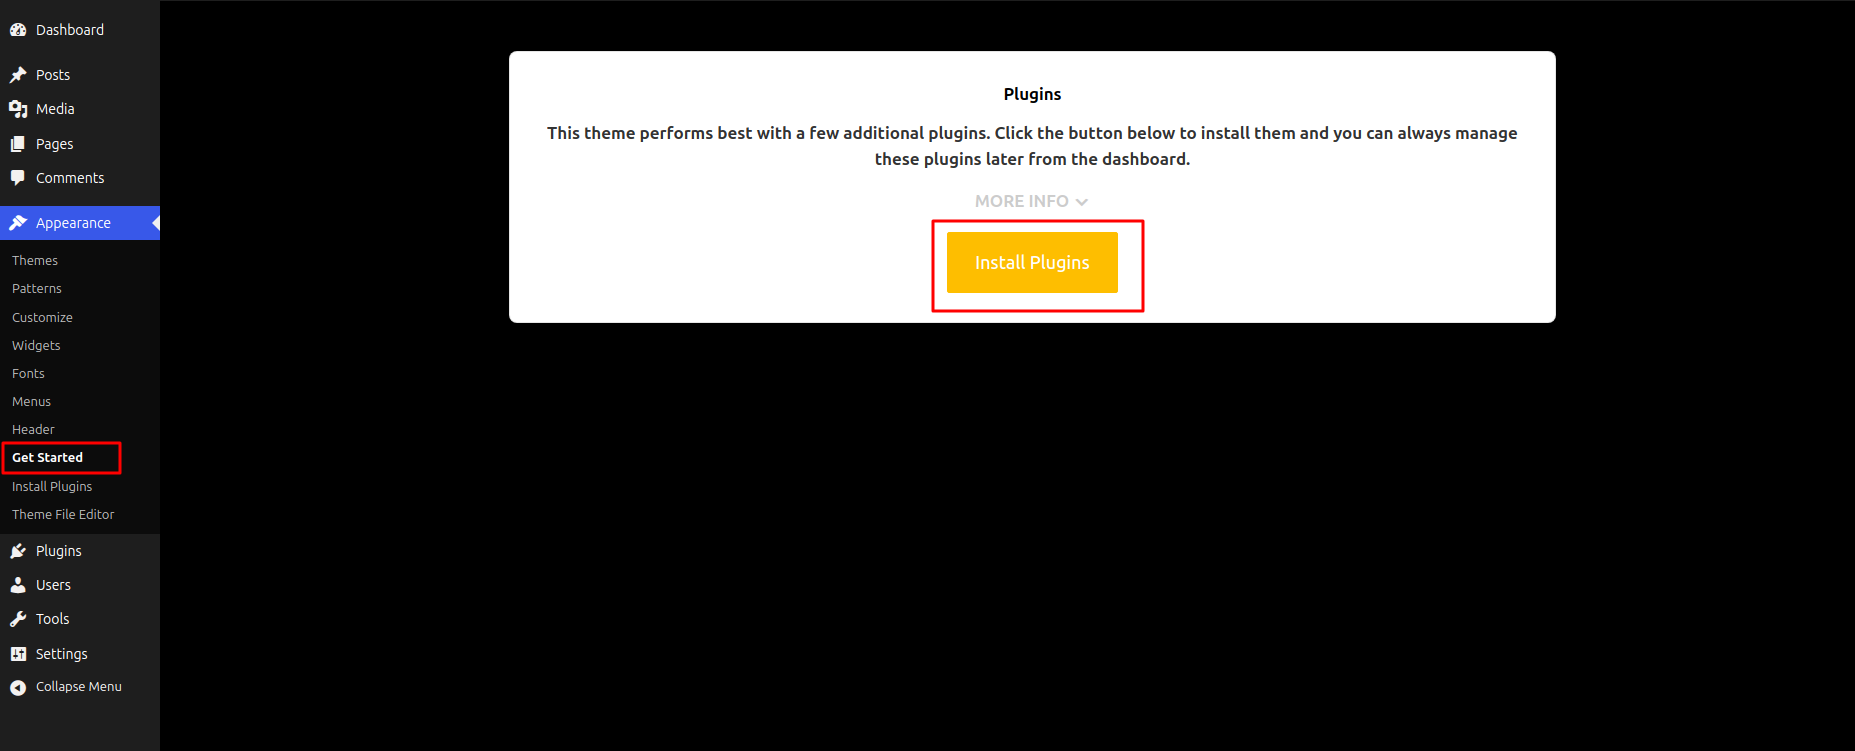
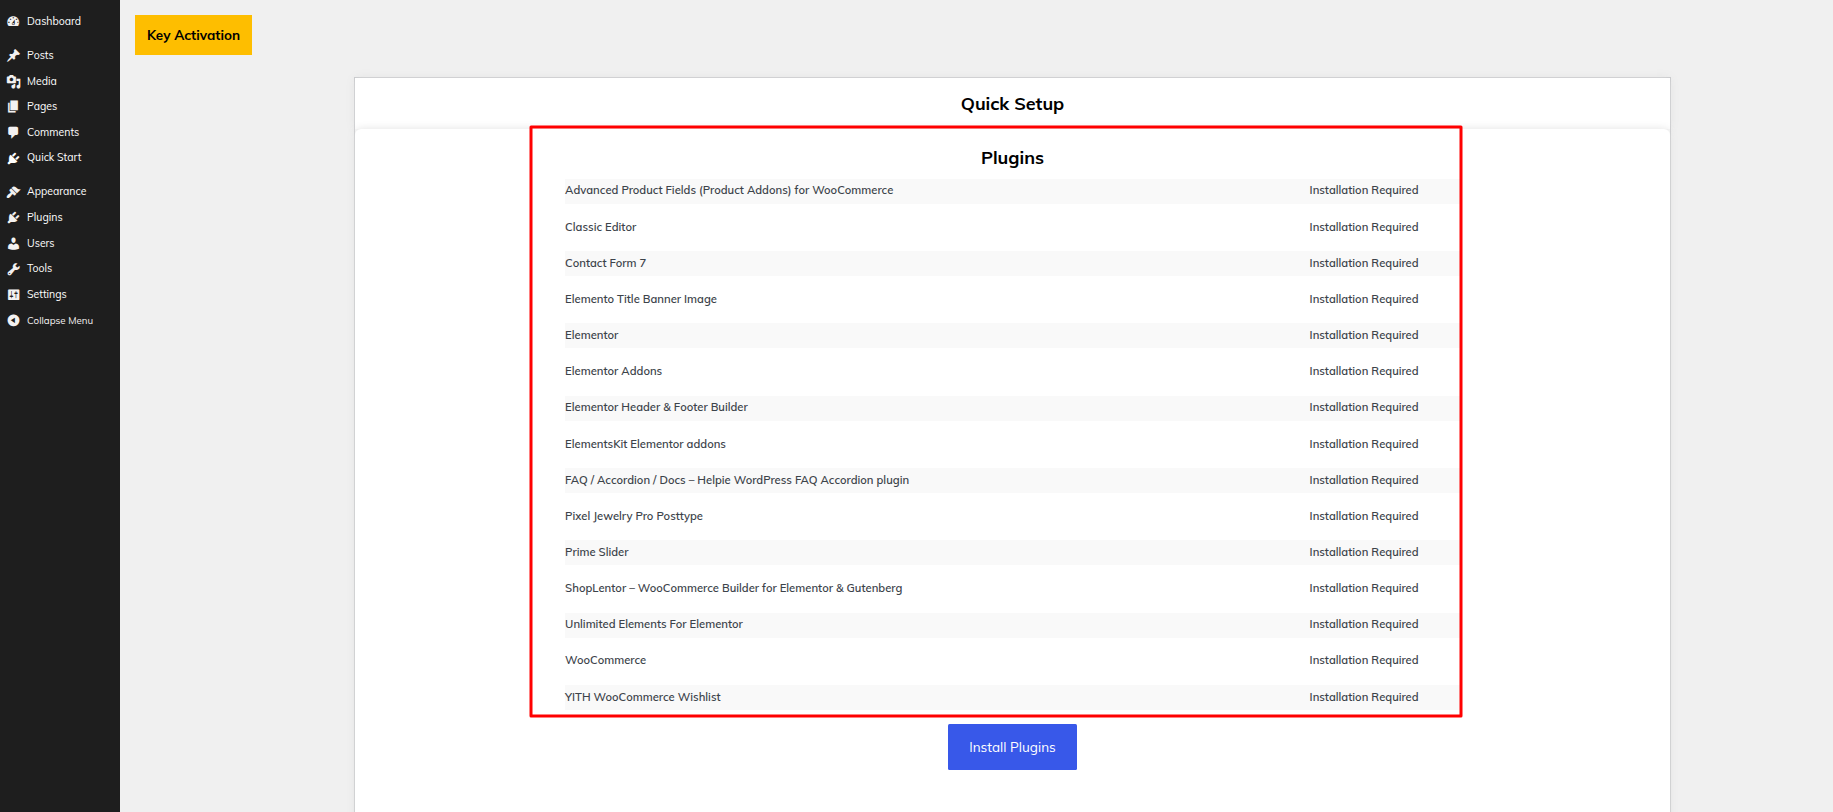
3. Install Every Plugin That's Needed Simply click the Install Plugs button.
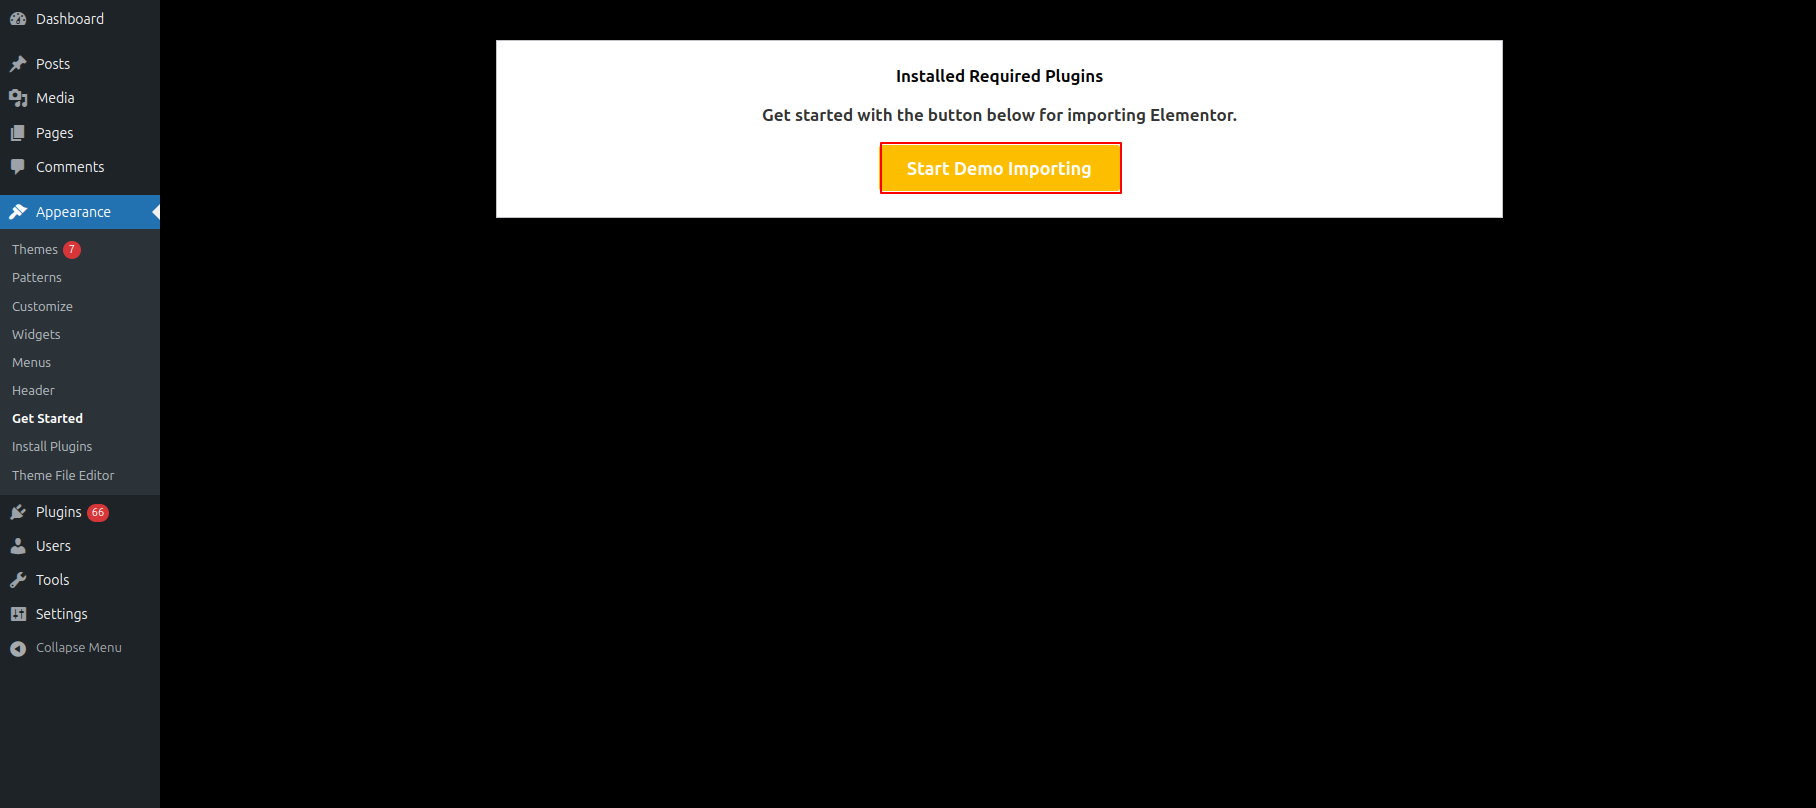
4.Select "Start Demo" Import Buttons
5.Click the "Start Now" button.
6.Hit the Plugins Install button.
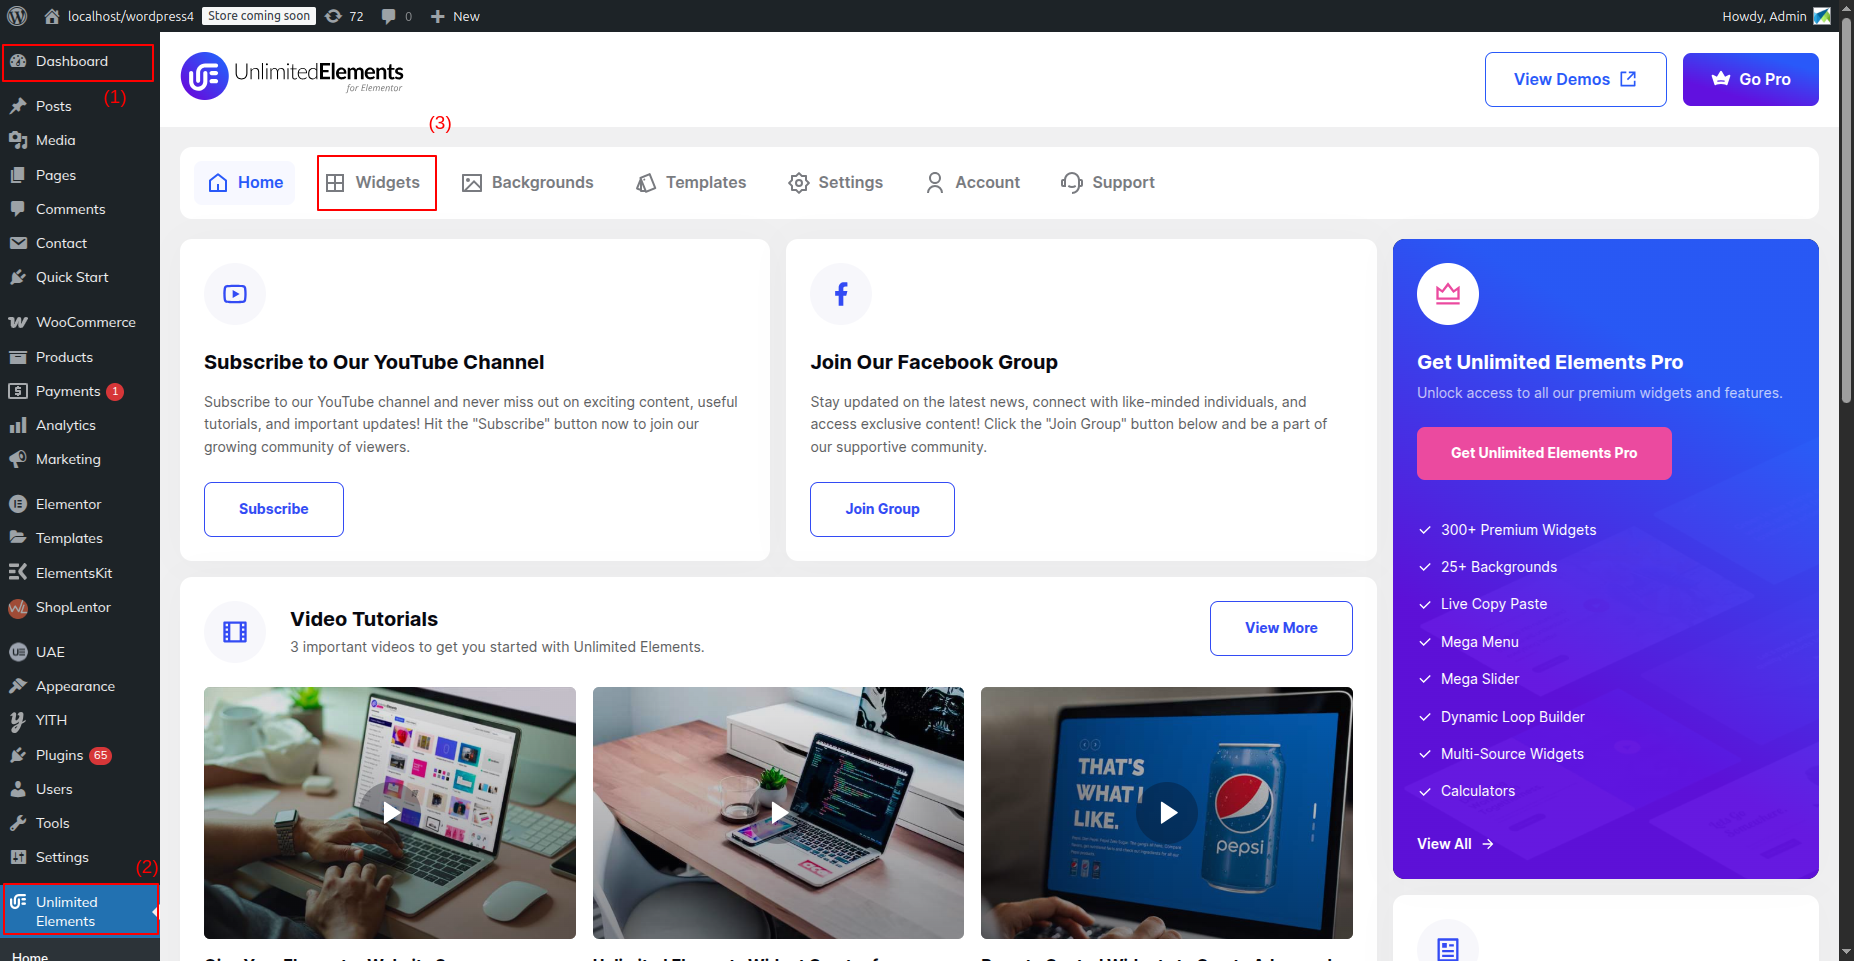
Install the Unlimited Element Widget for Showing Header Before Importing Demo After Installing Pulgin
This section pertains to the Site Identity reference.
Initial Progress While hitting "Dashboard Discover "Unlimited Elements" Move forward "Widget" Make the changes and then "Publish" .
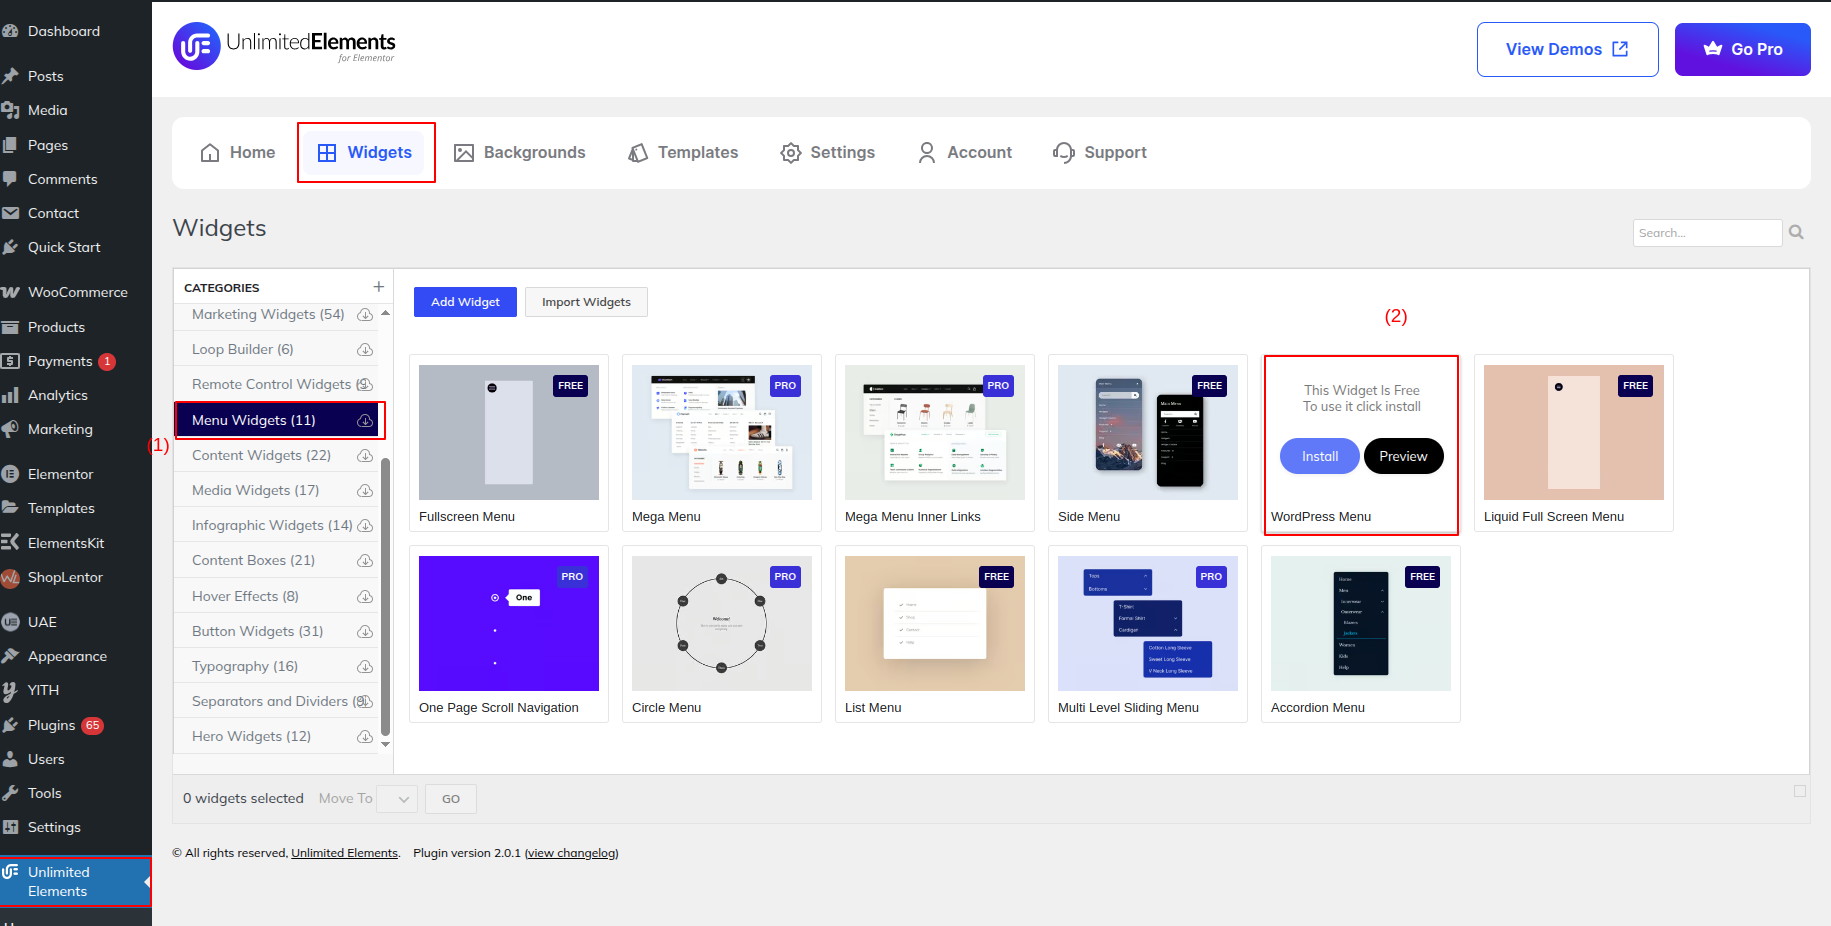
After that, install the Menu Widgets by clicking on WordPress Menu.
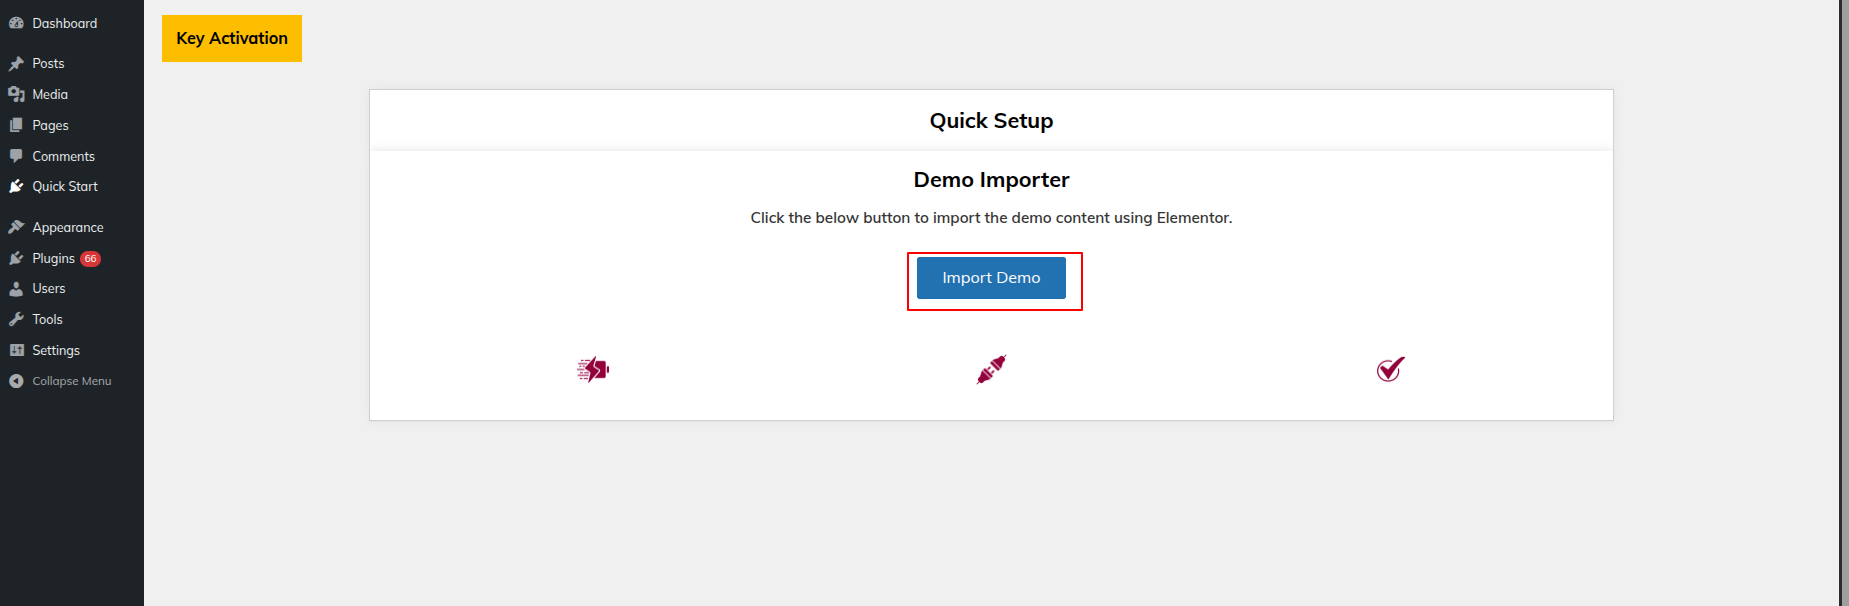
To import a demo, click Import Demo.
This section pertains to the Header reference.
Initial Progress while hitting "Dashboard" Discover "Elements-Kit" Move forward "Edit with elementor" Select Elements-Kit Nav Menu Make the changes and then "Publish" .
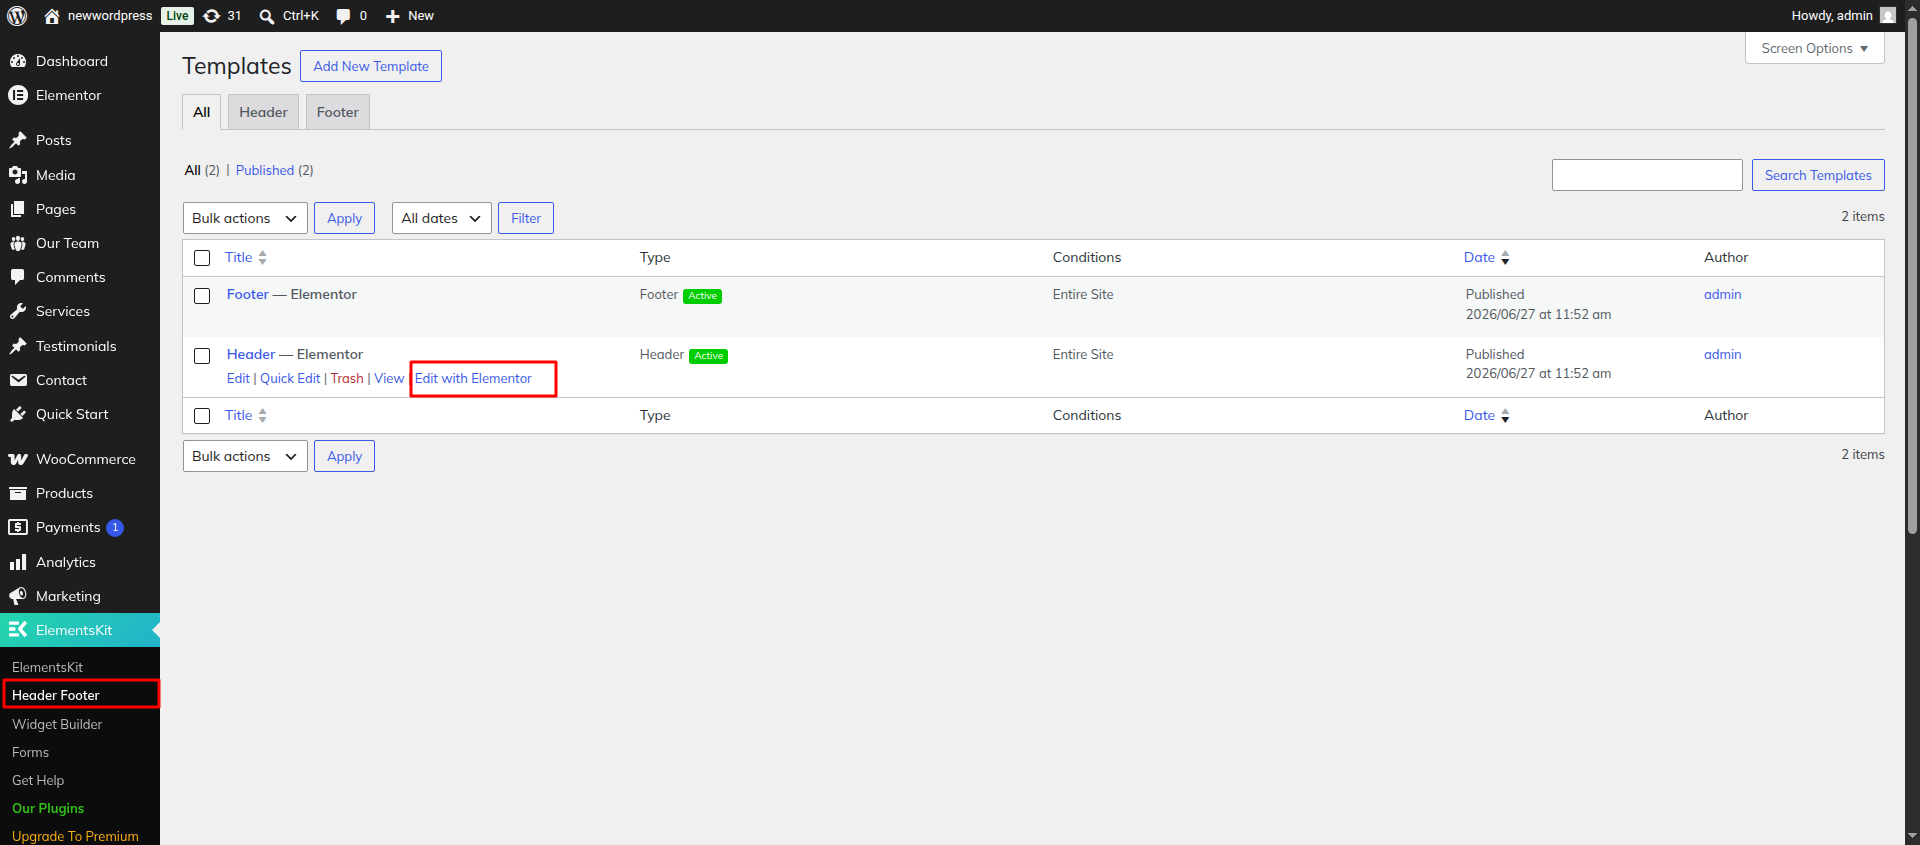
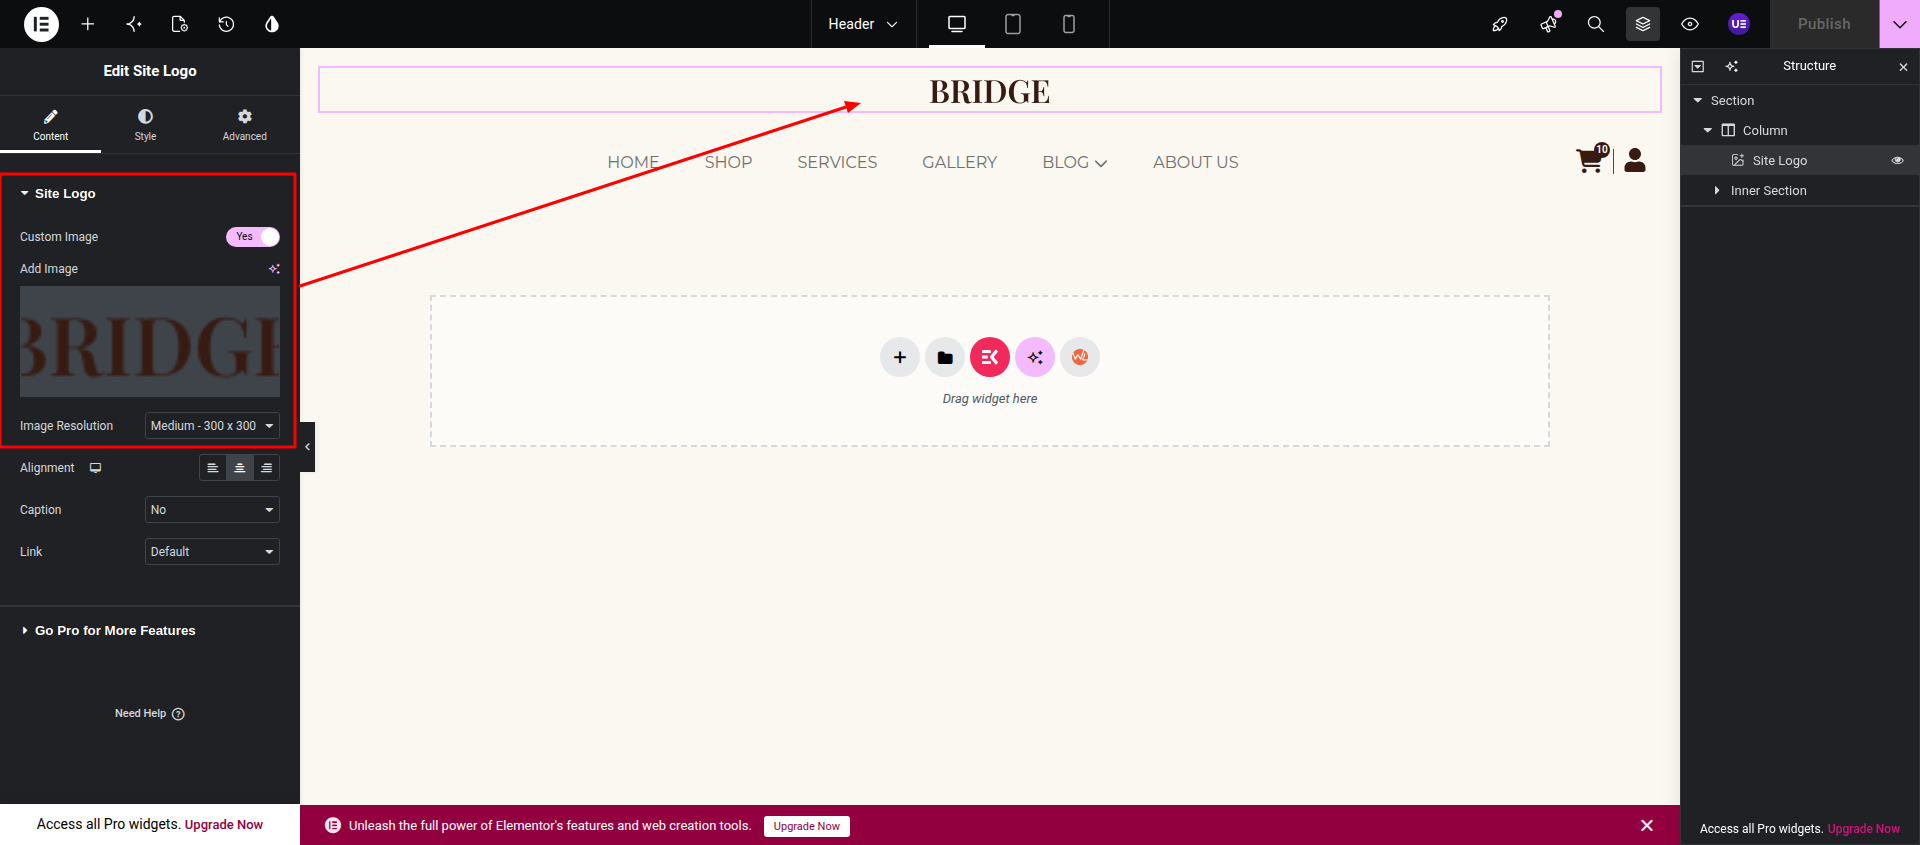
Initial Setup Click Edit with Elementor Locate the Site Logo widget Customize the header Change or add the Site Logo, Menu, Cart, and My Account widgets After making your changes, click Publish to save them.
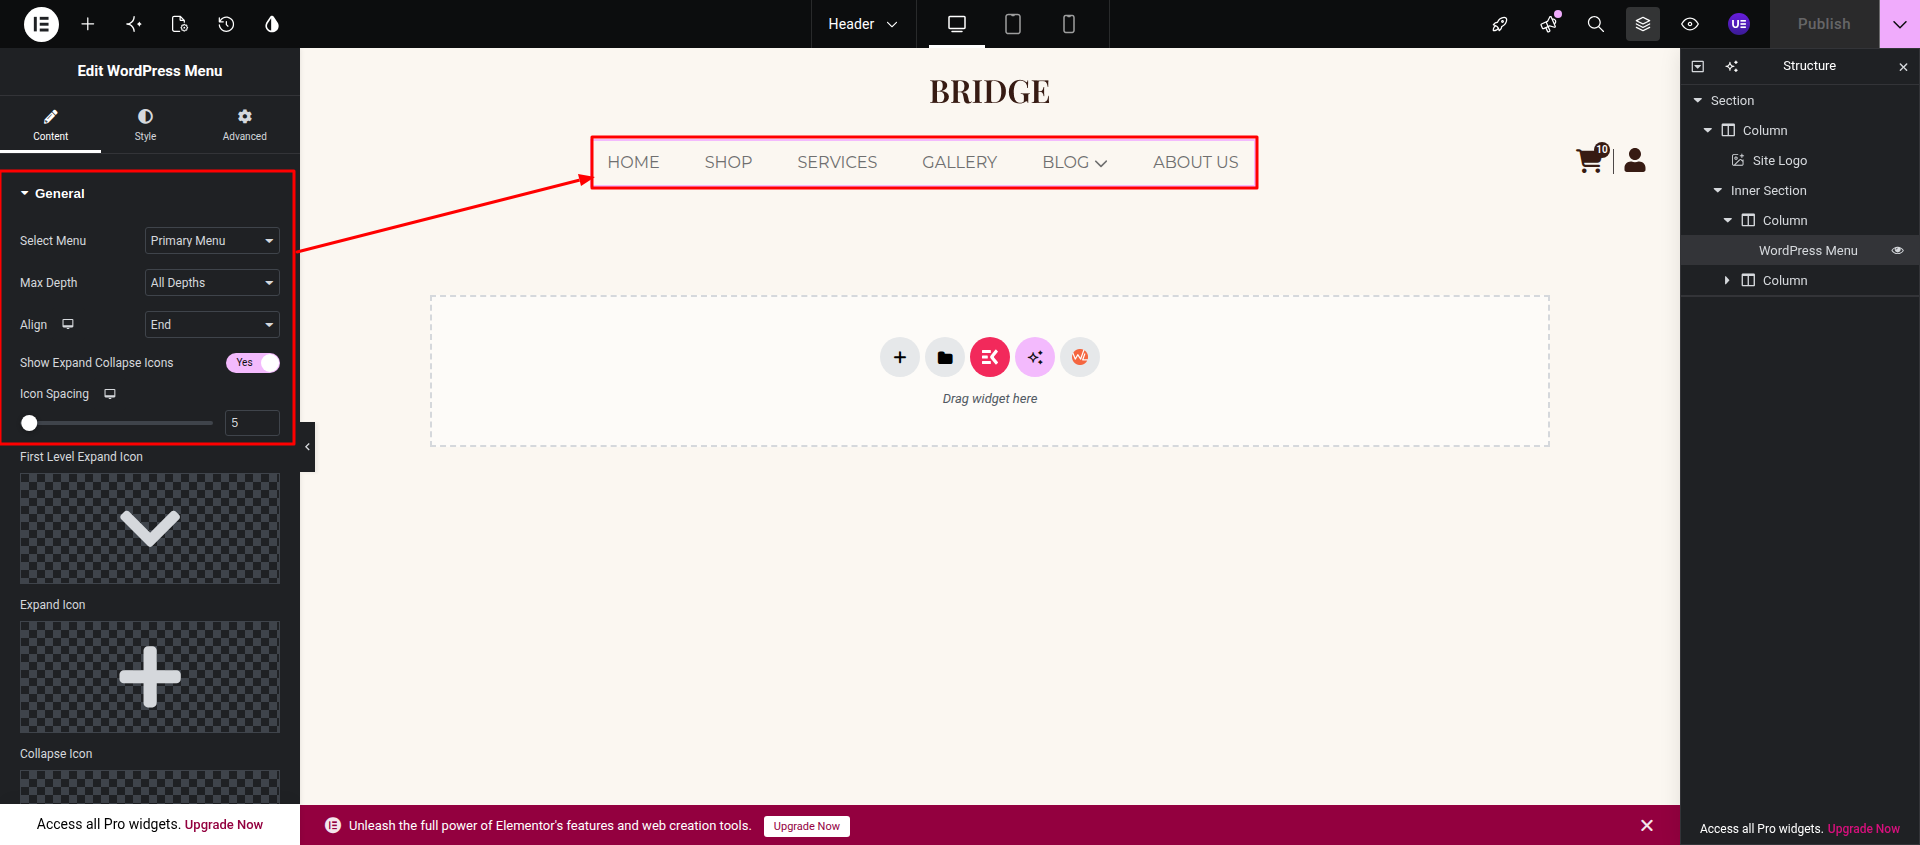
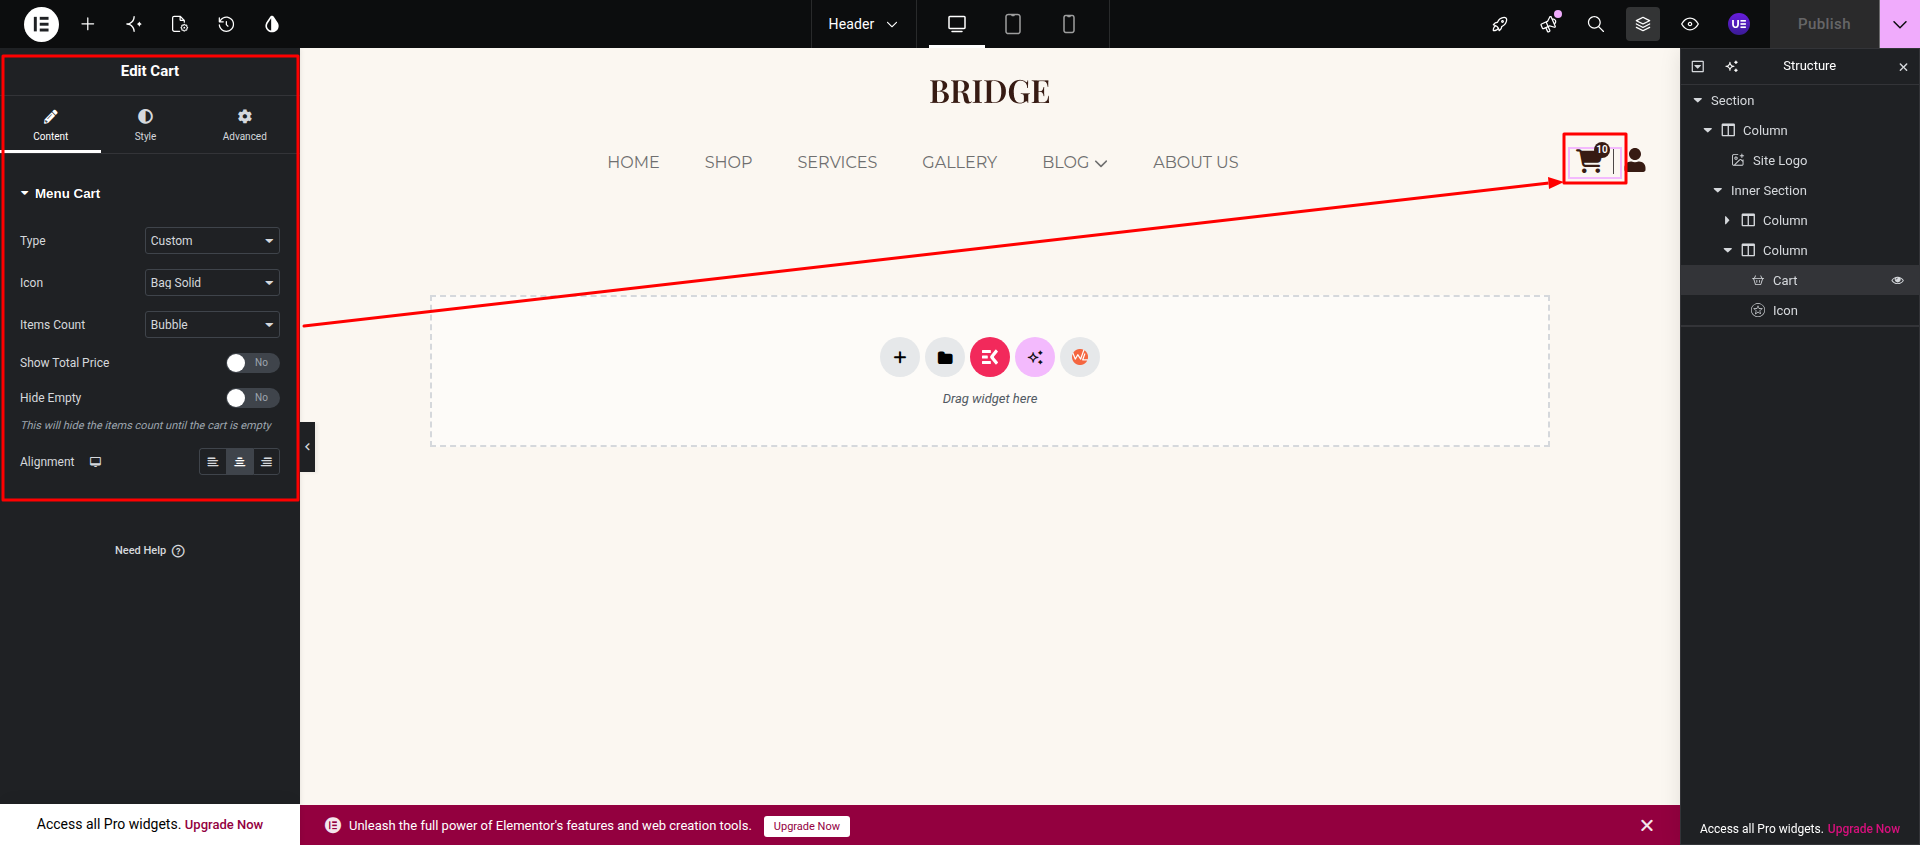
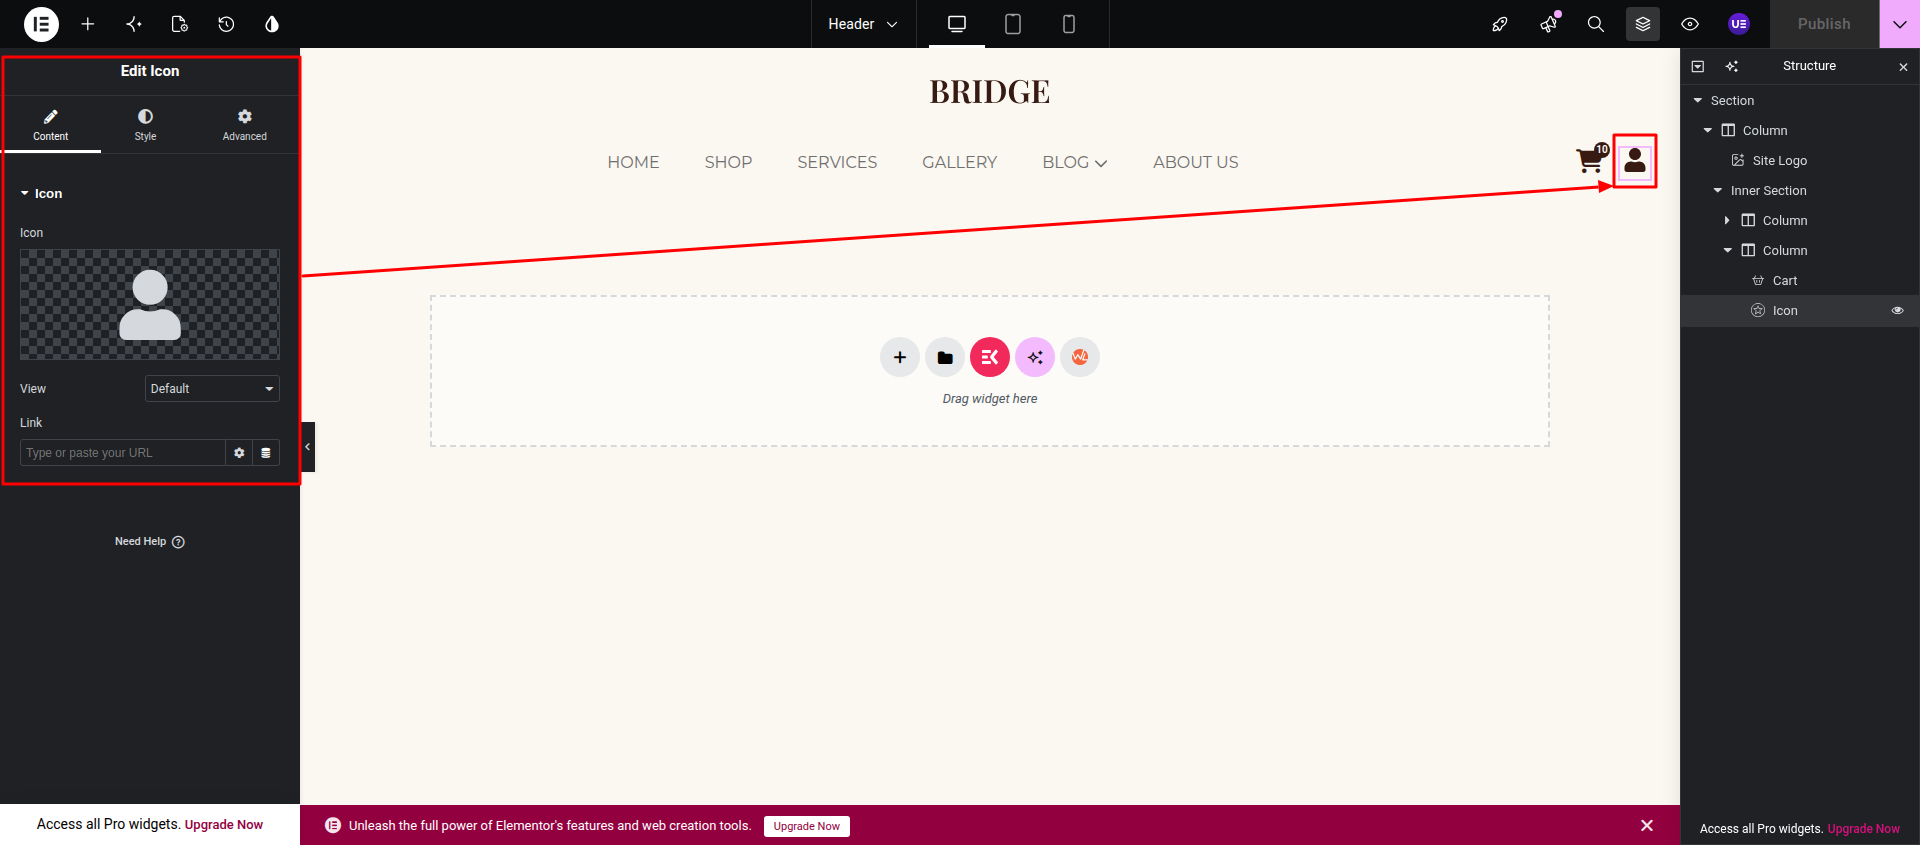
Final Output See below for design insights.

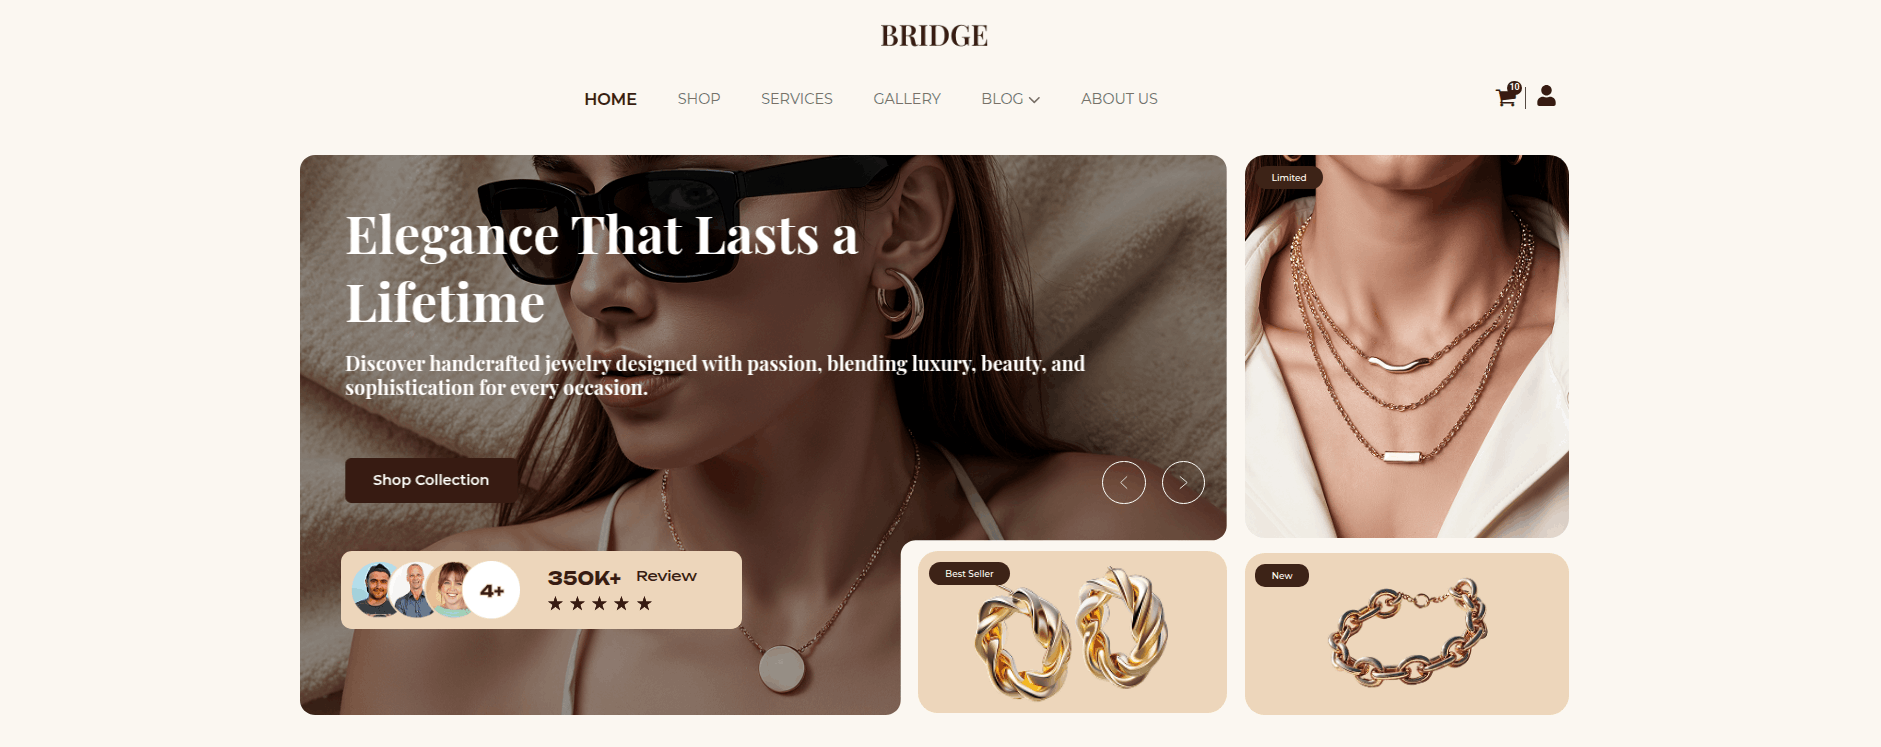
This section pertains to the Hero Section.
Initial Progress While hitting "Dashboard" Discover "Edit with elementor" then "add new heading the and content as shown in the screenshots"
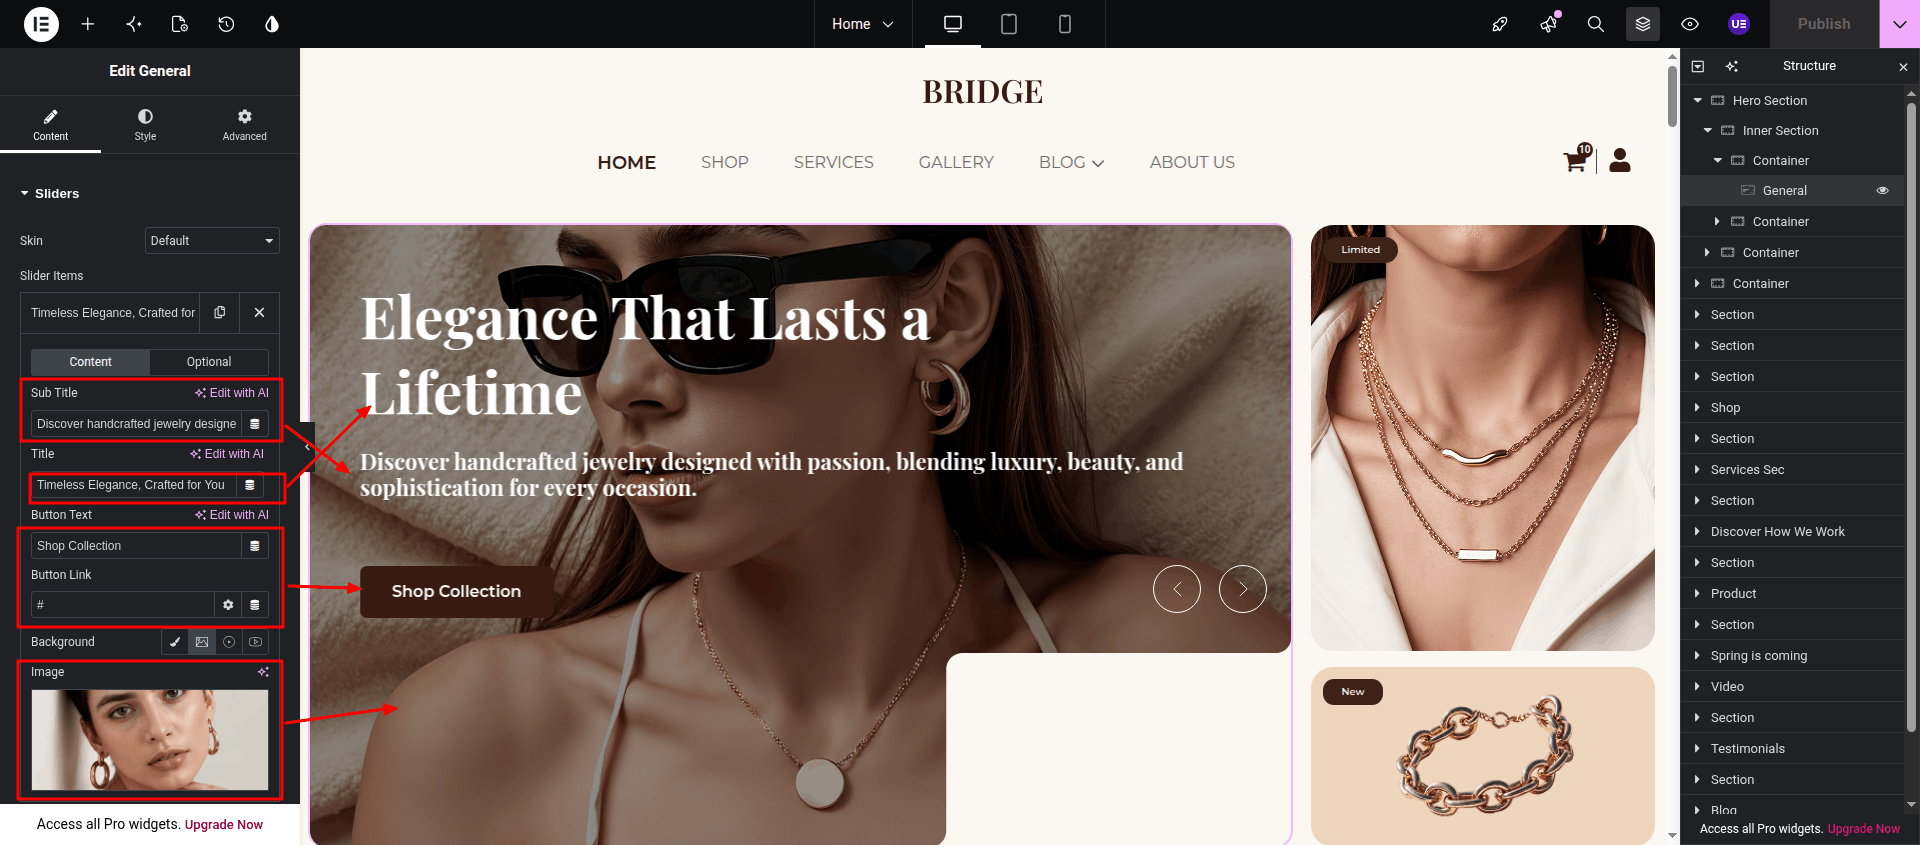
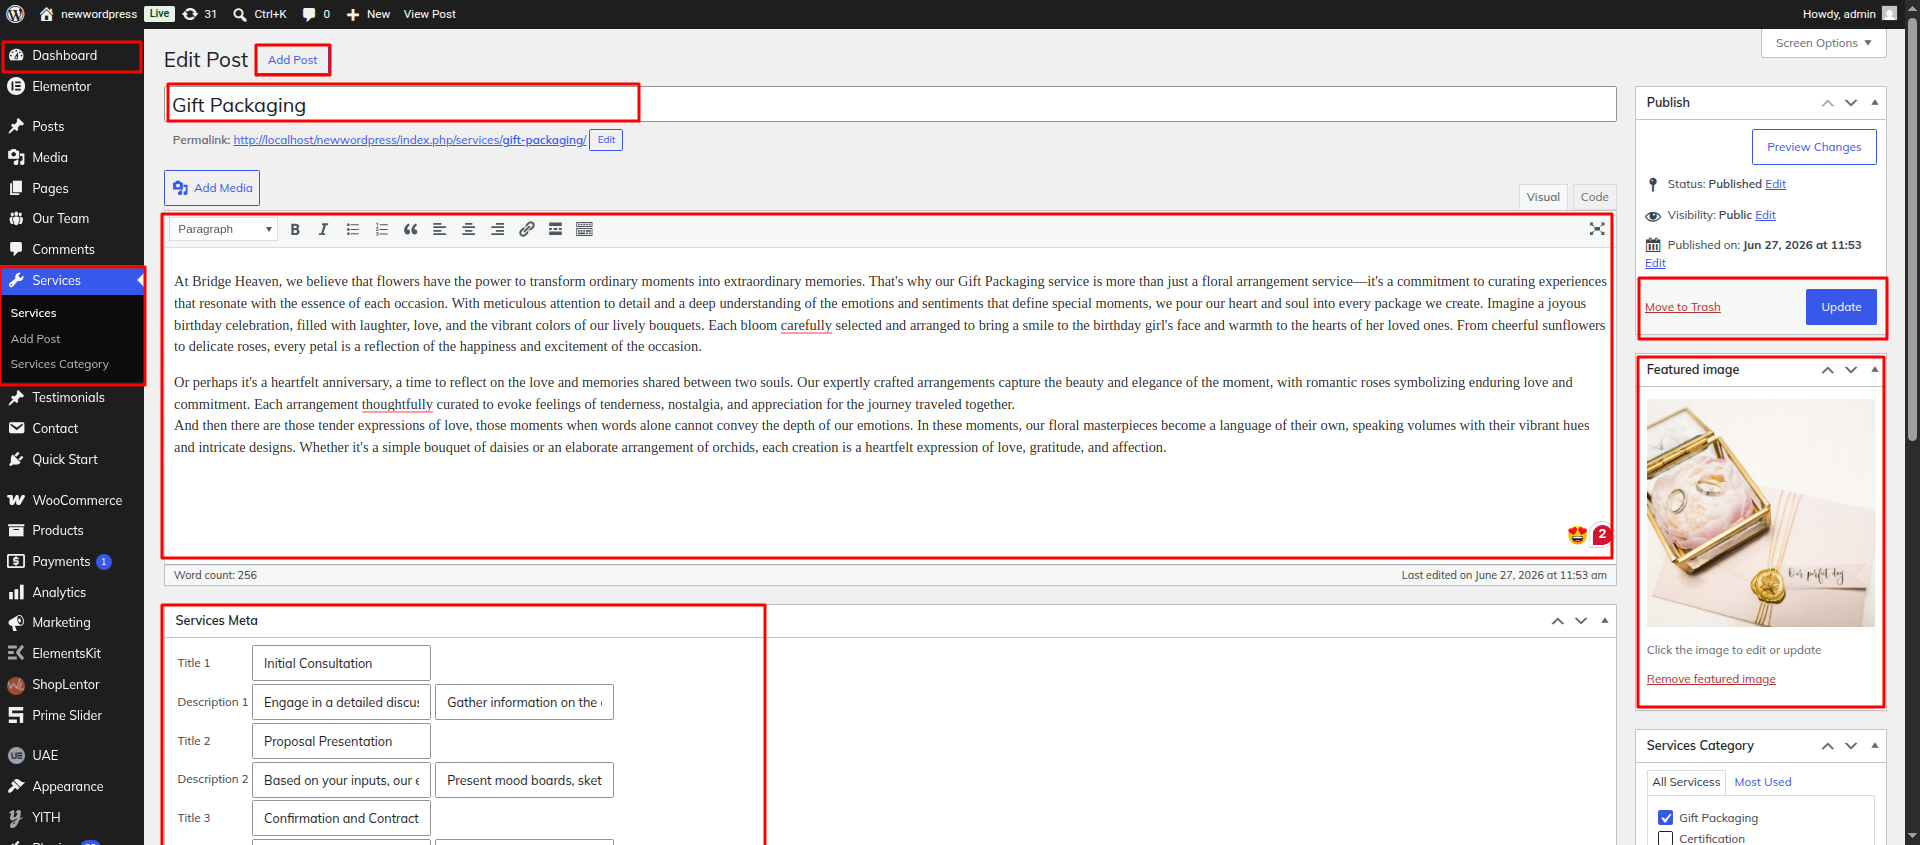
Edit PostAdd tittle, description, featured Image and other details and publish
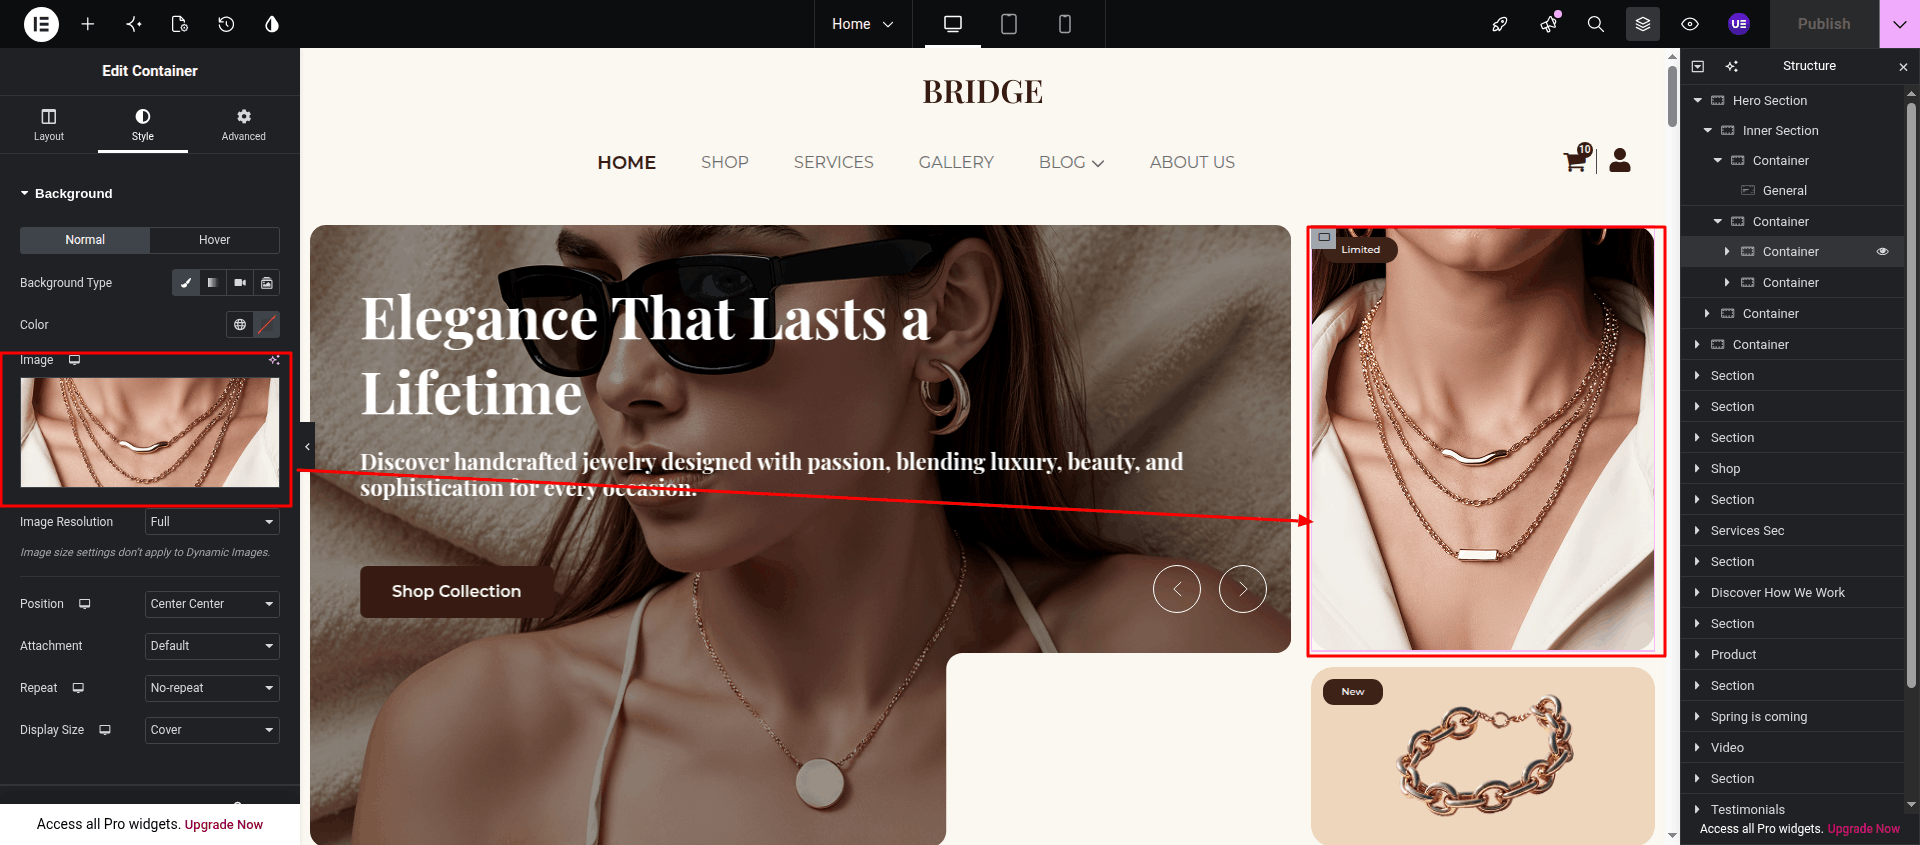
Final Image See below for design insights.
This section explains how to customize the About Us section.
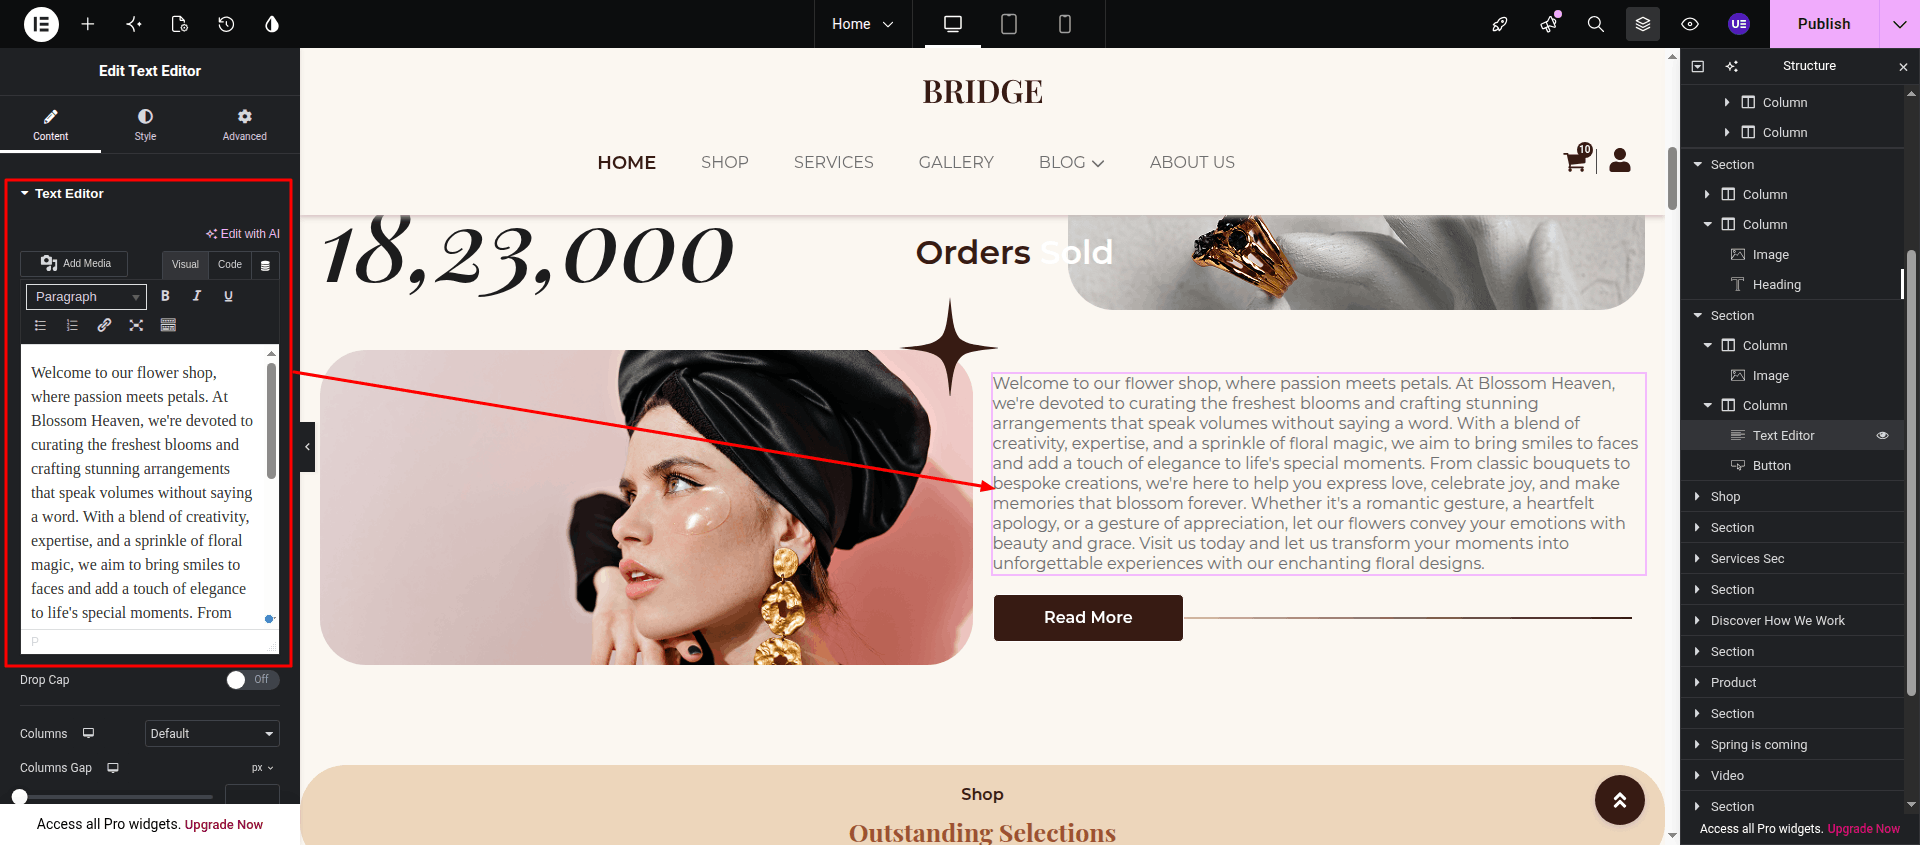
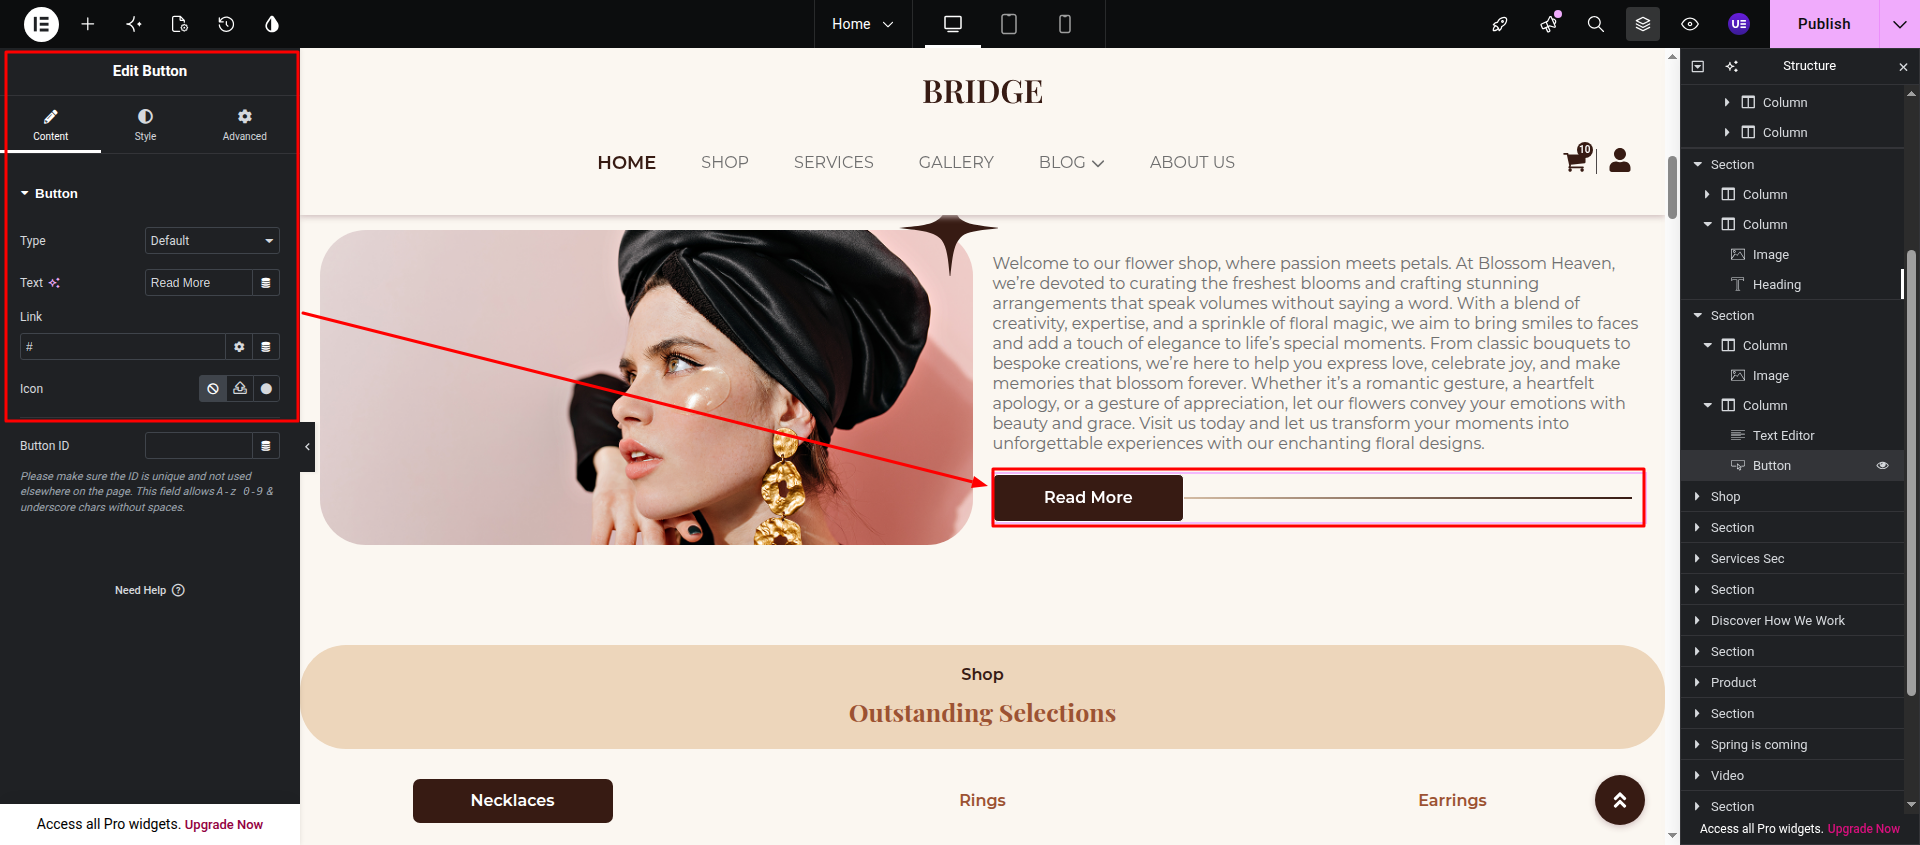
Initial Progress Open the page and click Edit with Elementor Select the widget you want to edit (such as Heading, Image, Button, or Text) Customize the content according to your requirements.
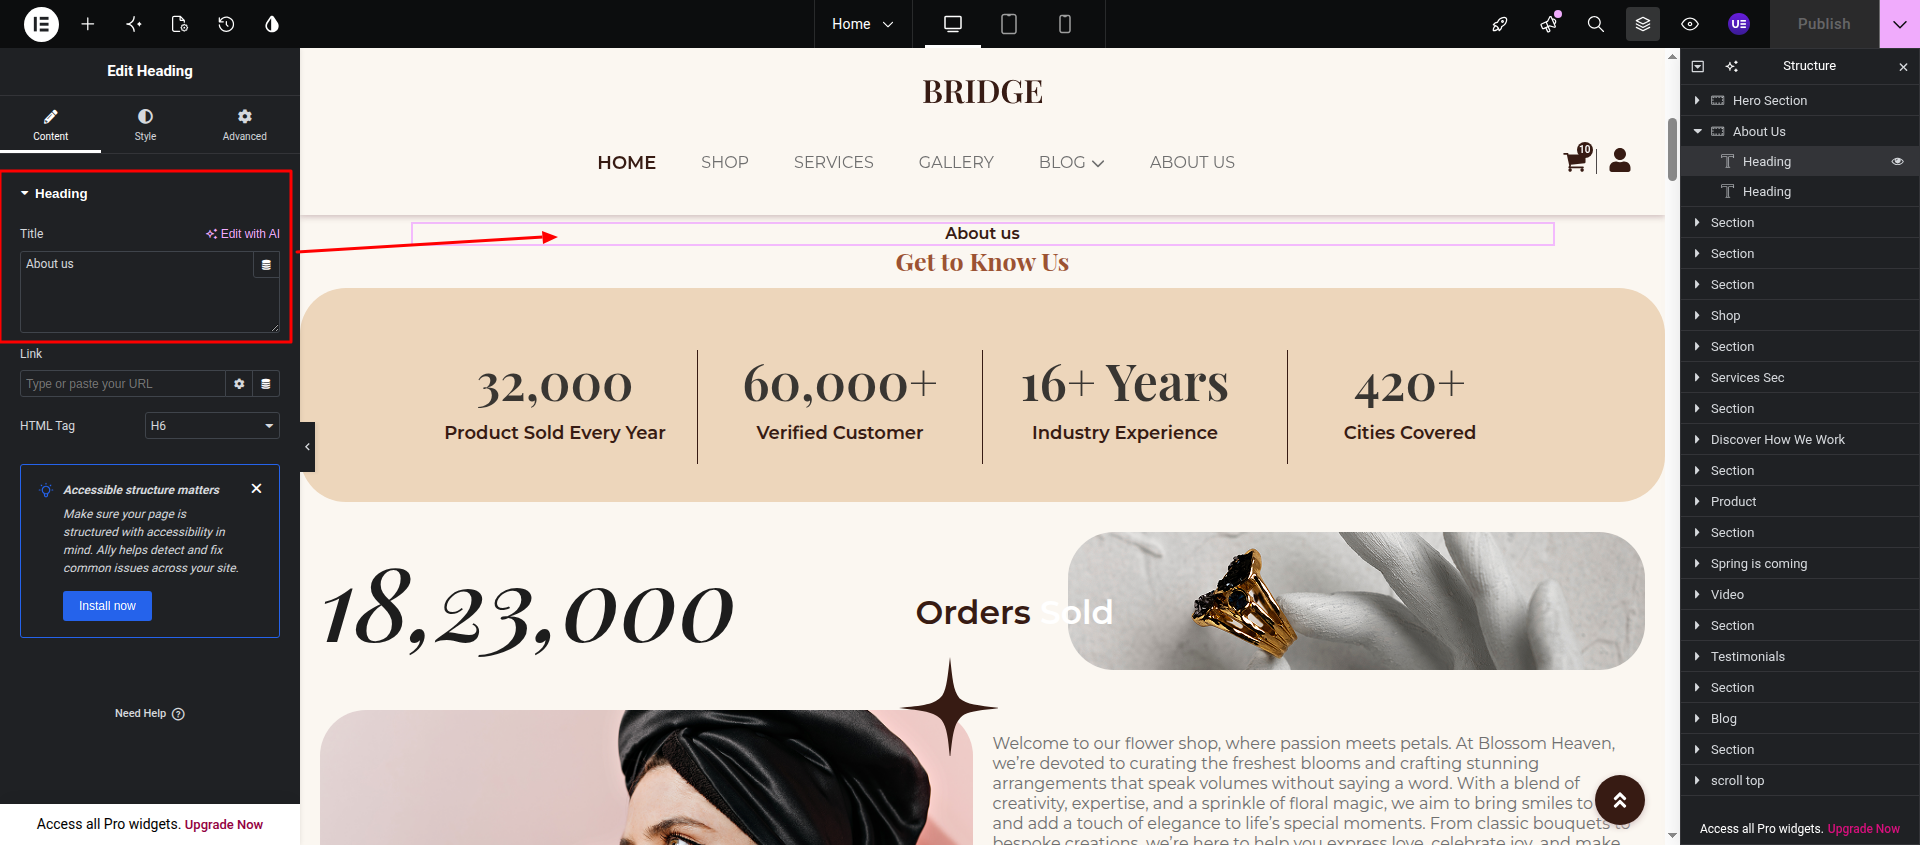
Heading Widget Edit the heading text using the Heading widget.
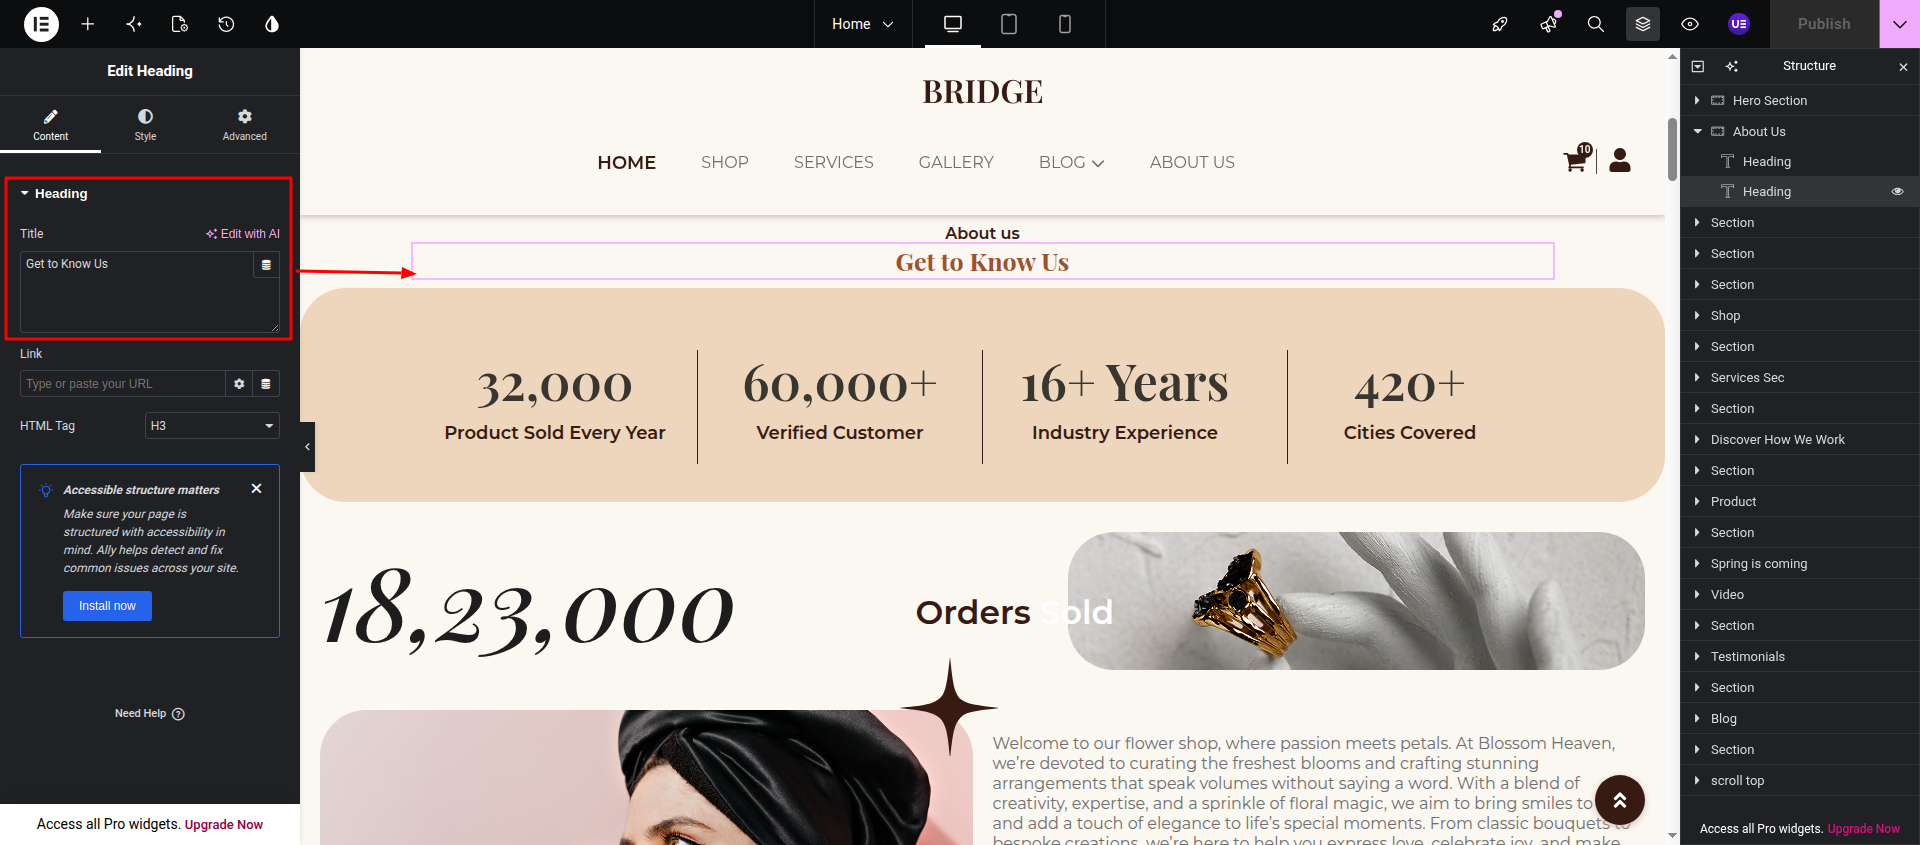
Counter Widget Edit the counter values, titles, and other related content.
Repeat this process for each widget or content element you want to customize. After completing all changes, click Publish to save your work.
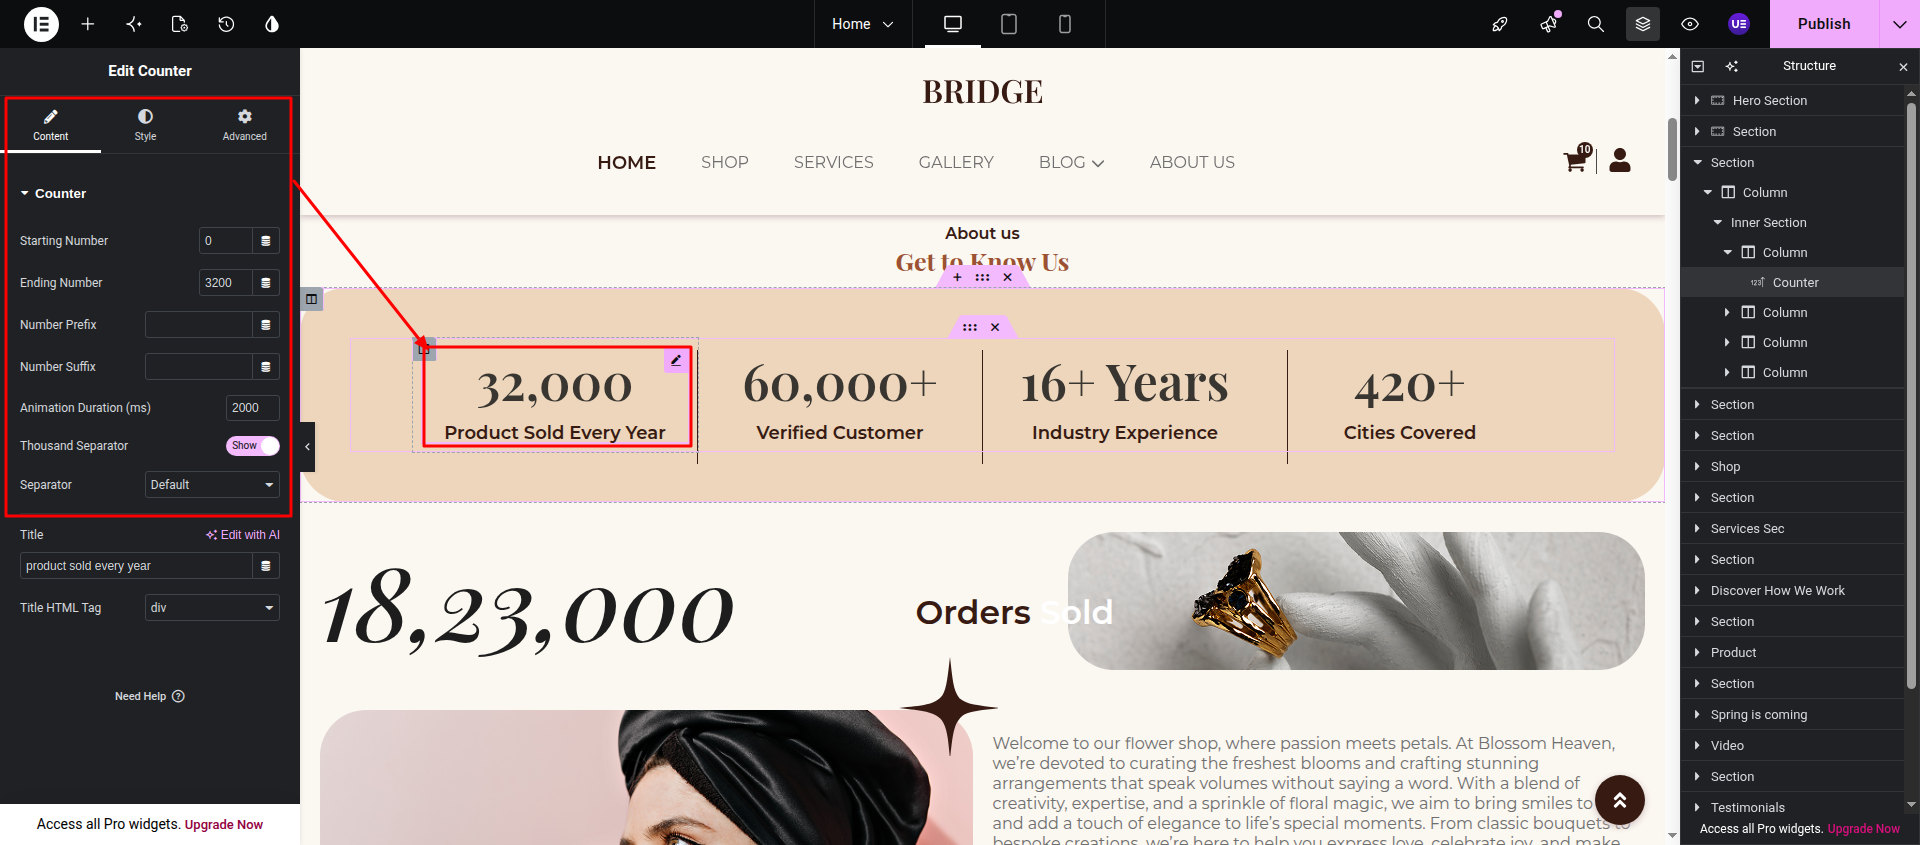
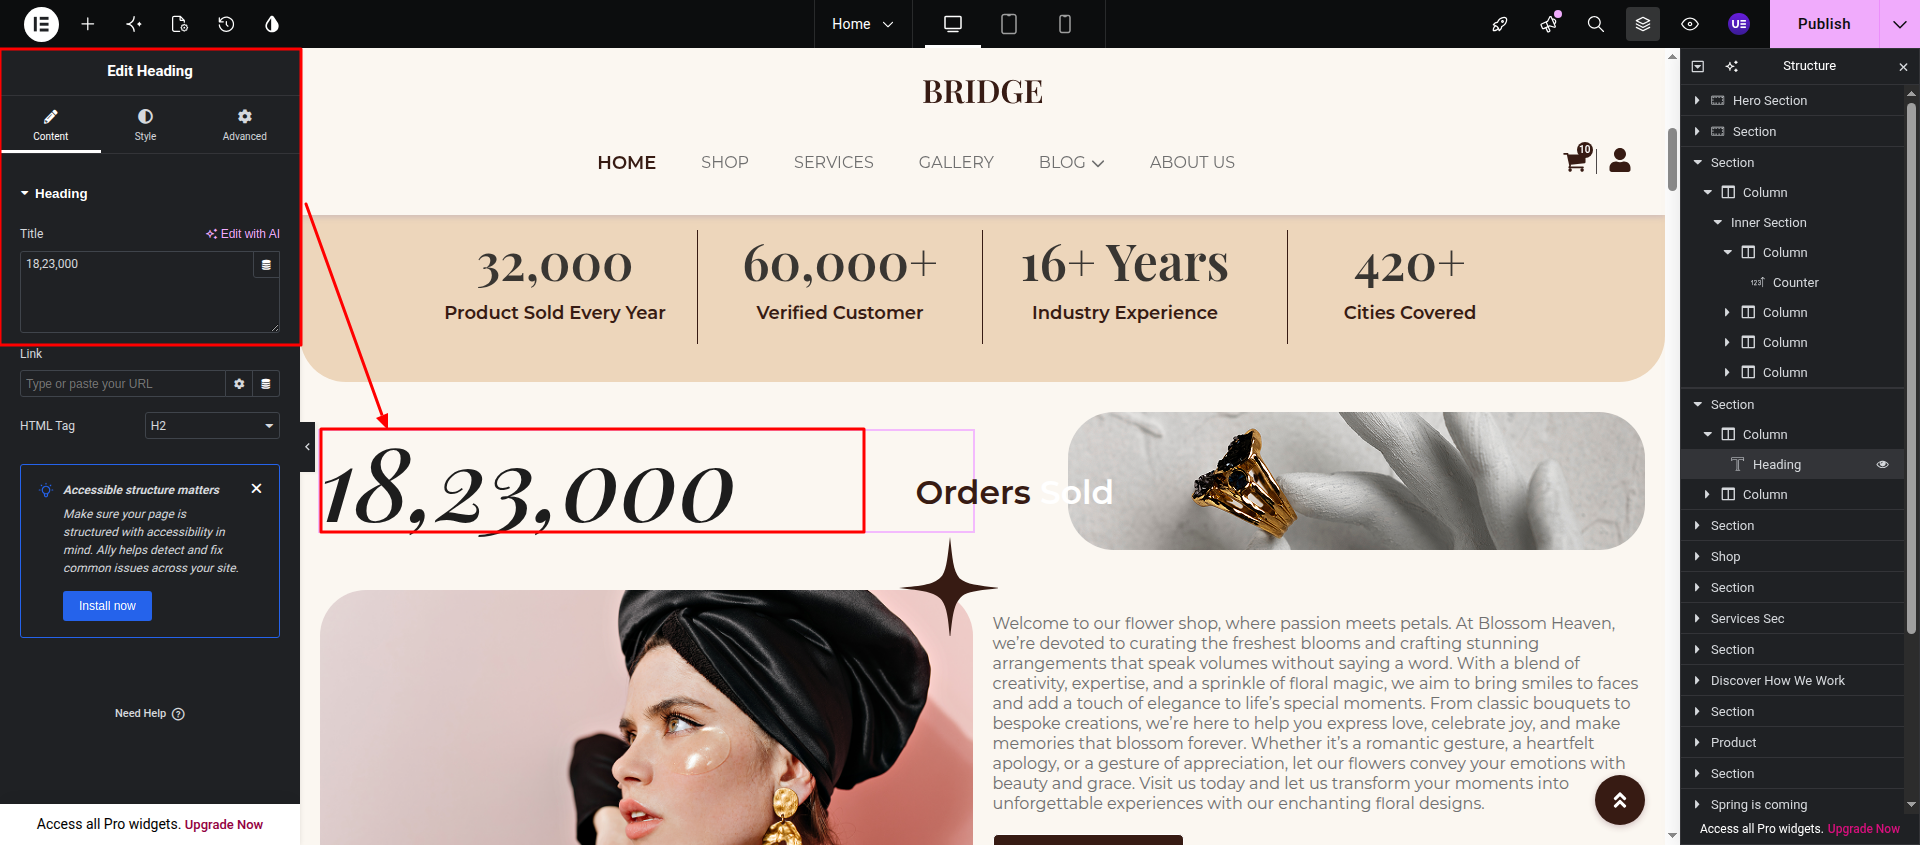
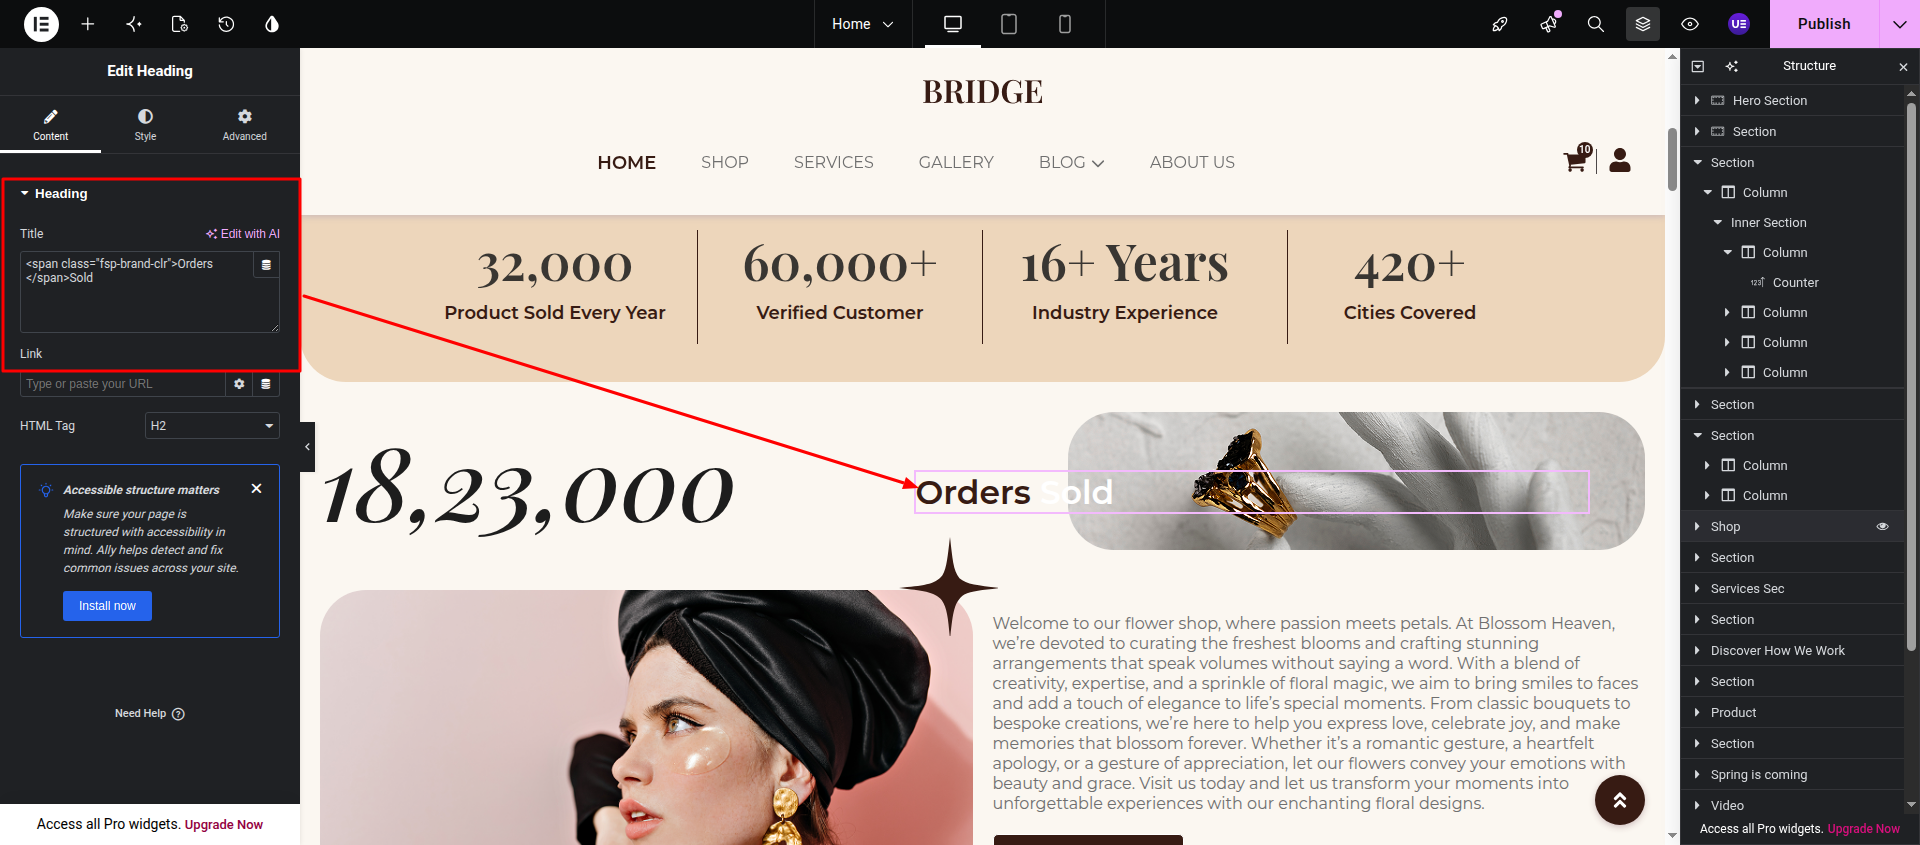
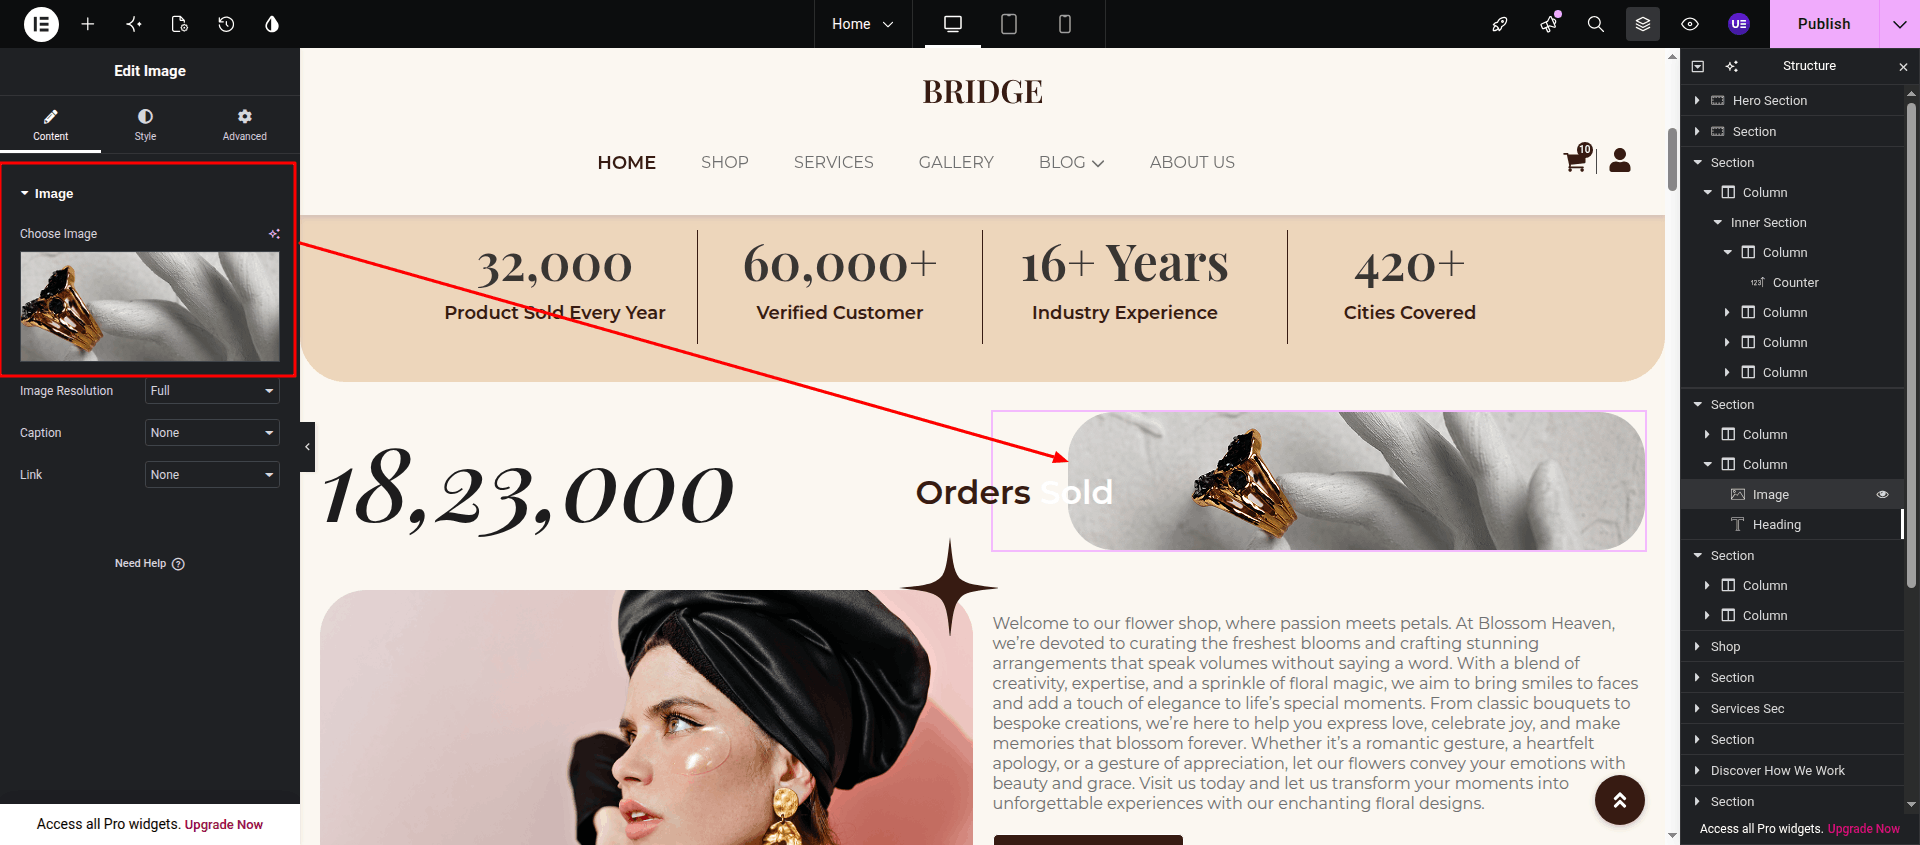
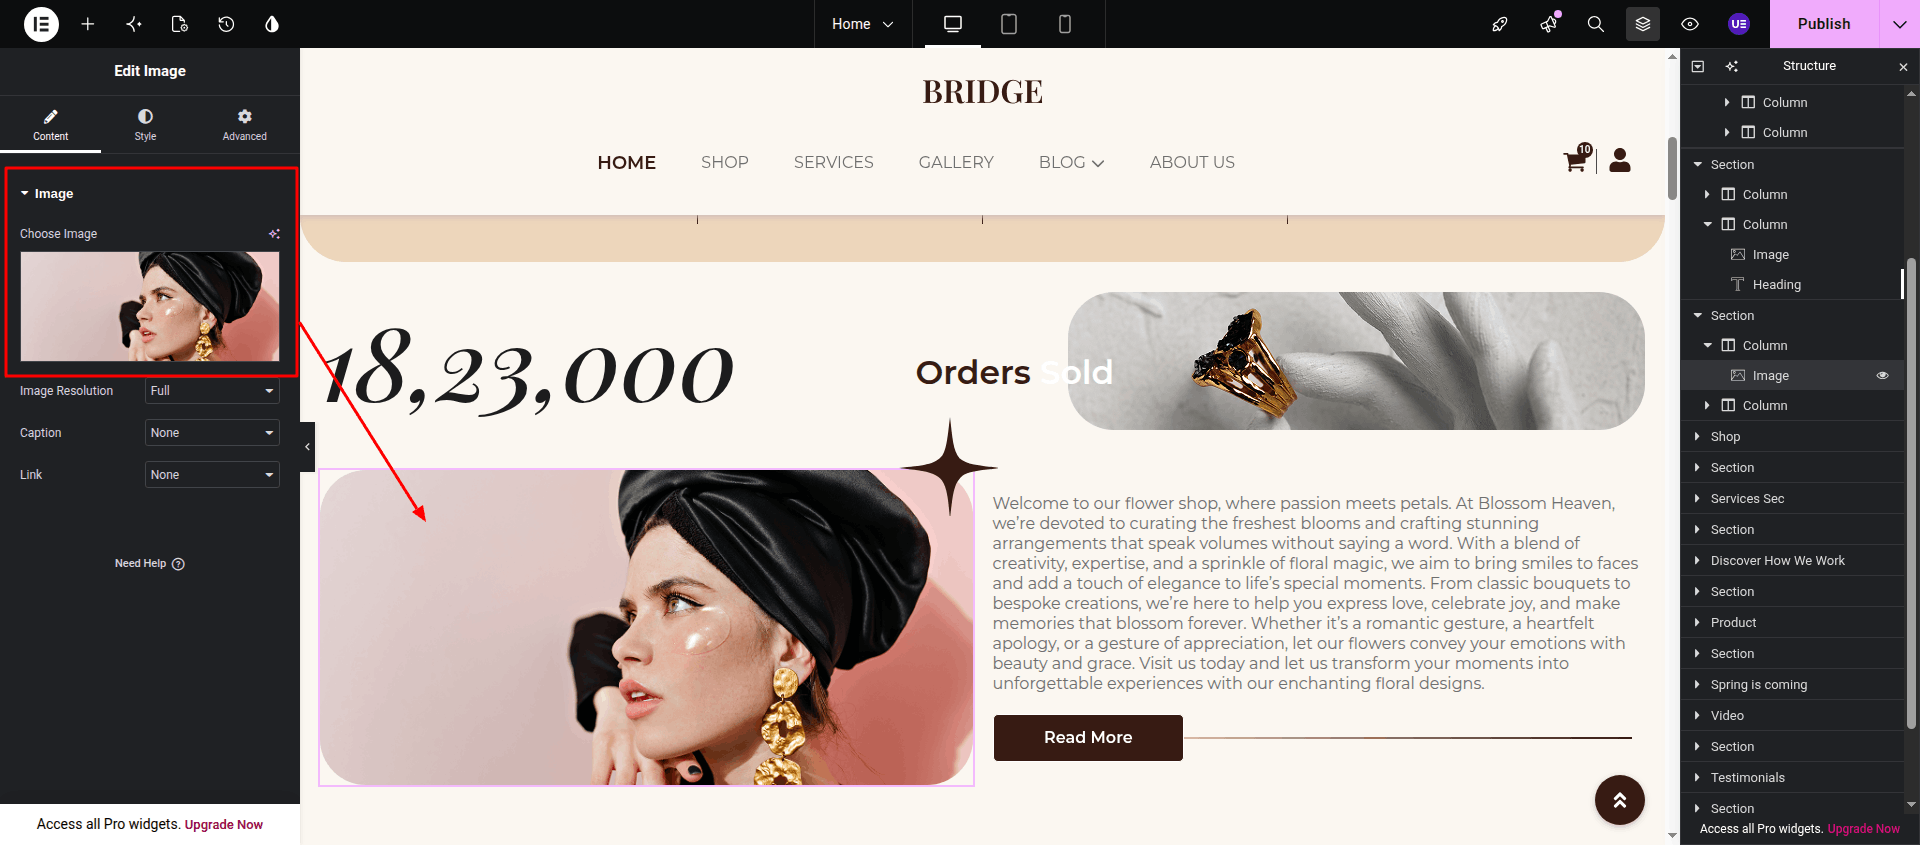
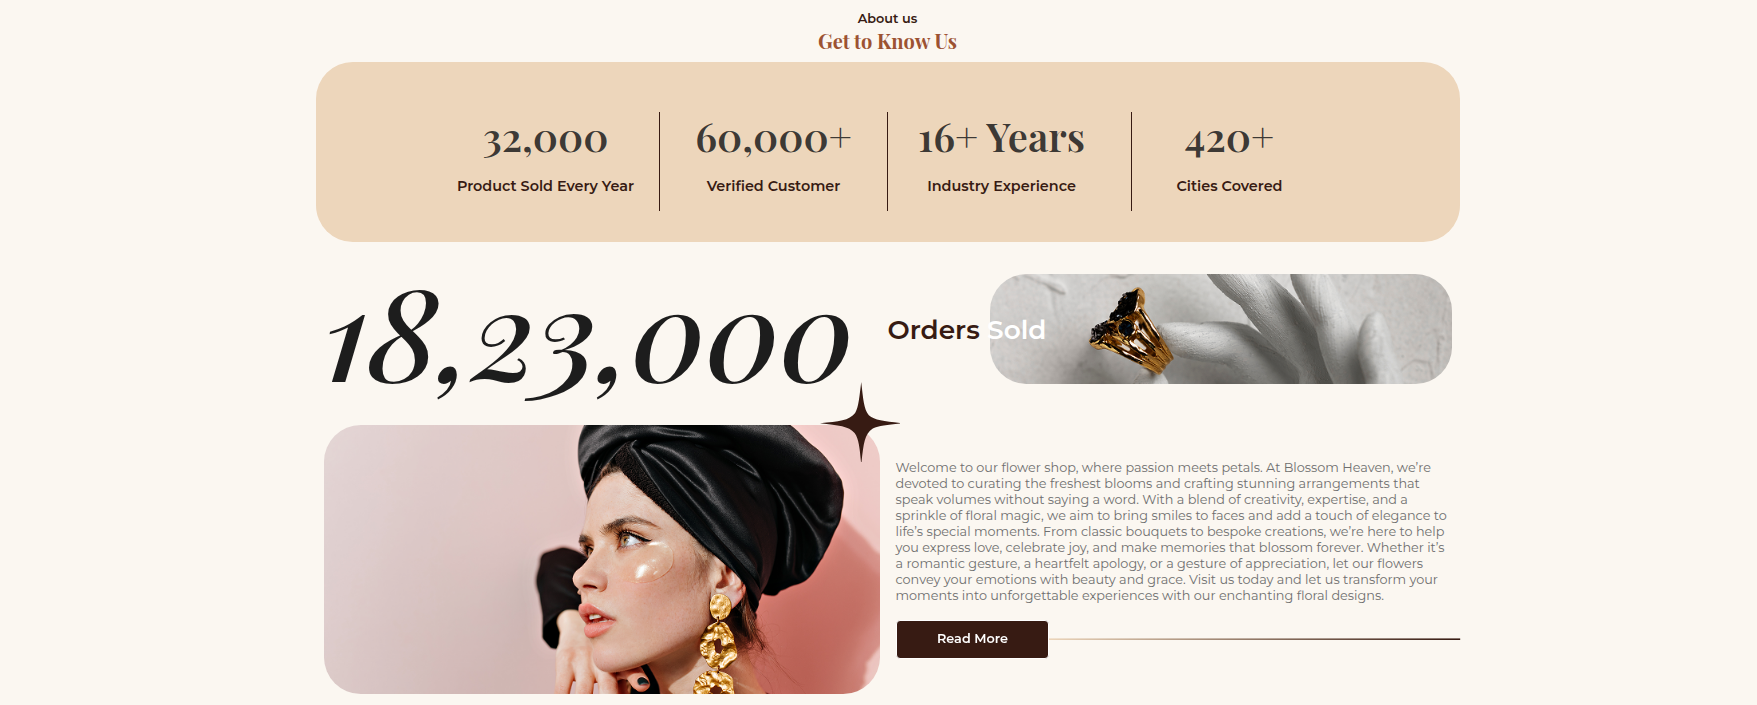
Final Result The customized About Us section will appear as shown below.
This section explains how to customize the Shop section.
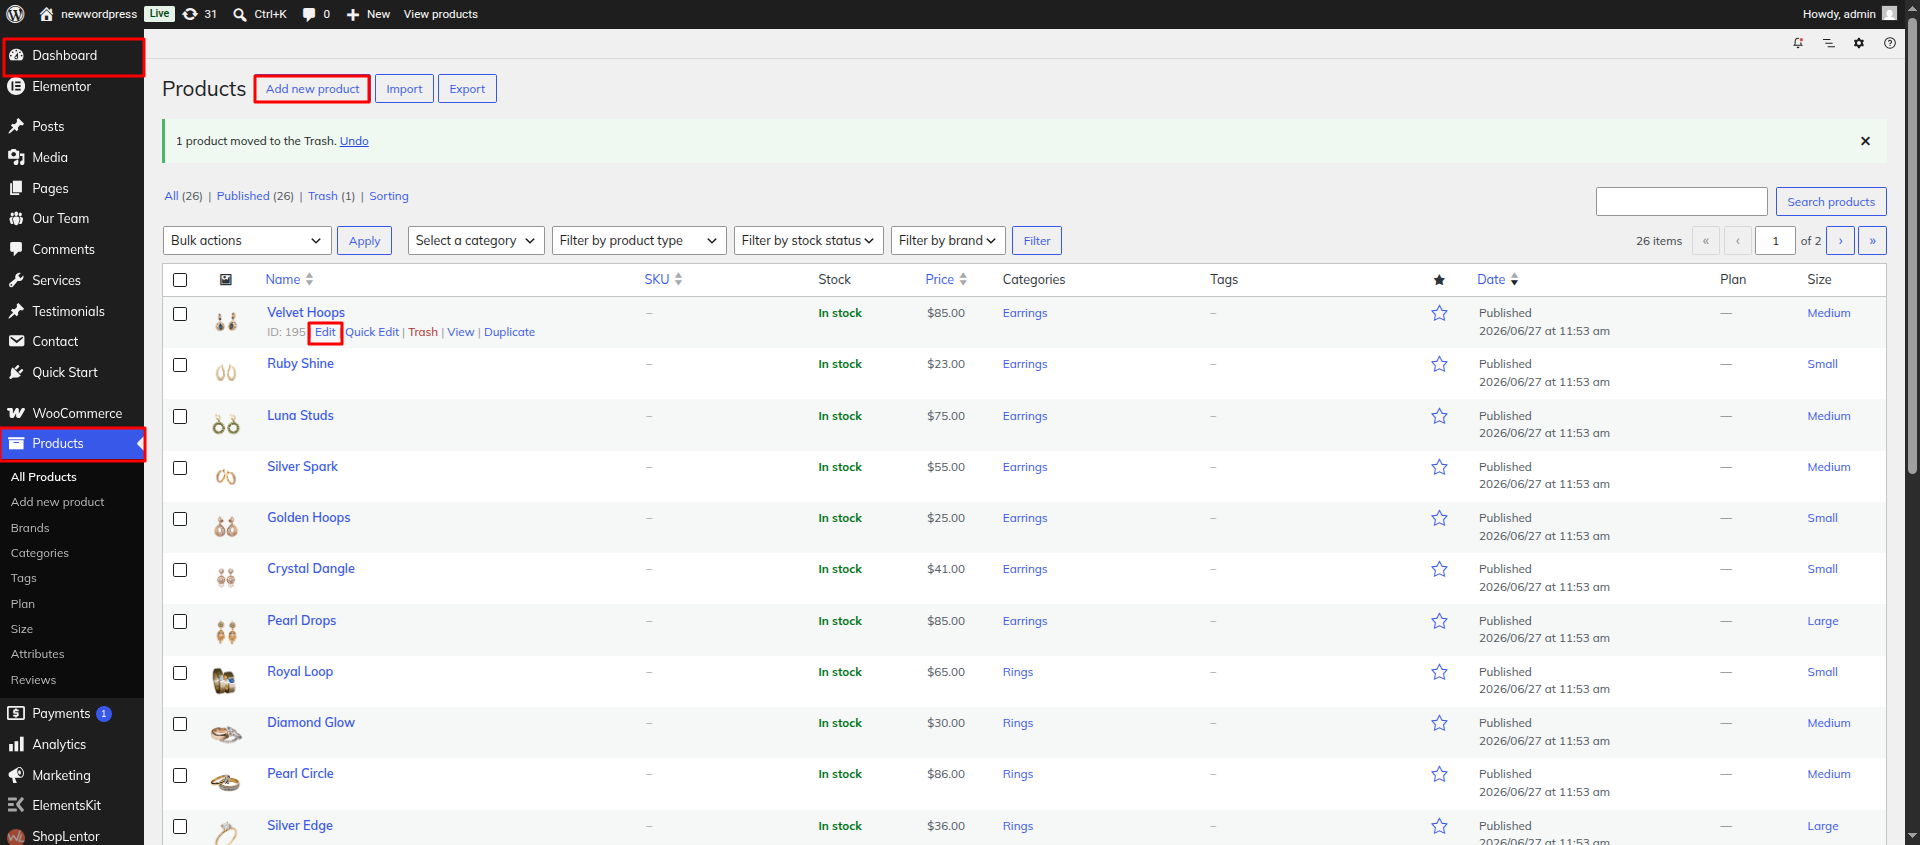
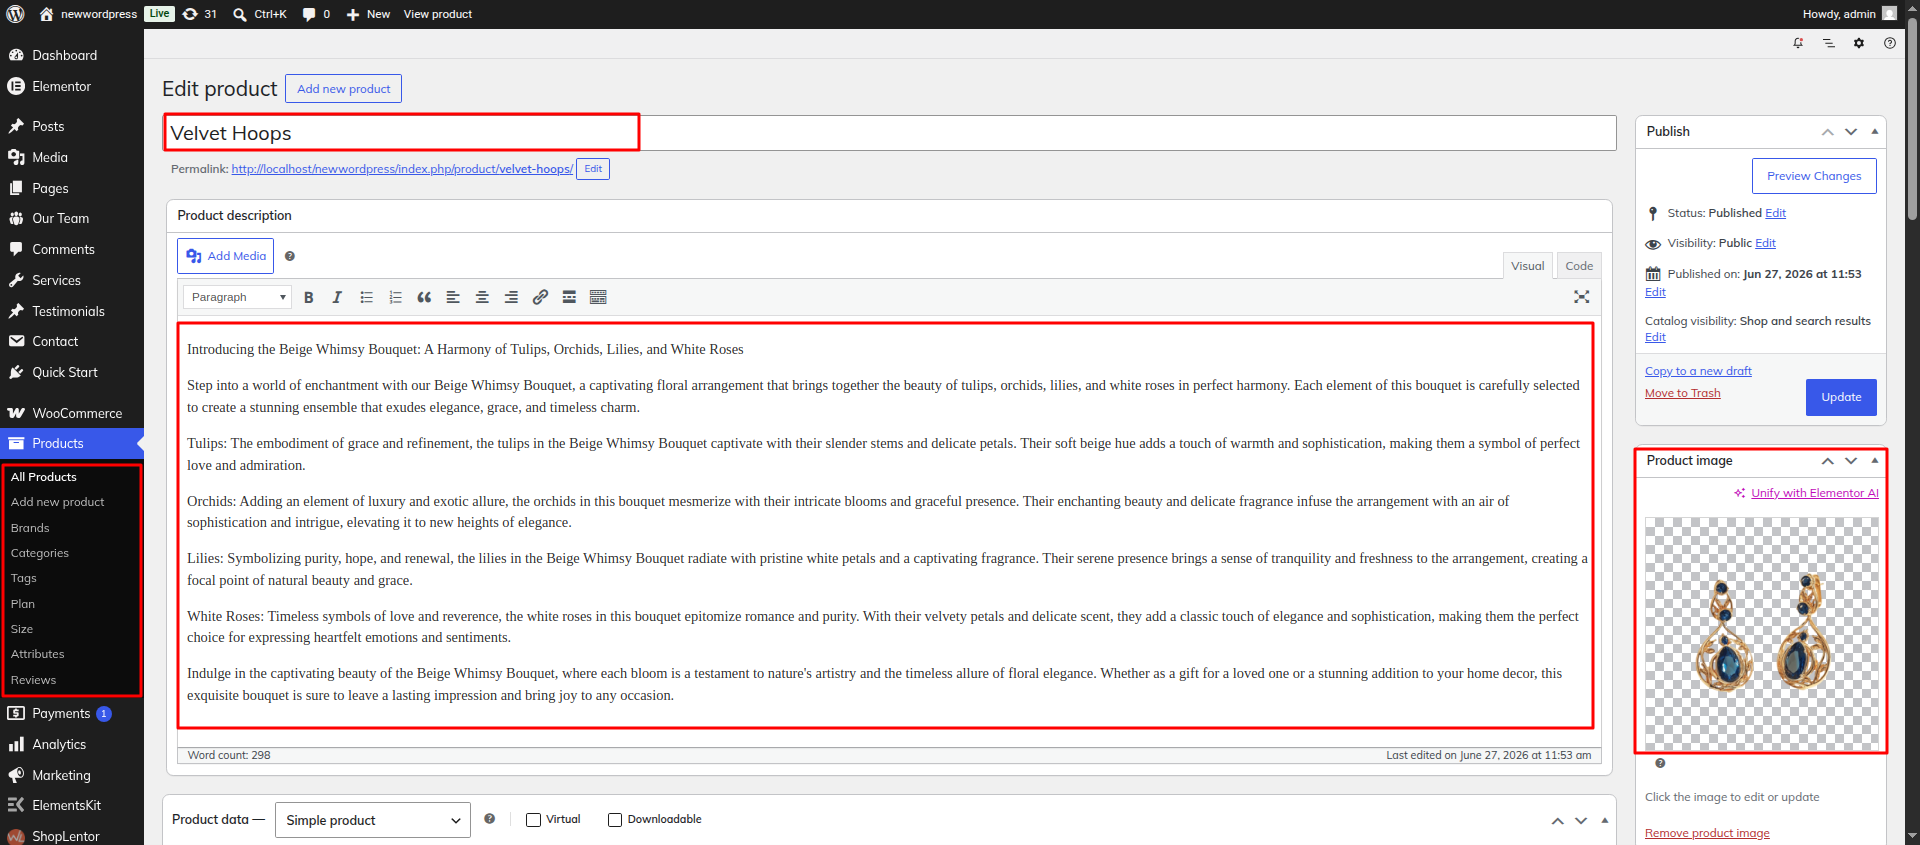
Dashboard Products Add new products or edit existing products. You can also manage product categories by editing existing categories or creating new ones.
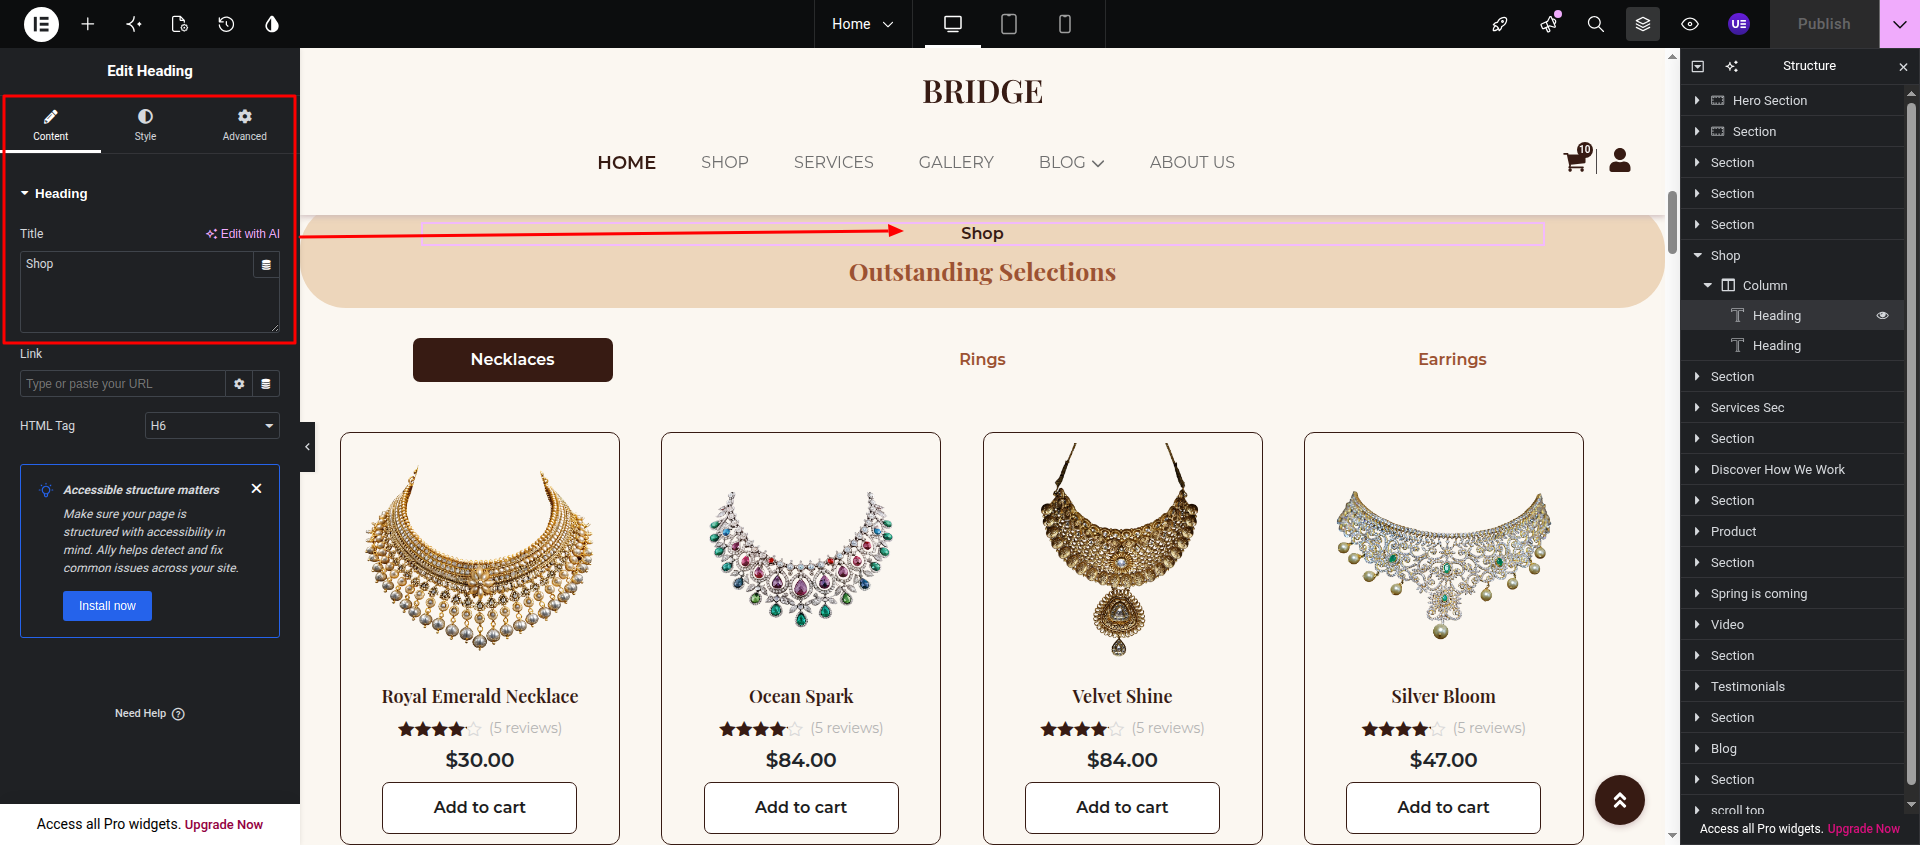
Heading Widget Open the page and click Edit with Elementor Select the Heading widget Edit the section title, description, or any other text content as required.
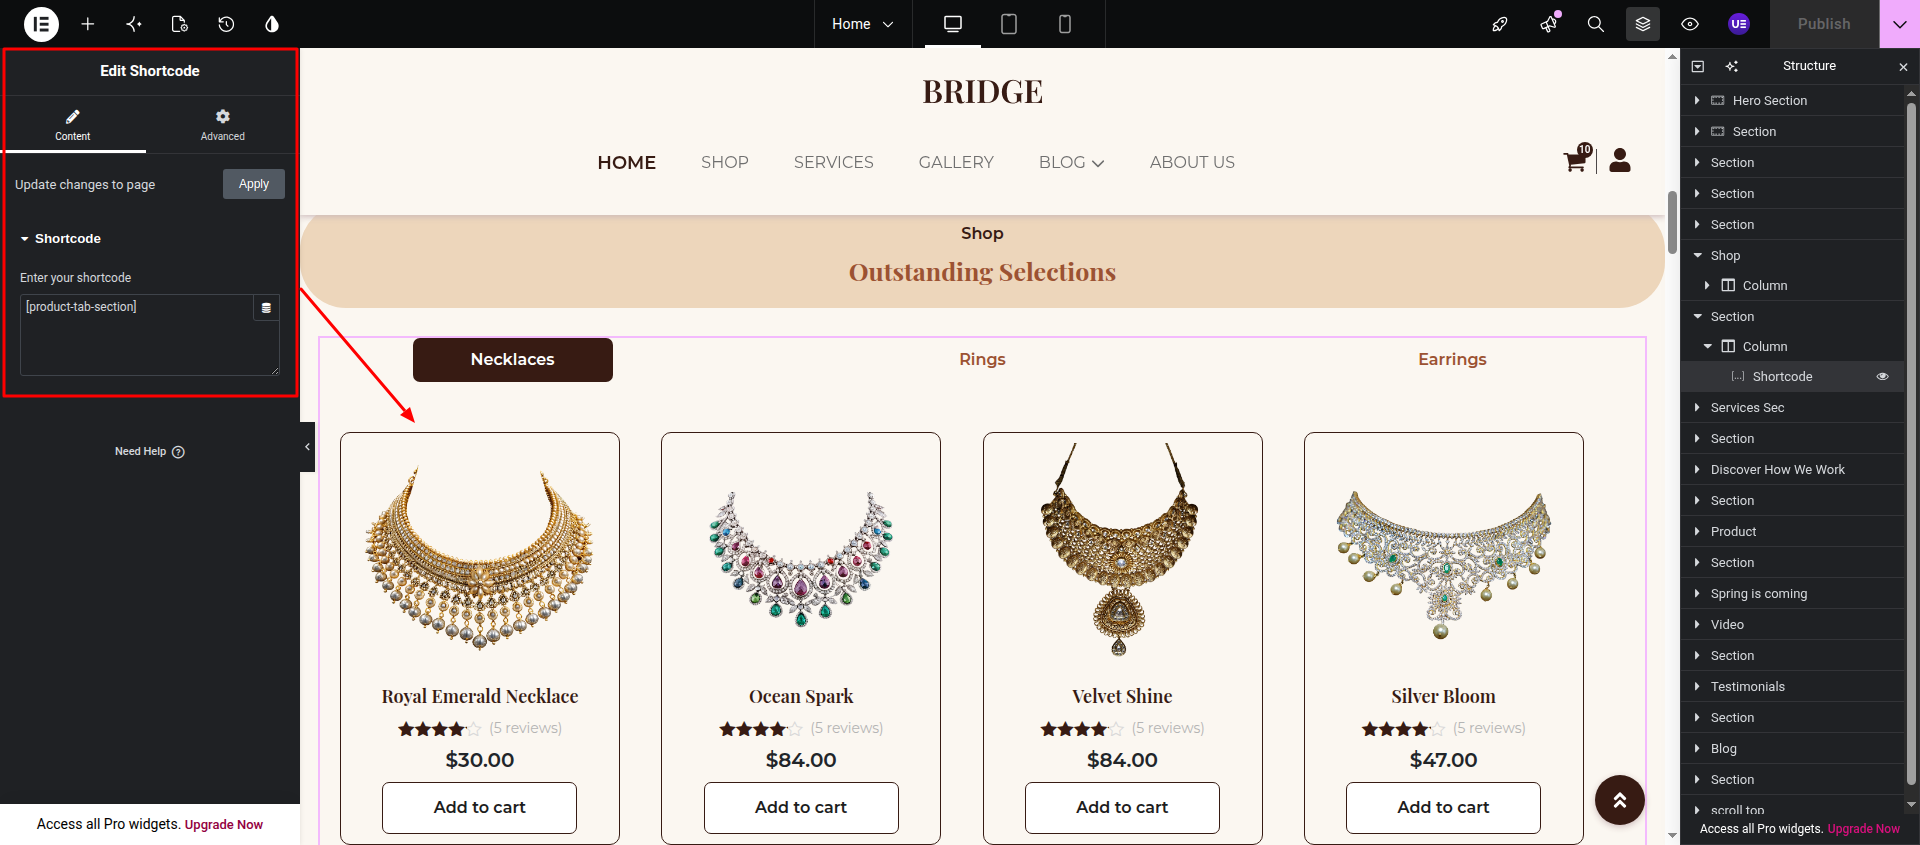
Shortcode Widget Drag the Shortcode widget into the desired section Paste the following shortcode:
[product-tab-section]
After completing all changes, click Publish to save your updates.
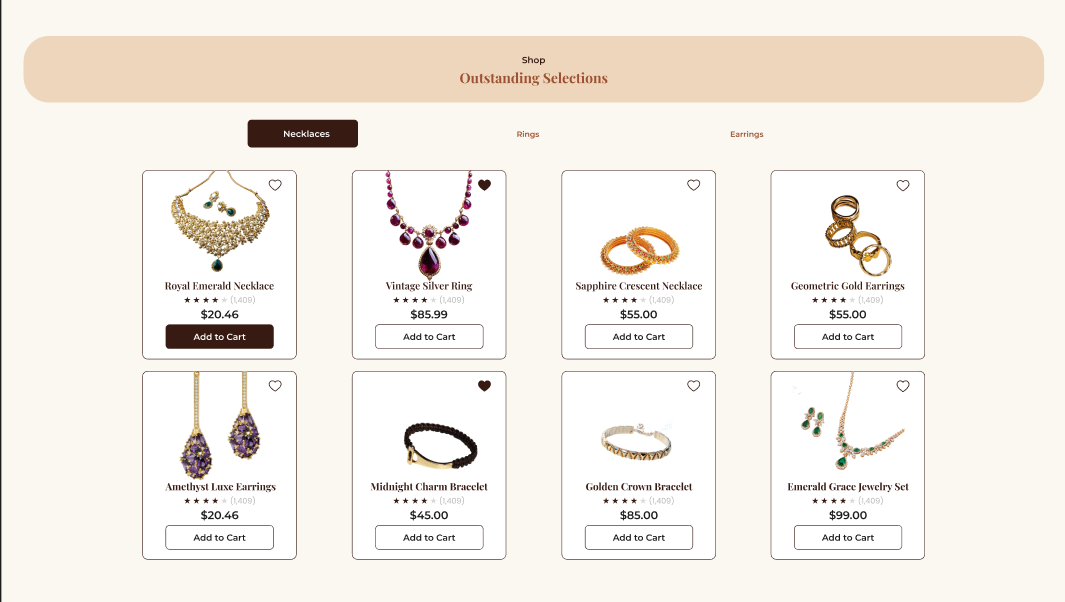
Final Result The customized Shop section will appear as shown below.
This section explains how to customize the Services section.
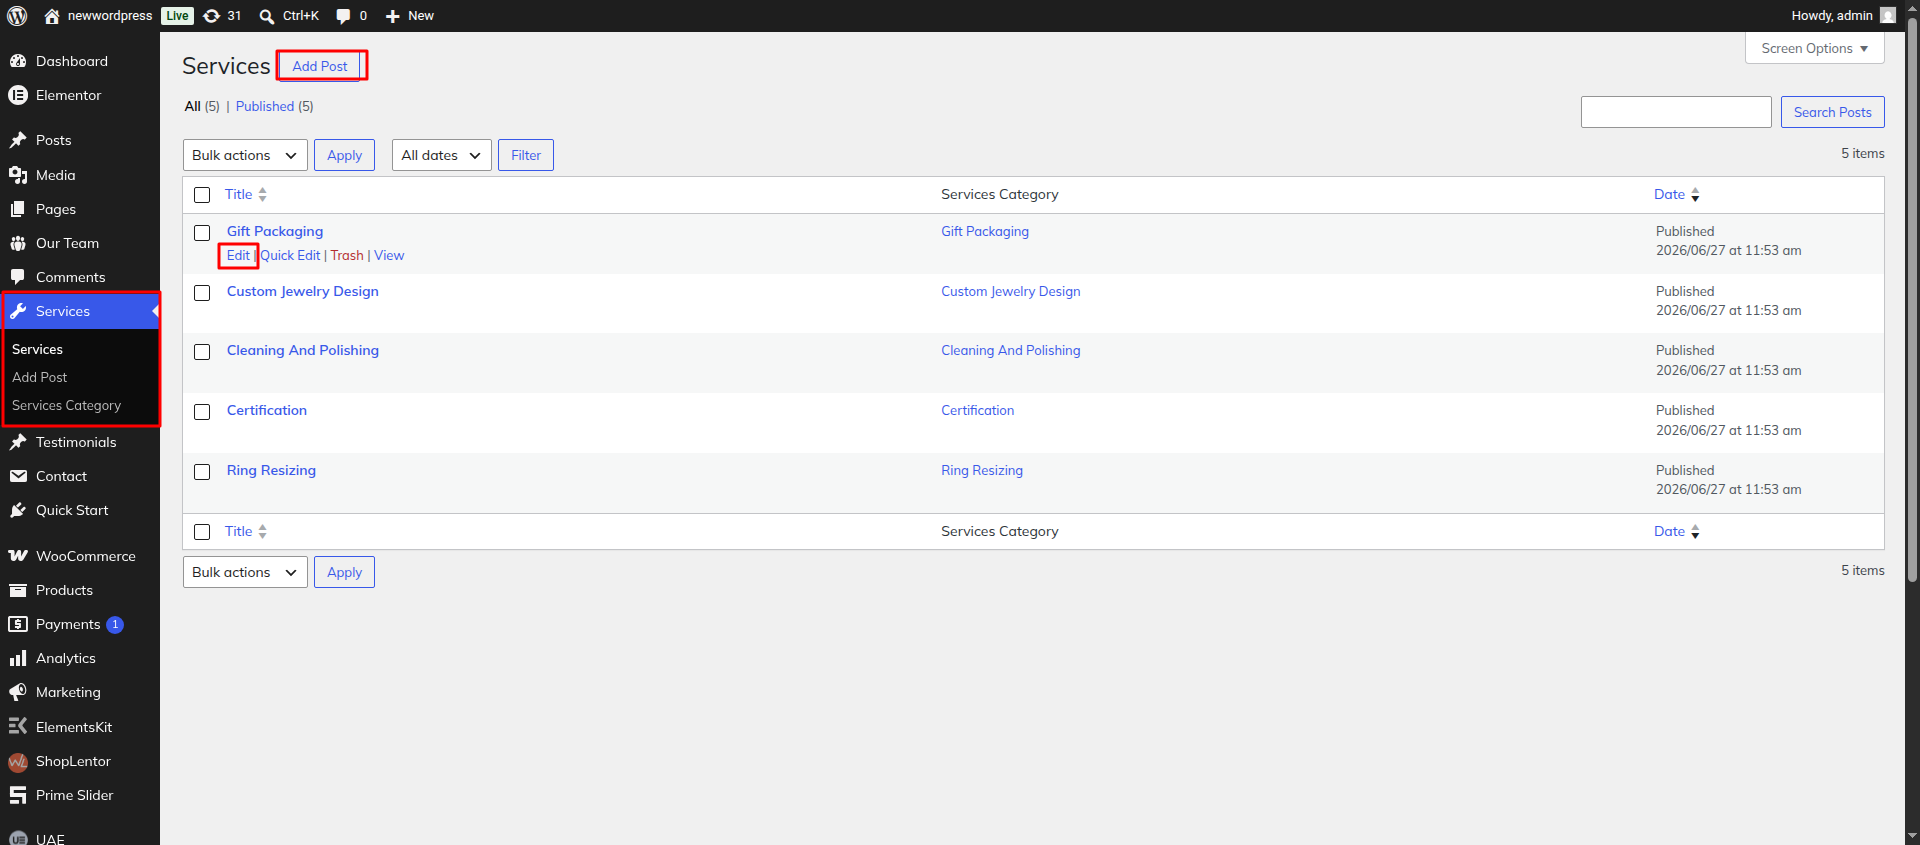
Dashboard Services Edit an existing service or click Add New to create a new service. After making your changes, click Publish to save them.
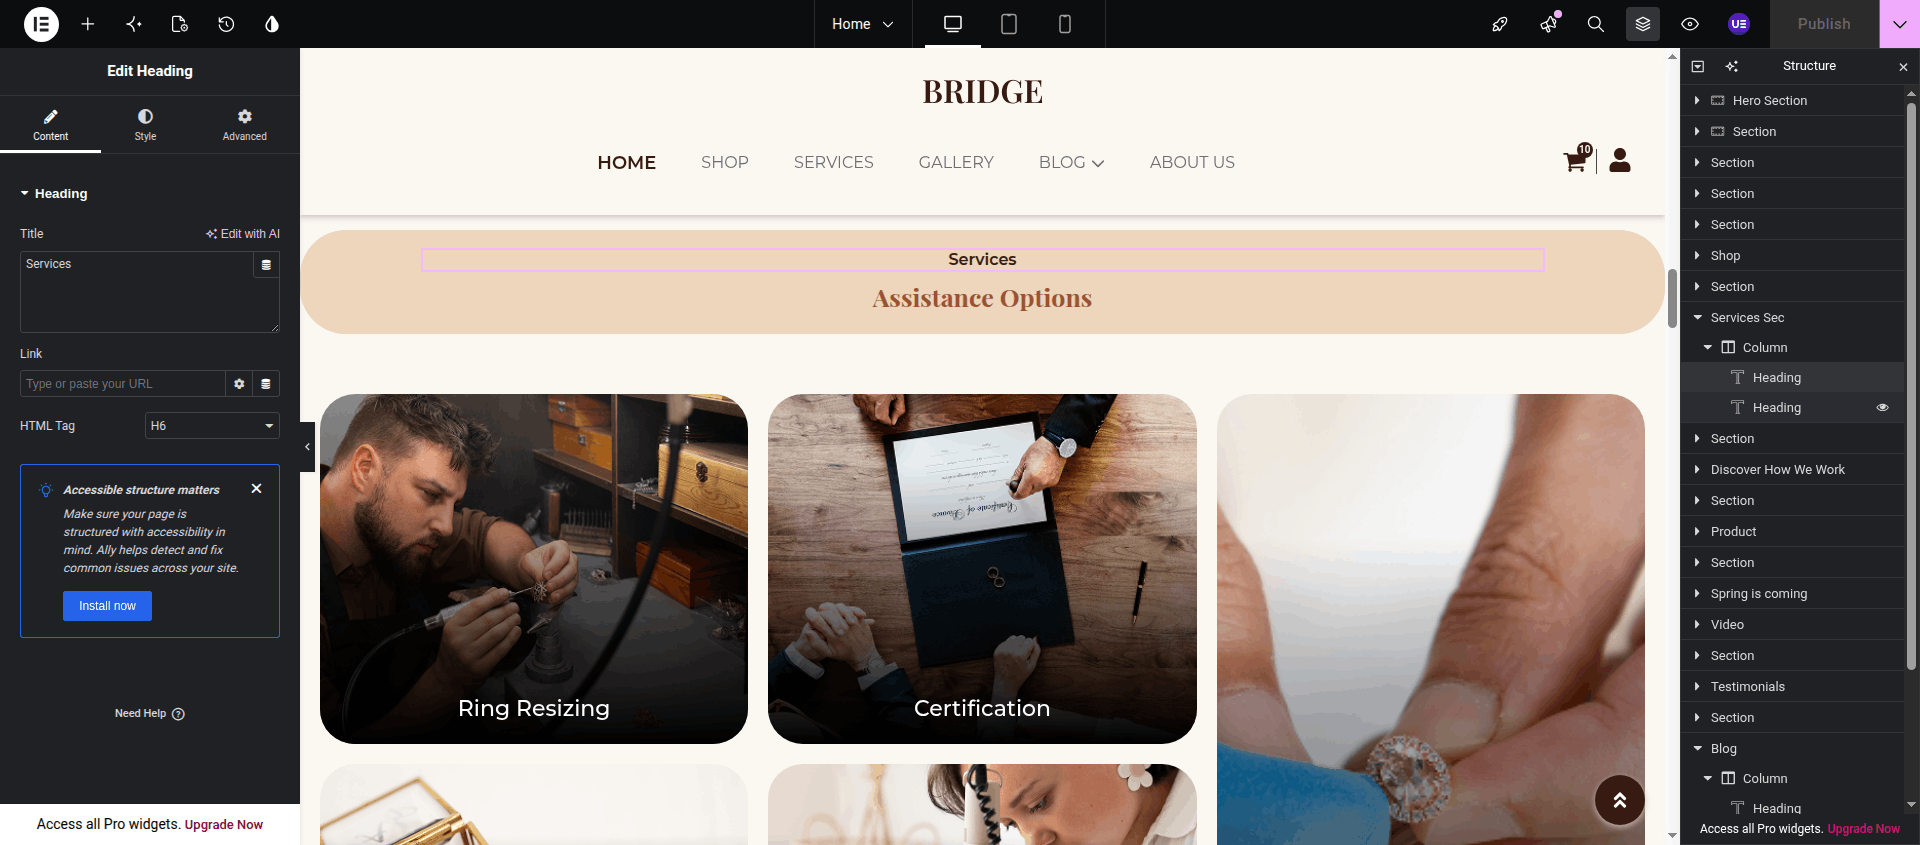
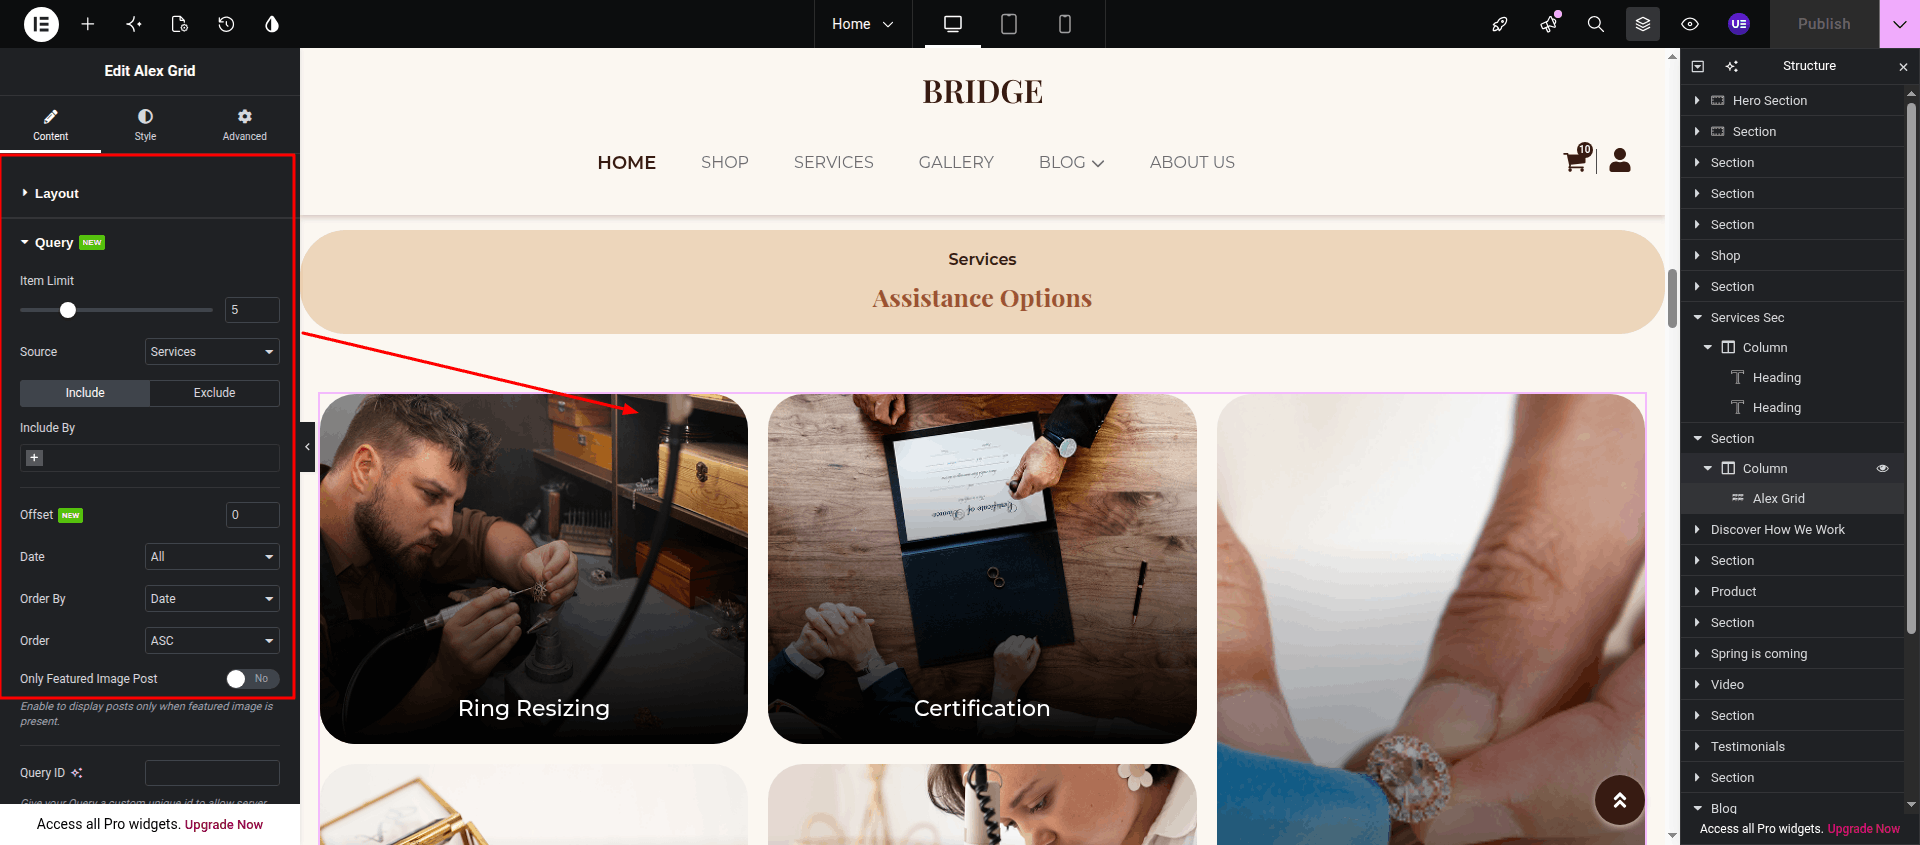
Initial Progress Open the page and click Edit with Elementor Select the Alex Grid widget Under the Query settings, choose Service as the post type After completing your changes, click Publish to save them.
Final Result The customized Services section will appear as shown below.
This section explains how to customize the How We Work section.
Initial Progress Open the page and click Edit with Elementor Select the Image widget Edit the image, heading, description, button, and other content as required.
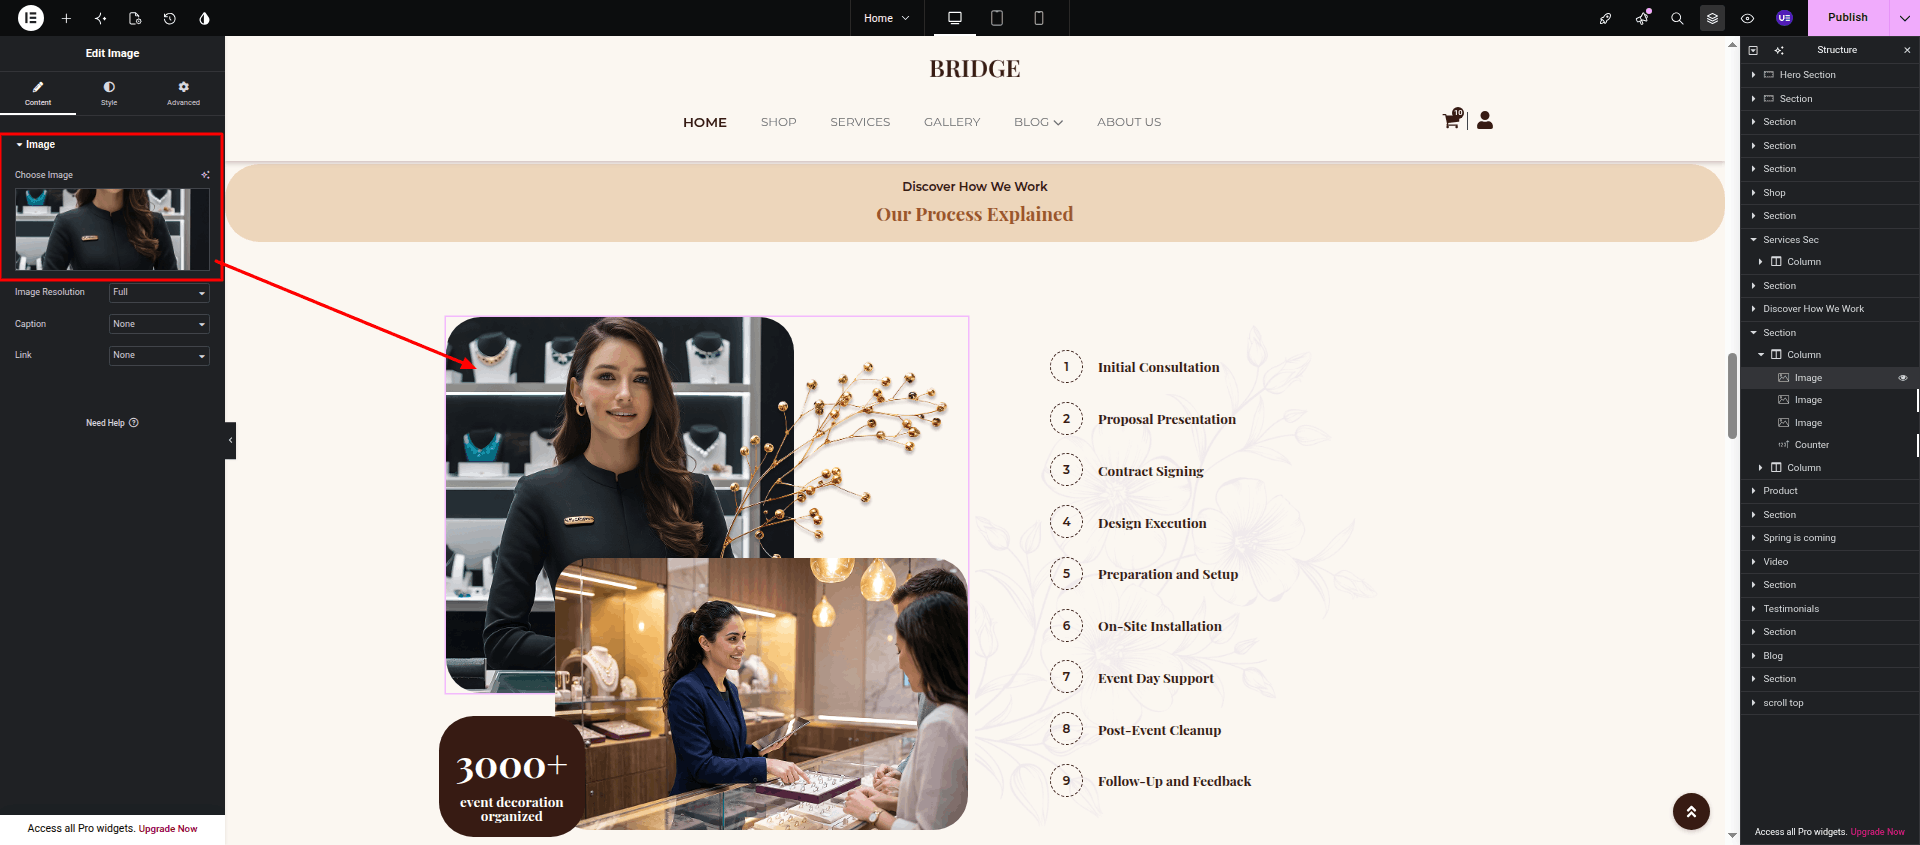
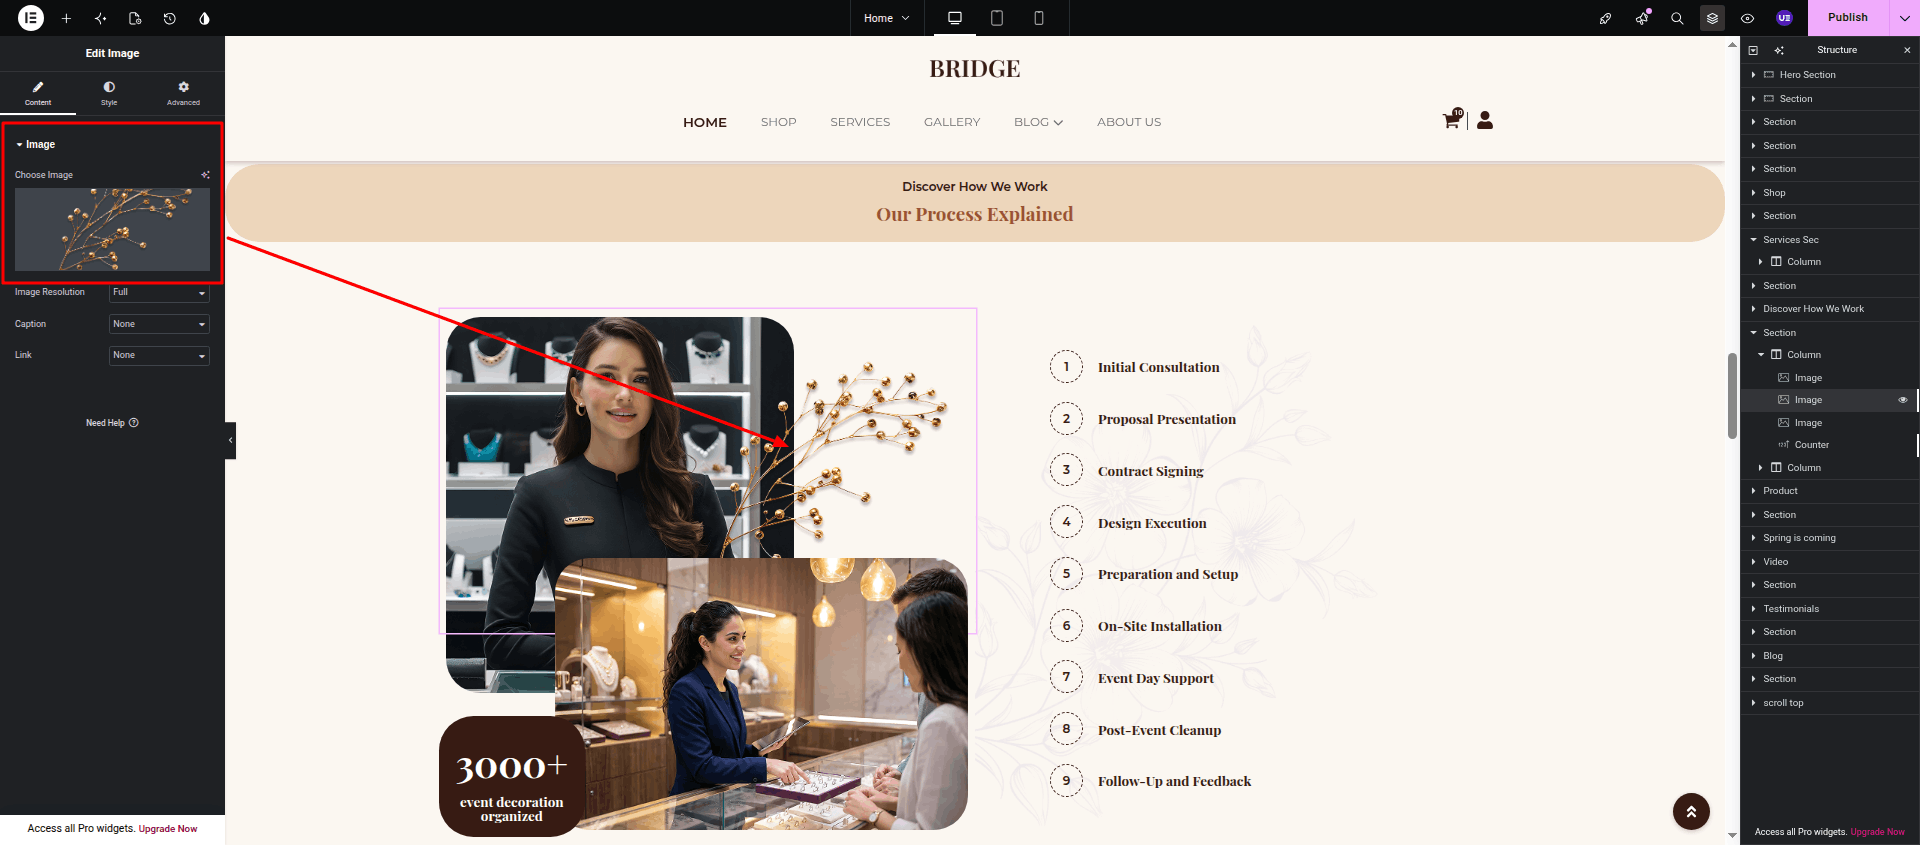
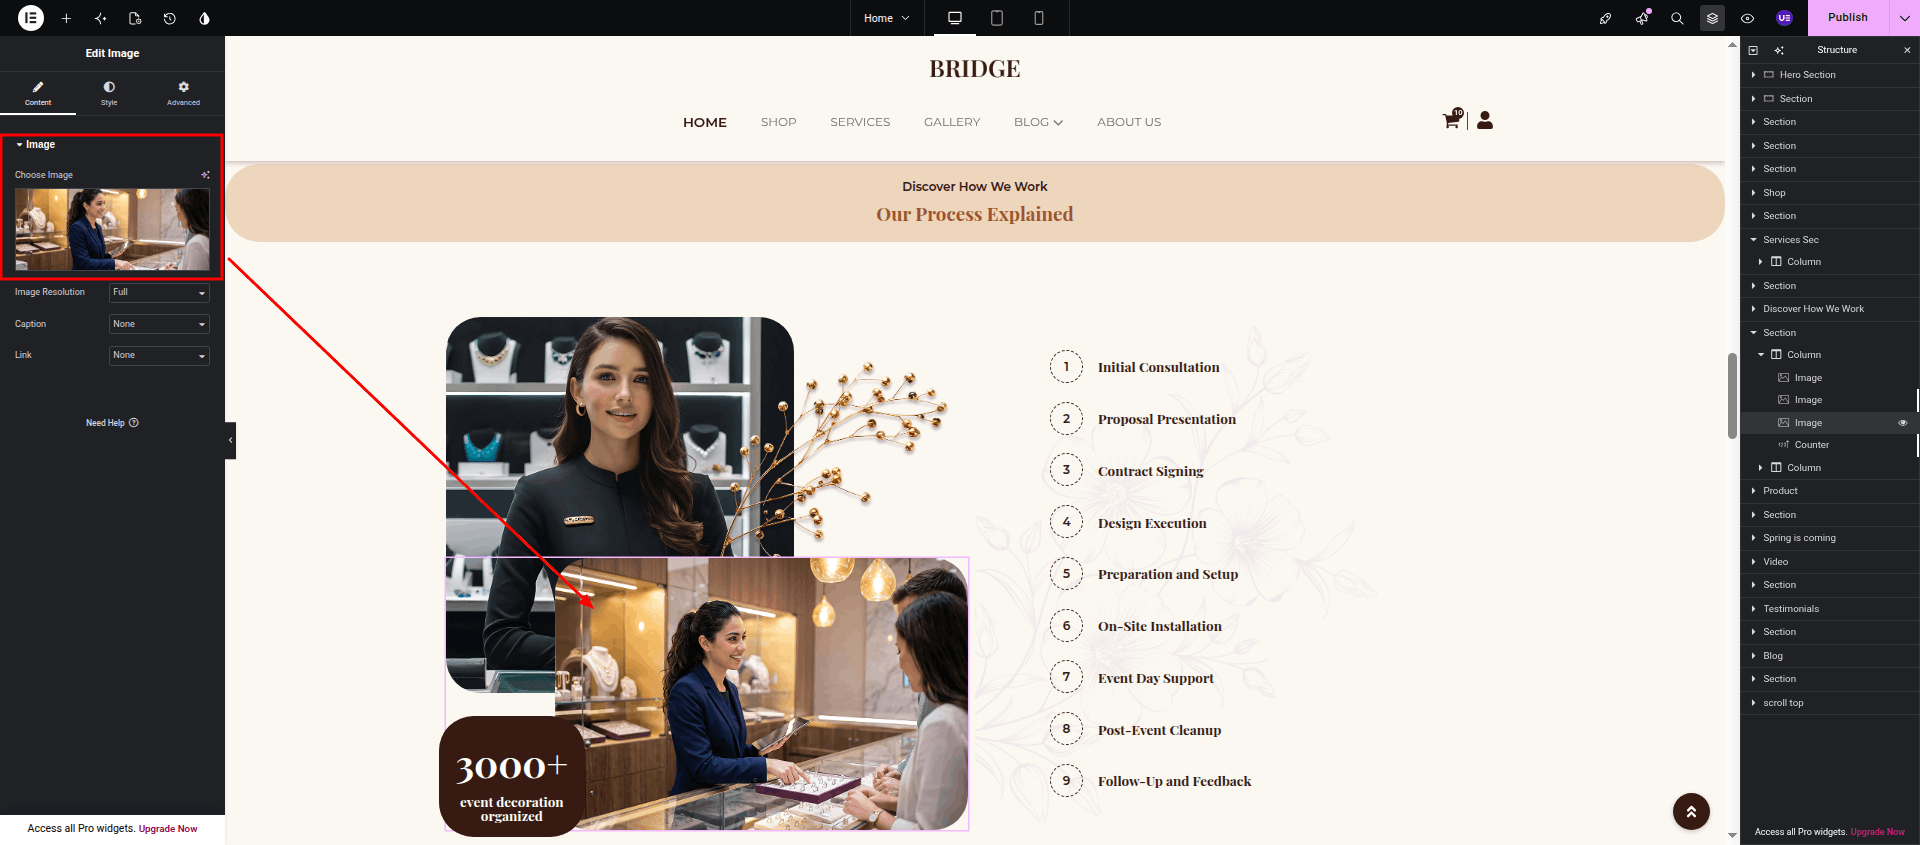
Next Step Select the Counter widget Edit the list items, icons, headings, descriptions, and other content as needed.
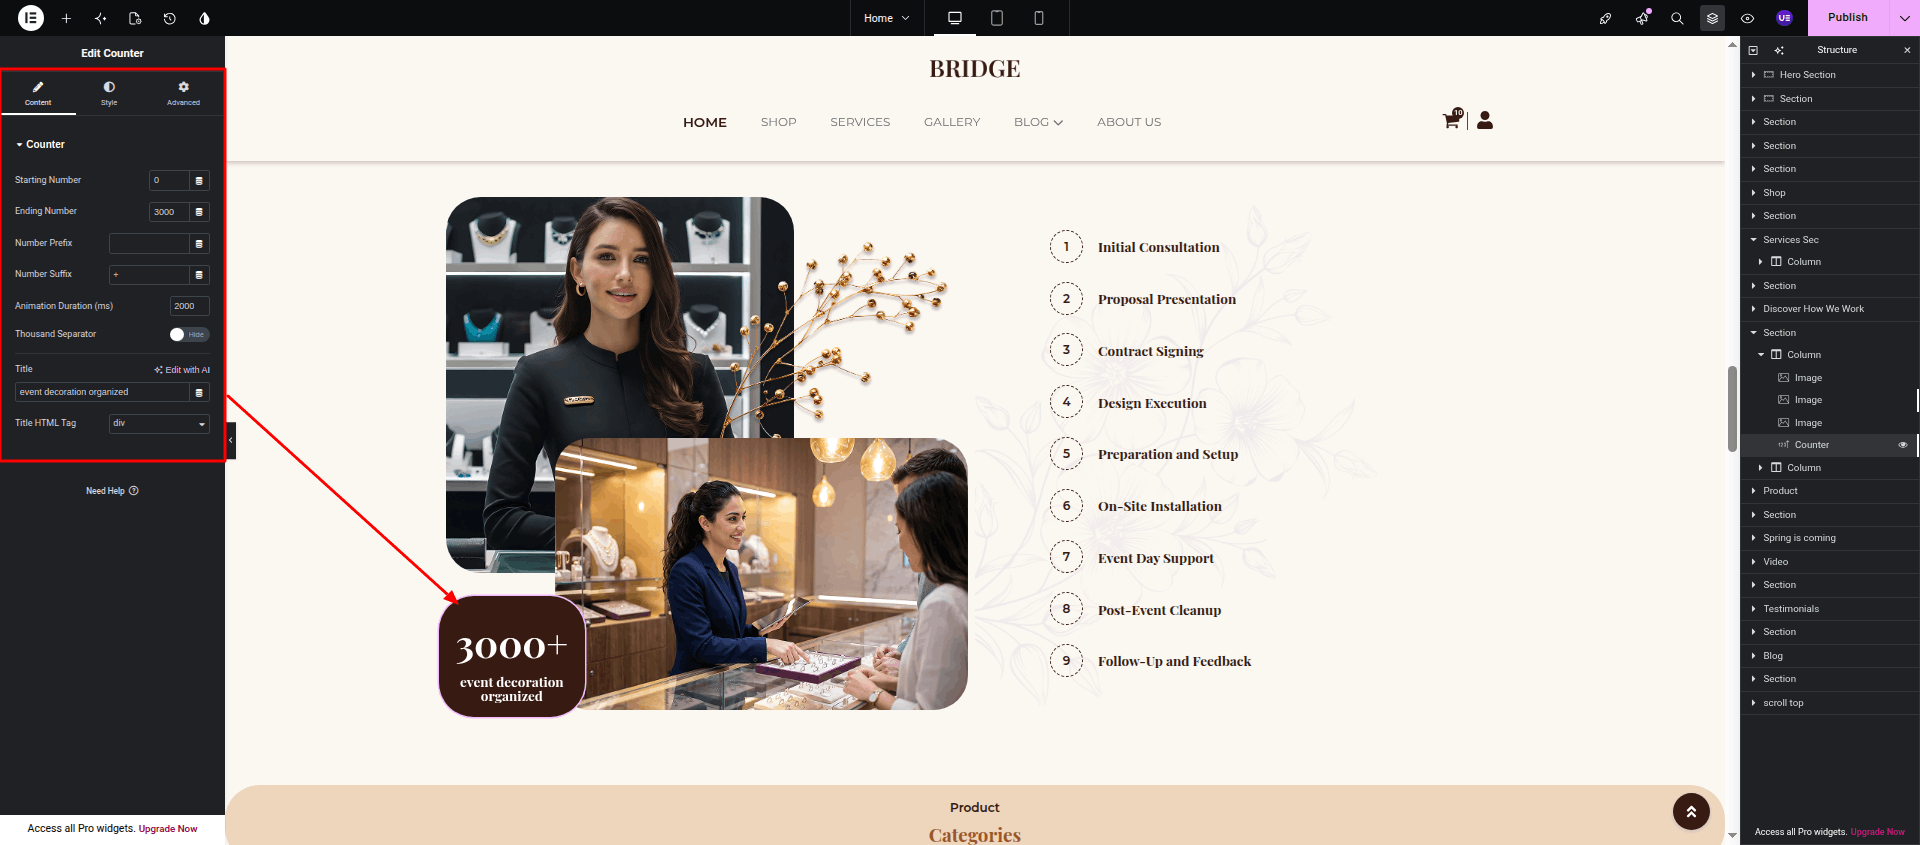
Next Step Select the Icon List widget Edit the list items, icons, headings, descriptions, and other content as needed.
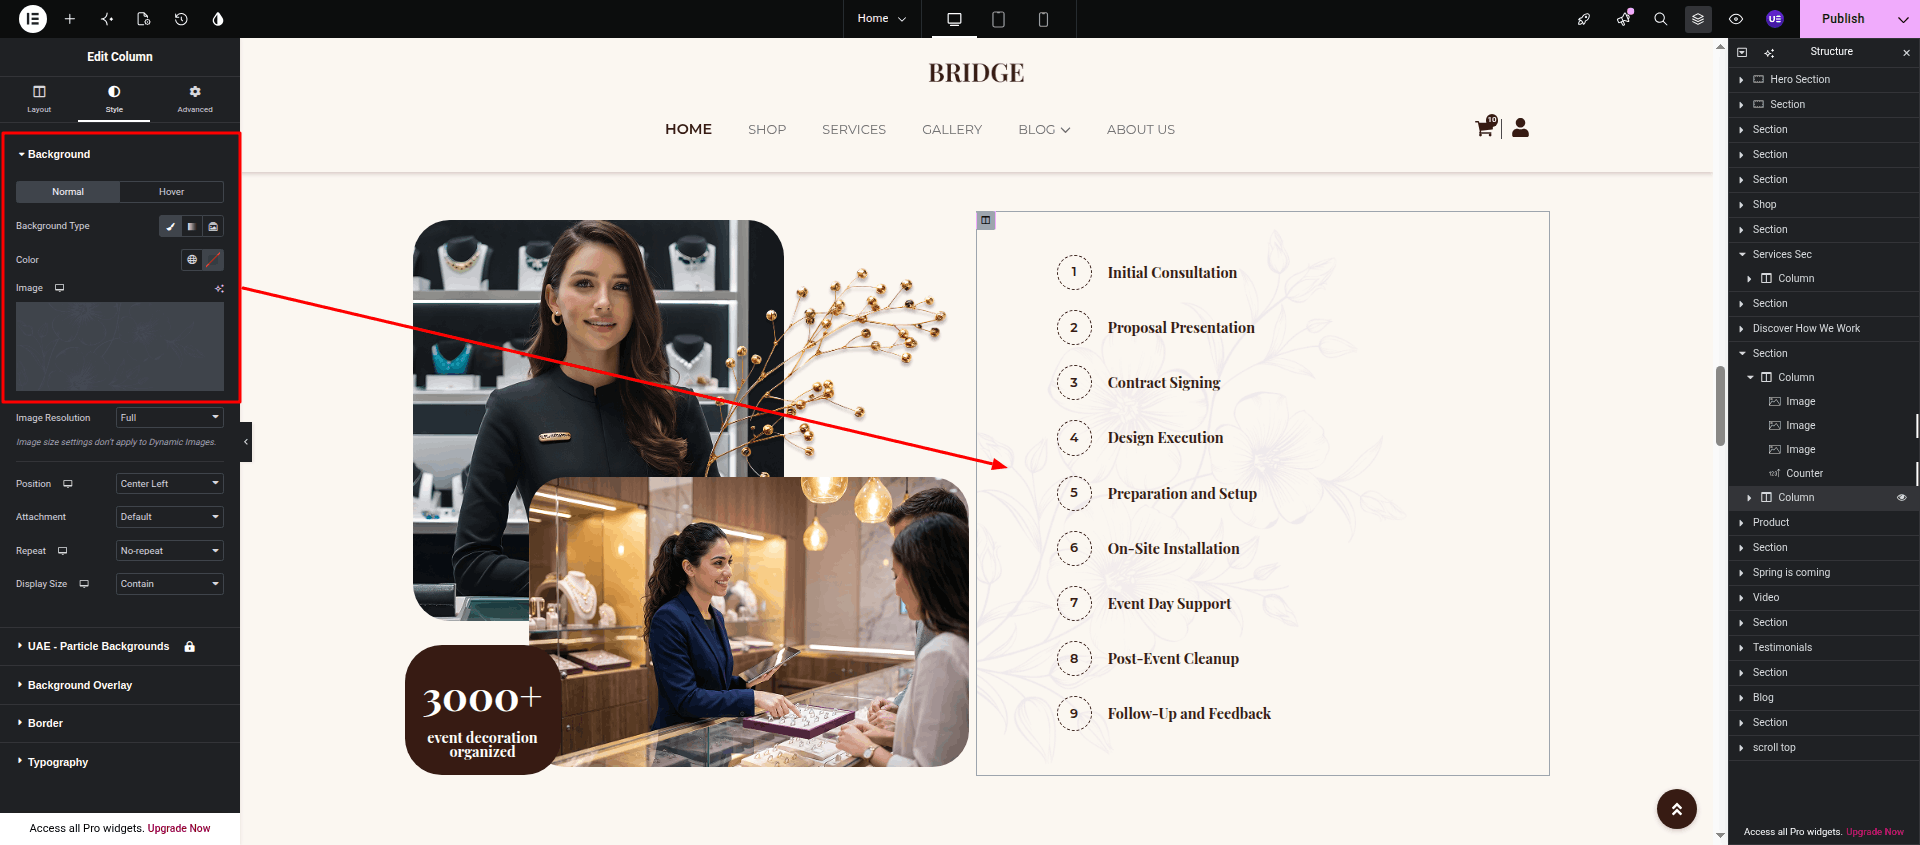
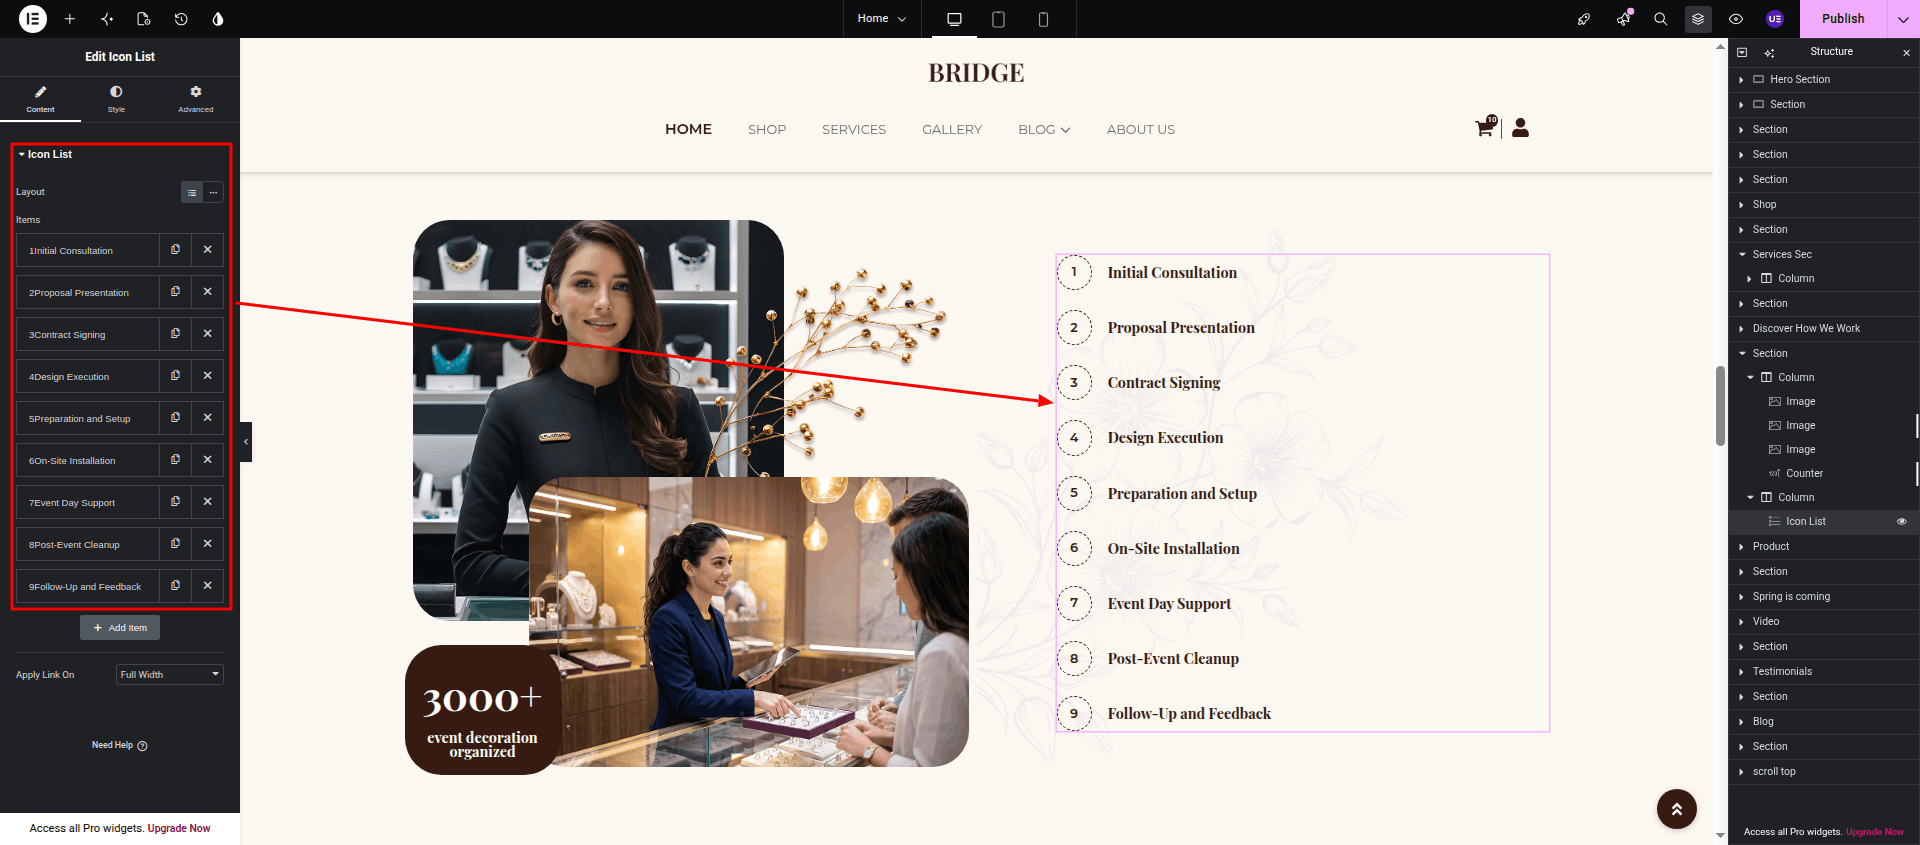
Repeat this process for each widget or content element you want to customize. After completing all changes, click Publish to save your updates.
Final Result The customized How We Work section will appear as shown below.
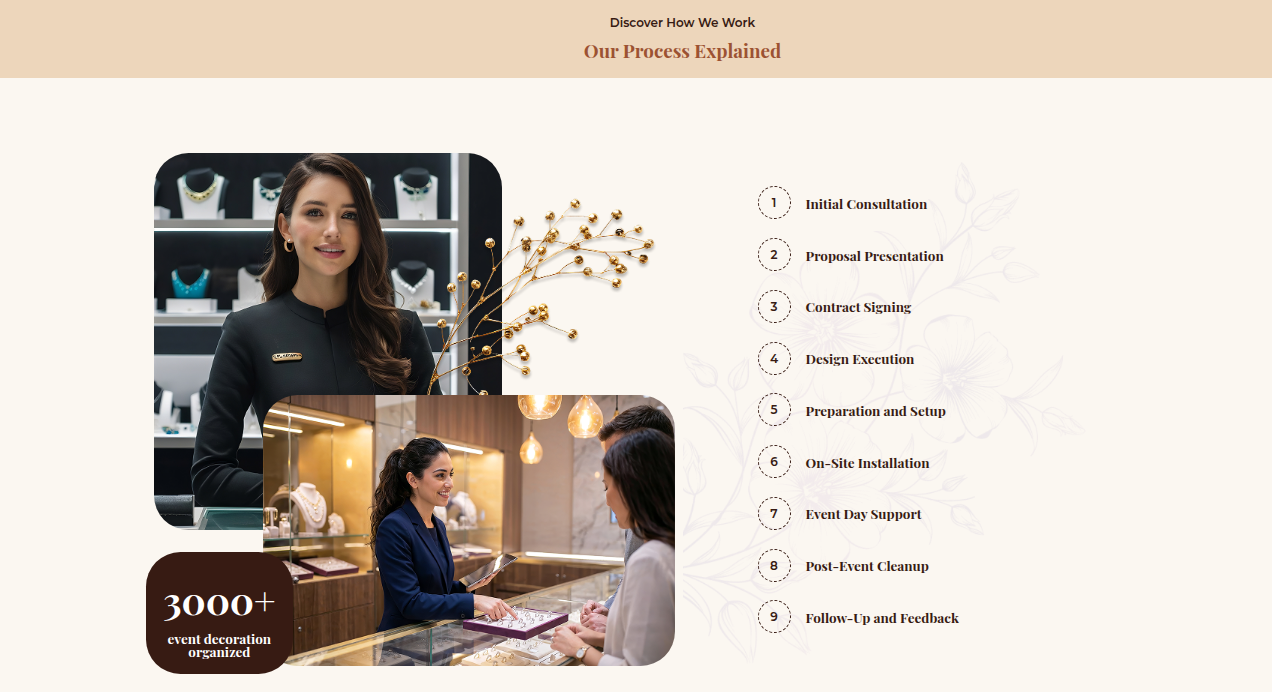
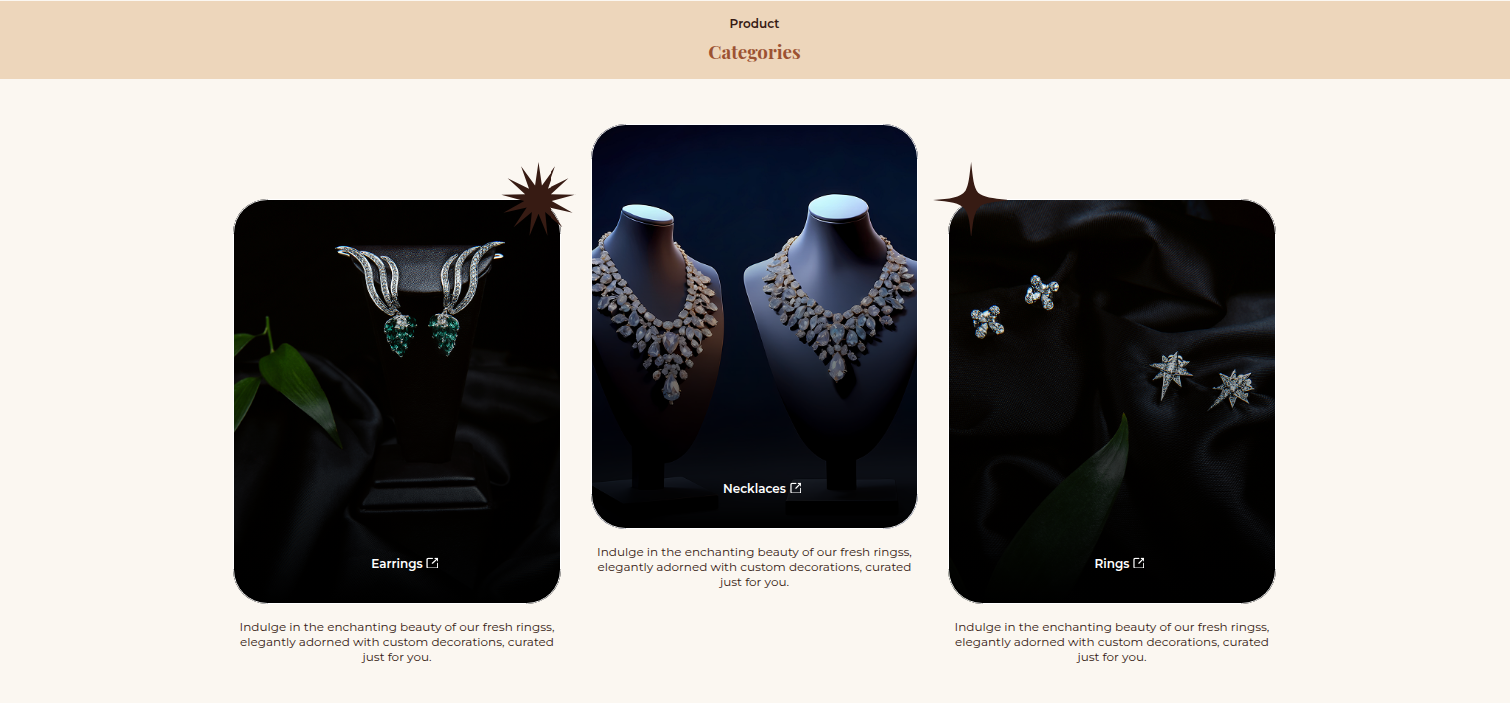
This section explains how to customize the Product Category section.
Dashboard Products Categories Edit existing categories or click Add New Category to create a new one.
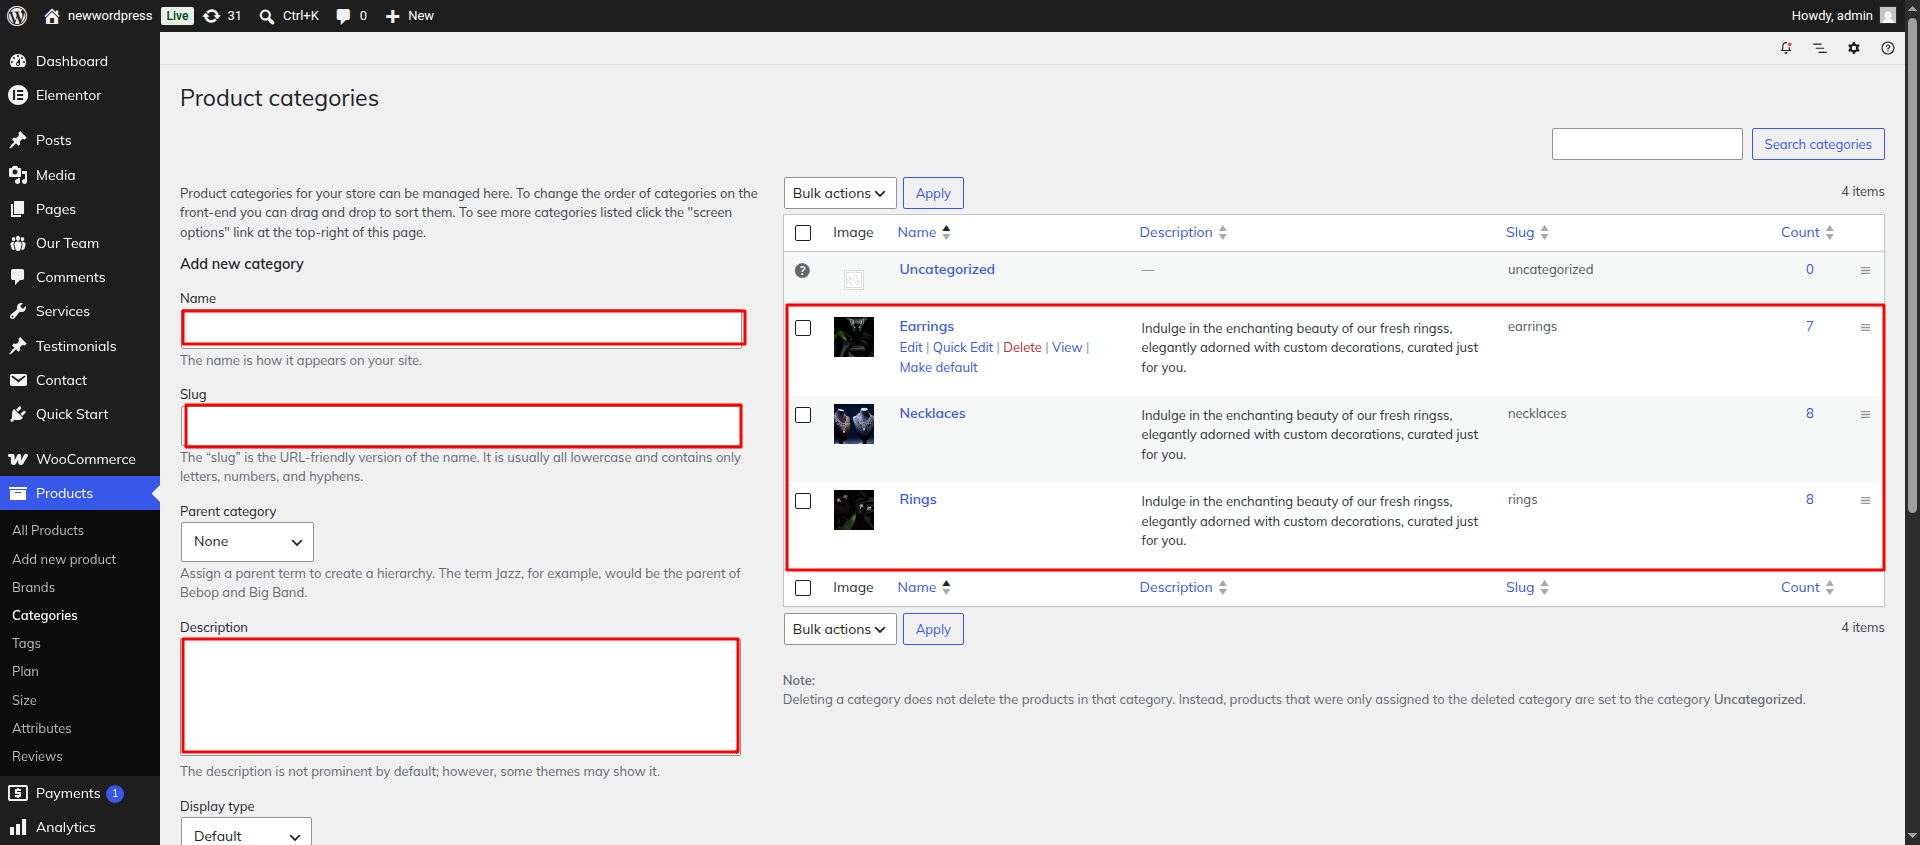
Initial Progress Open the page and click Edit with Elementor Select the Category Grid widget Choose the product categories to display and upload or change the category images/icons if required.
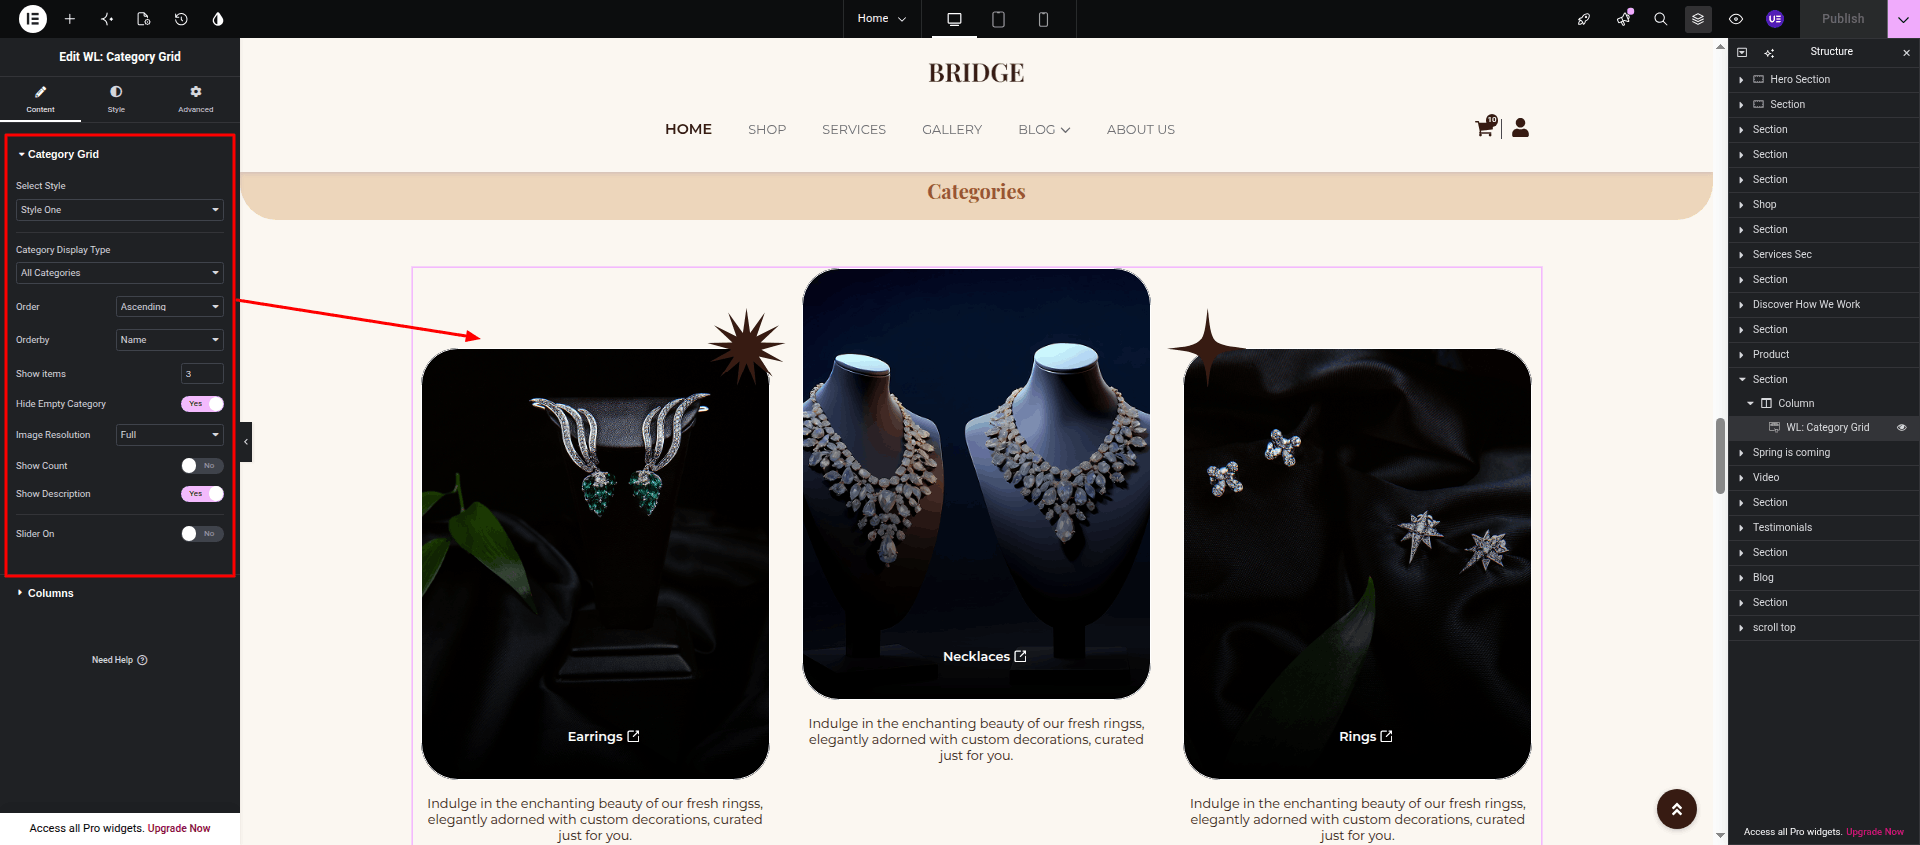
Text Editor Widget Select the Text Editor widget to edit the section title, description, or any other text content.
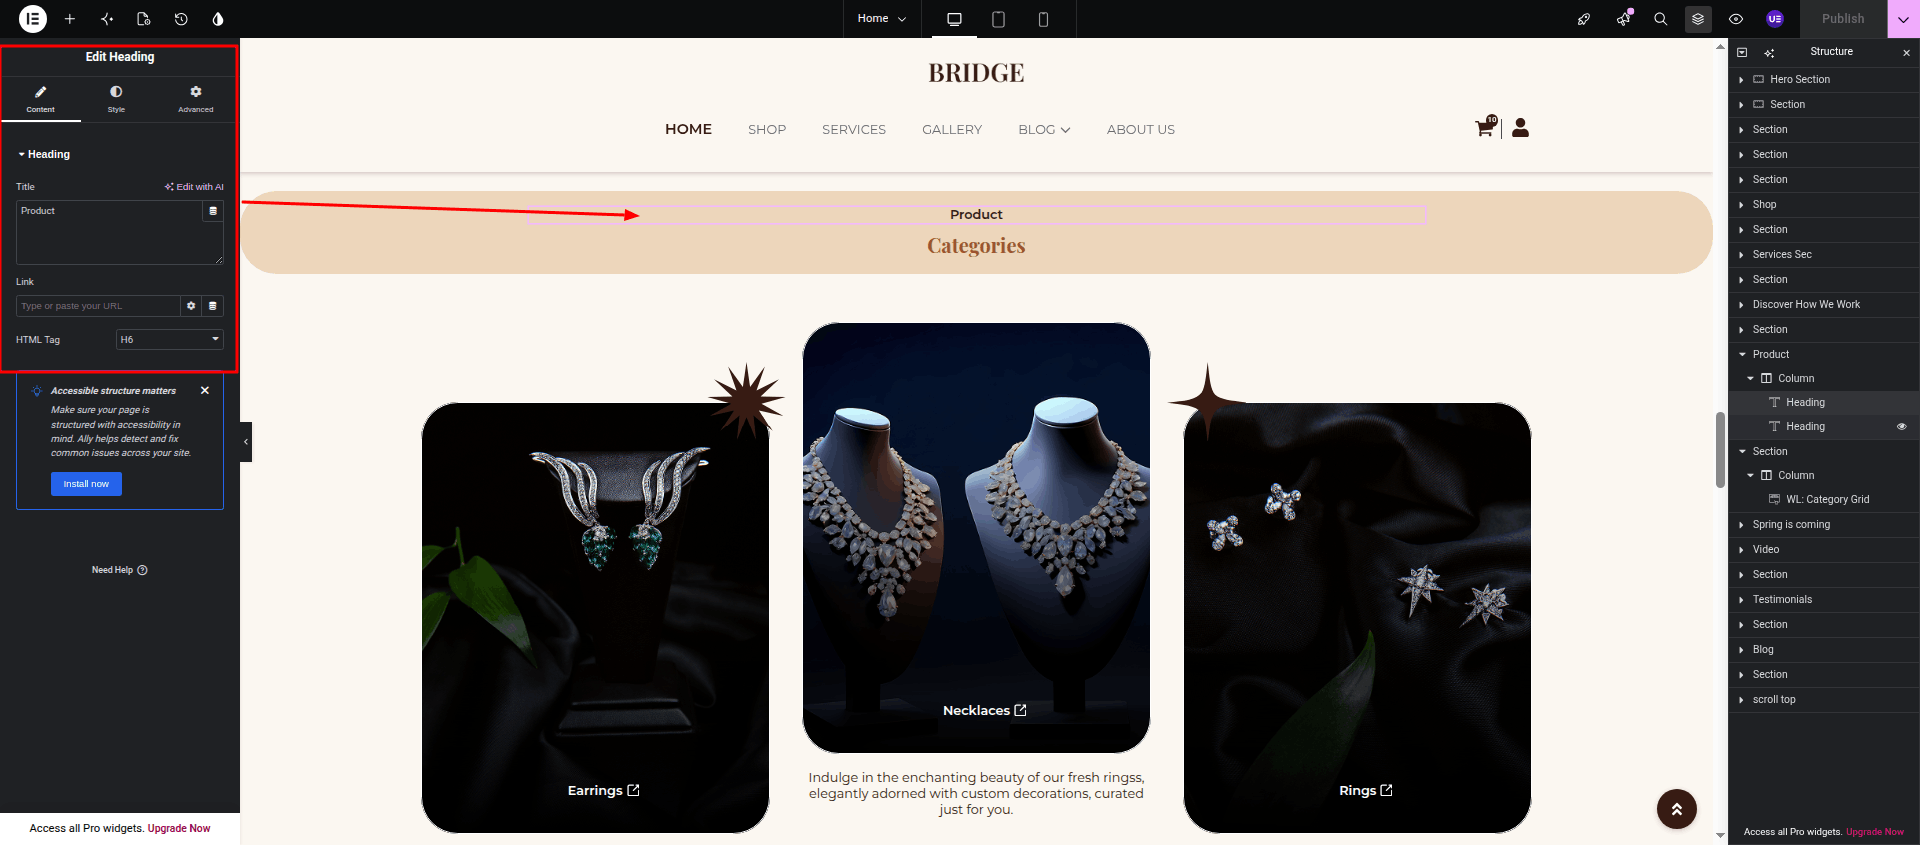
After completing all changes, click Publish to save your updates.
Final Result The customized Product Category section will appear as shown below.
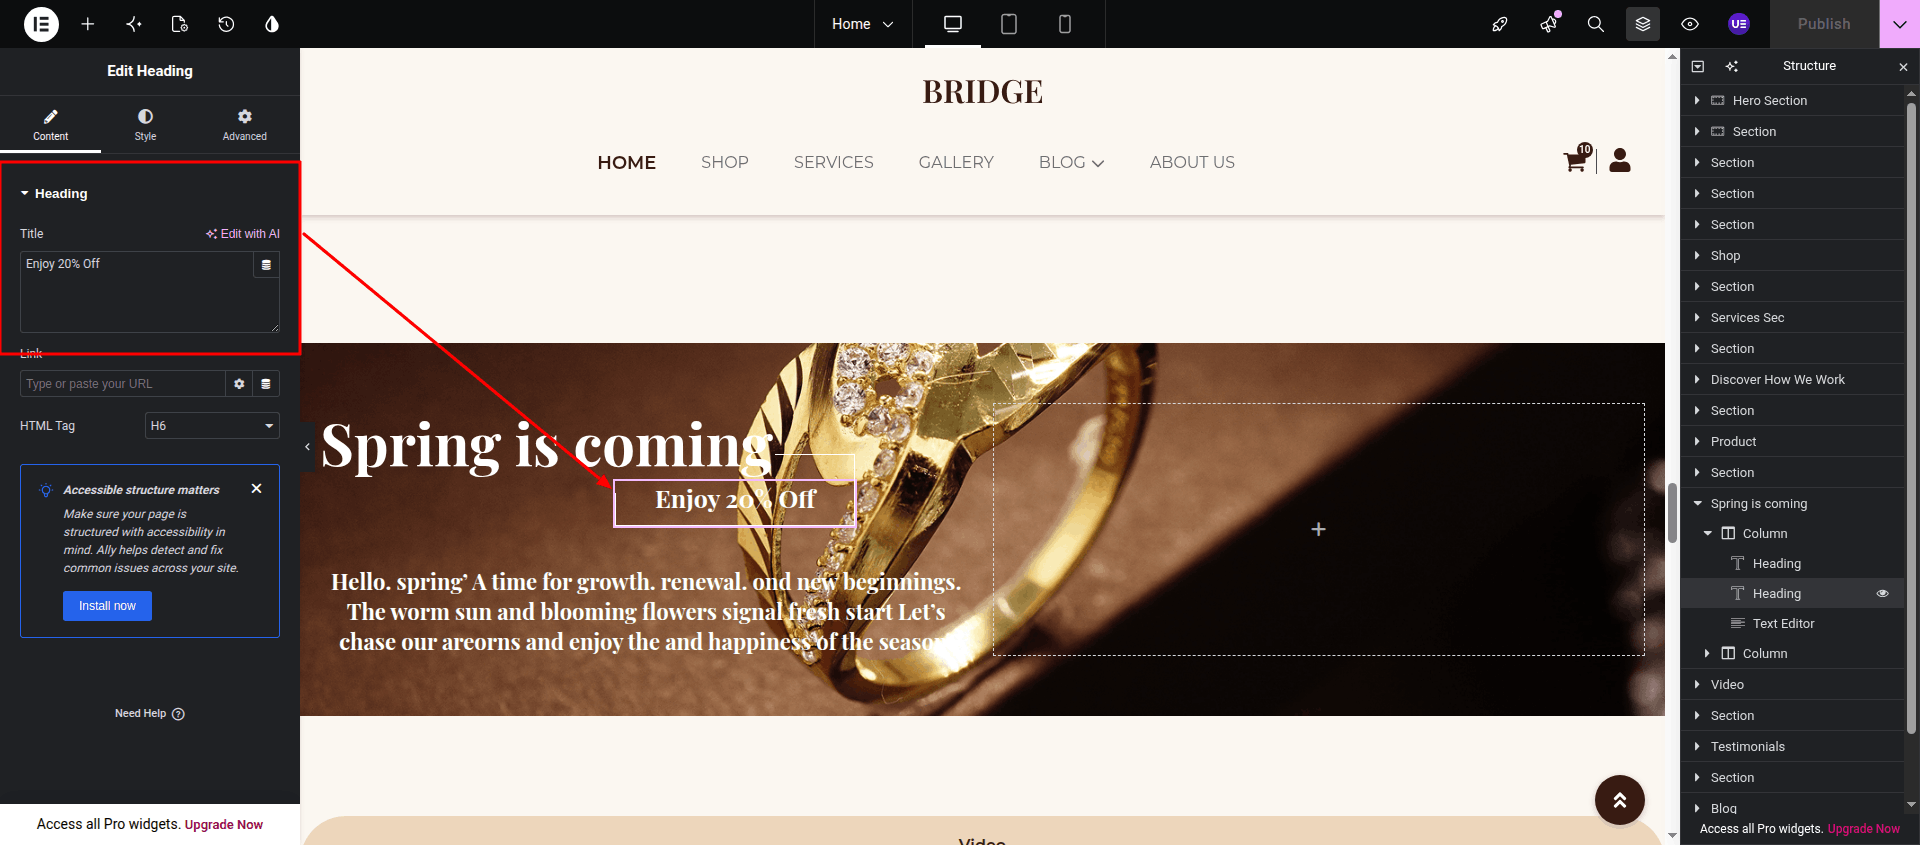
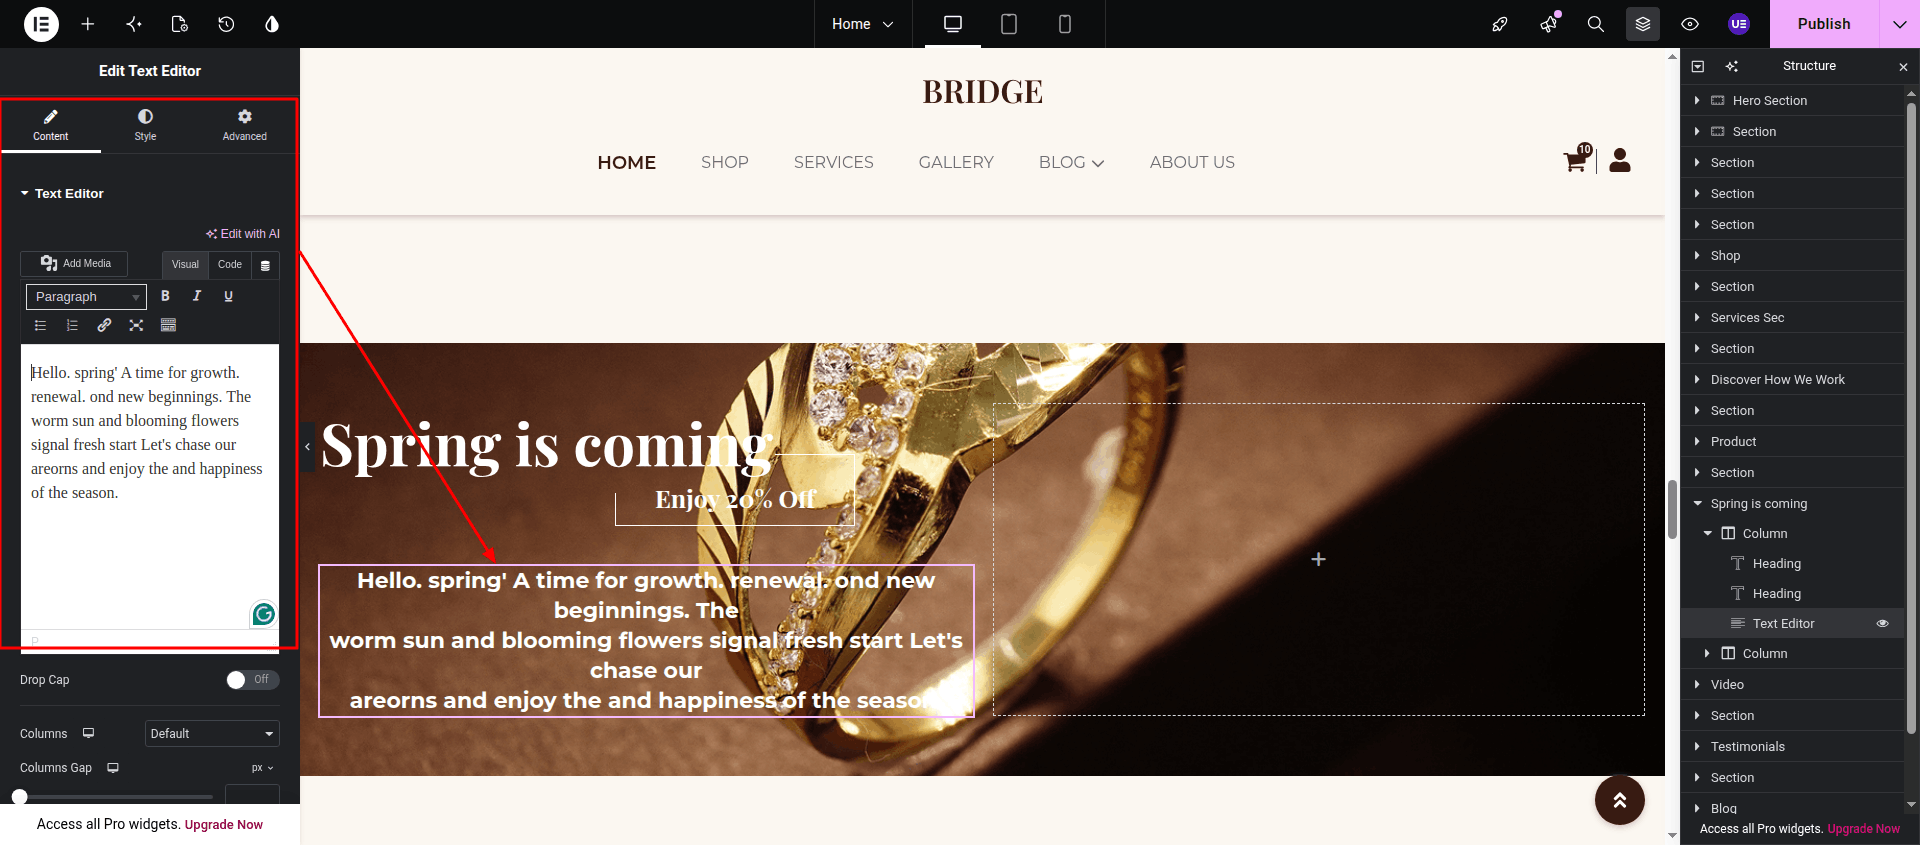
This section explains how to customize the Spring Is Coming section.
Initial Progress Open the page and click Edit with Elementor Select the Heading widget Edit the heading, banner image, text, button, and other content as required.
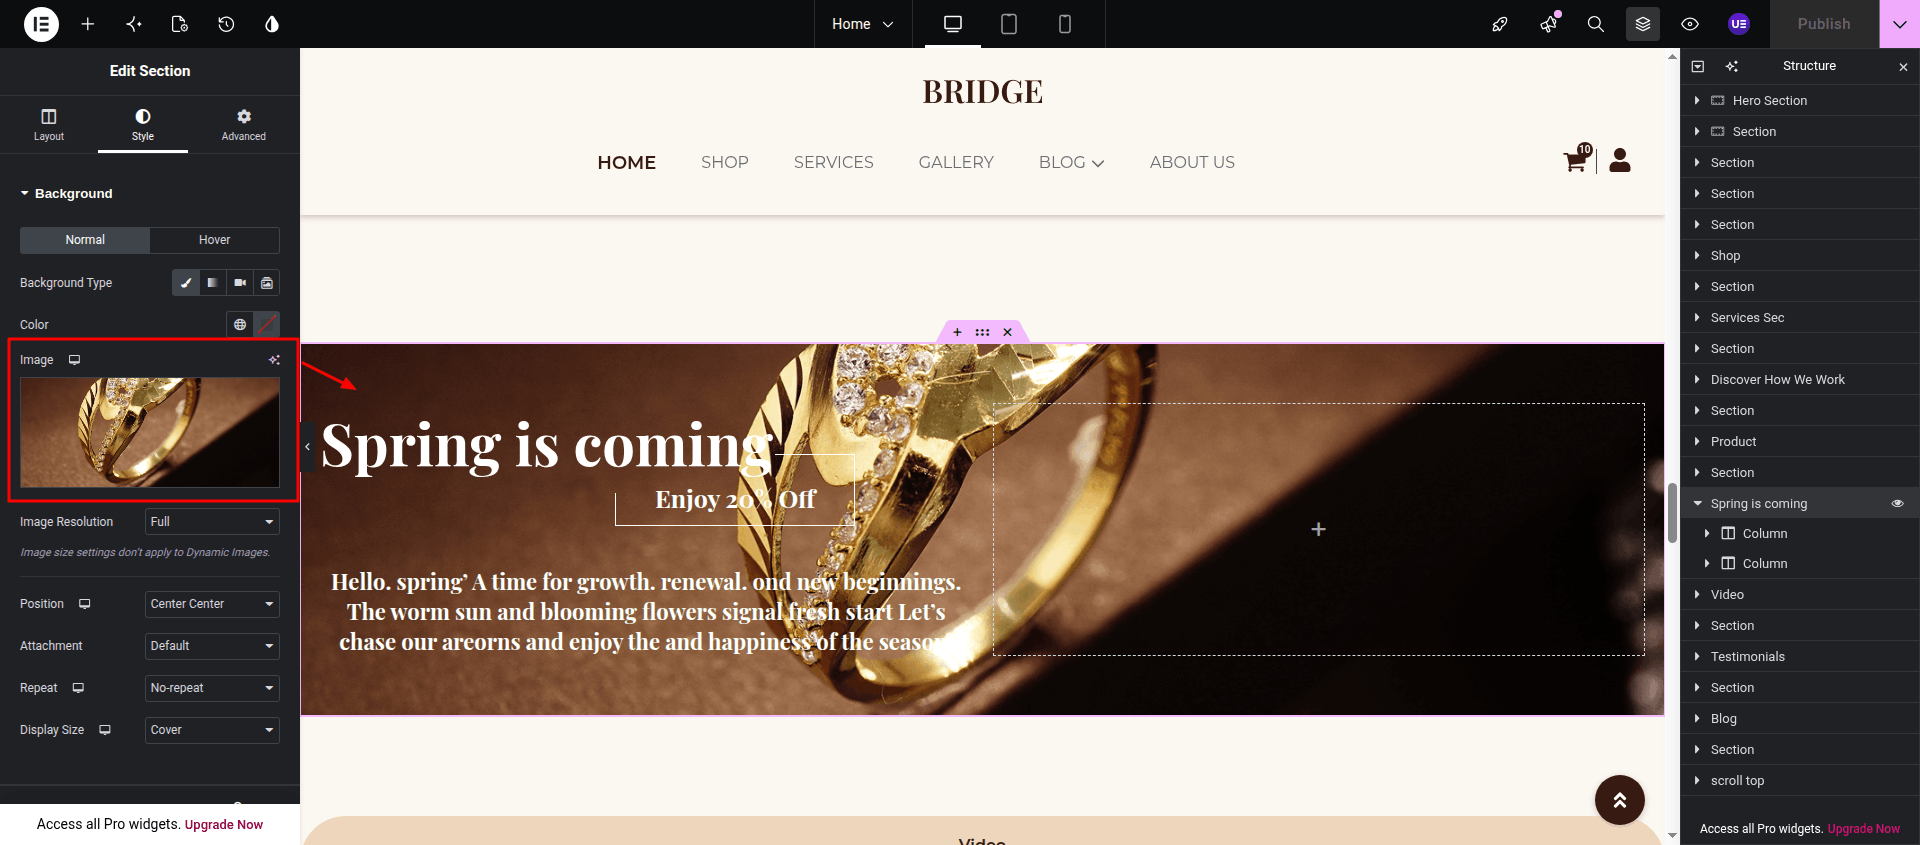
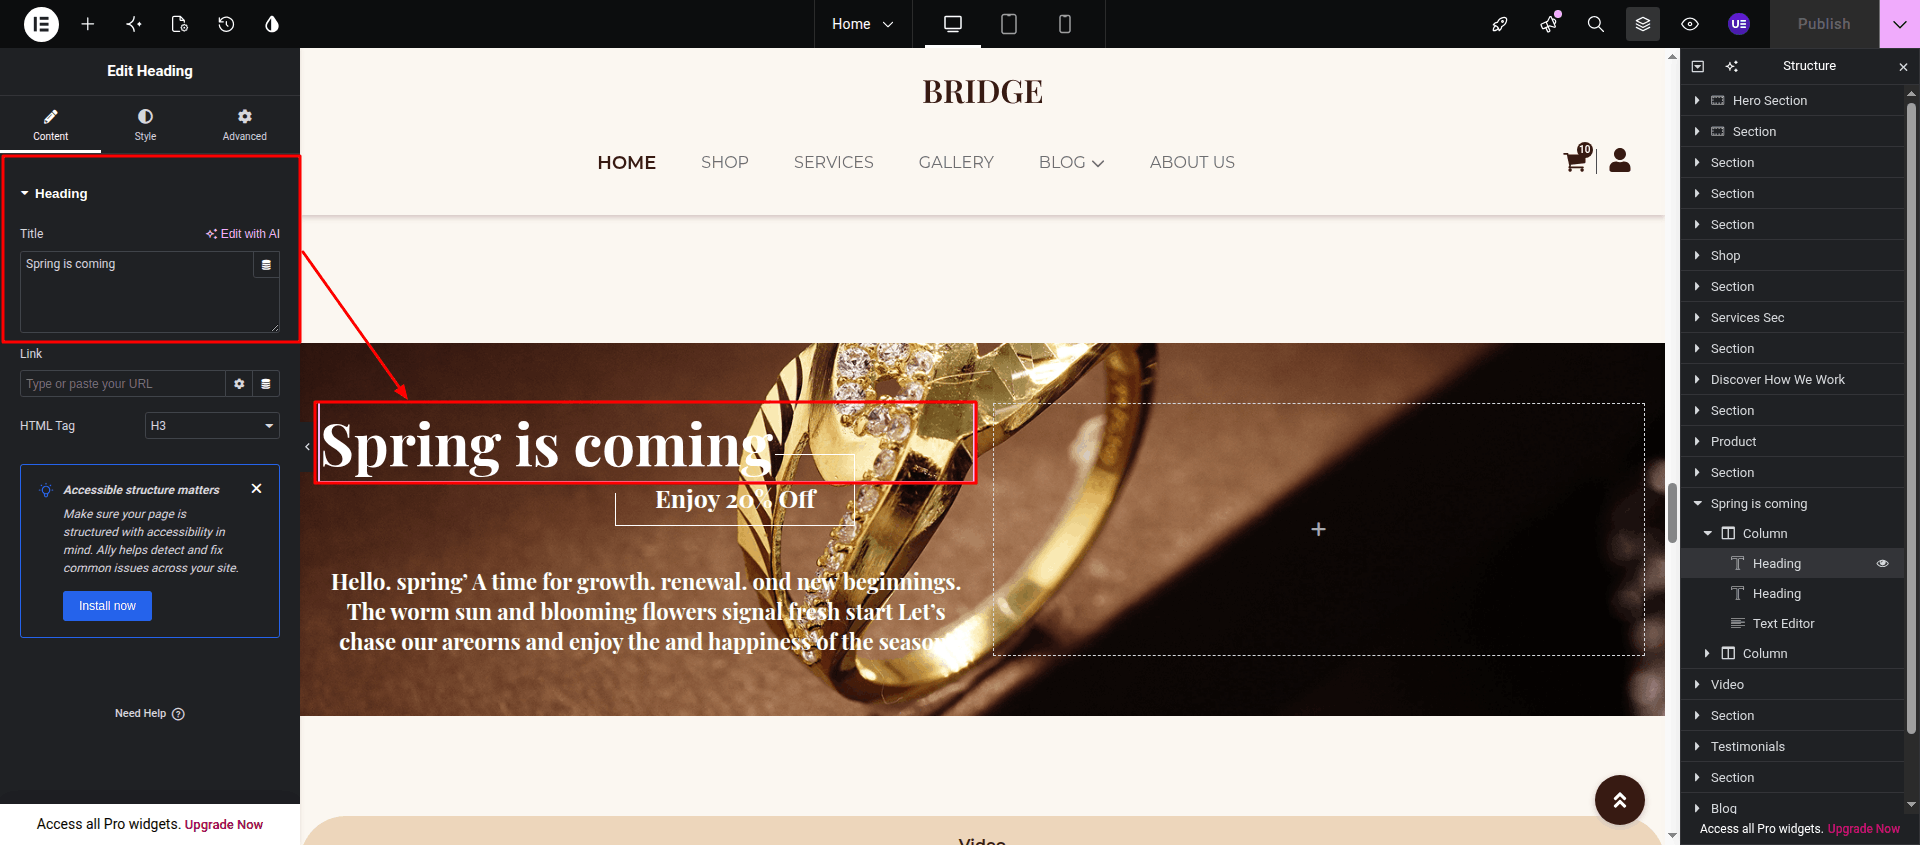
Repeat this process for any other widget or content element you want to customize. After completing all changes, click Publish to save your updates.
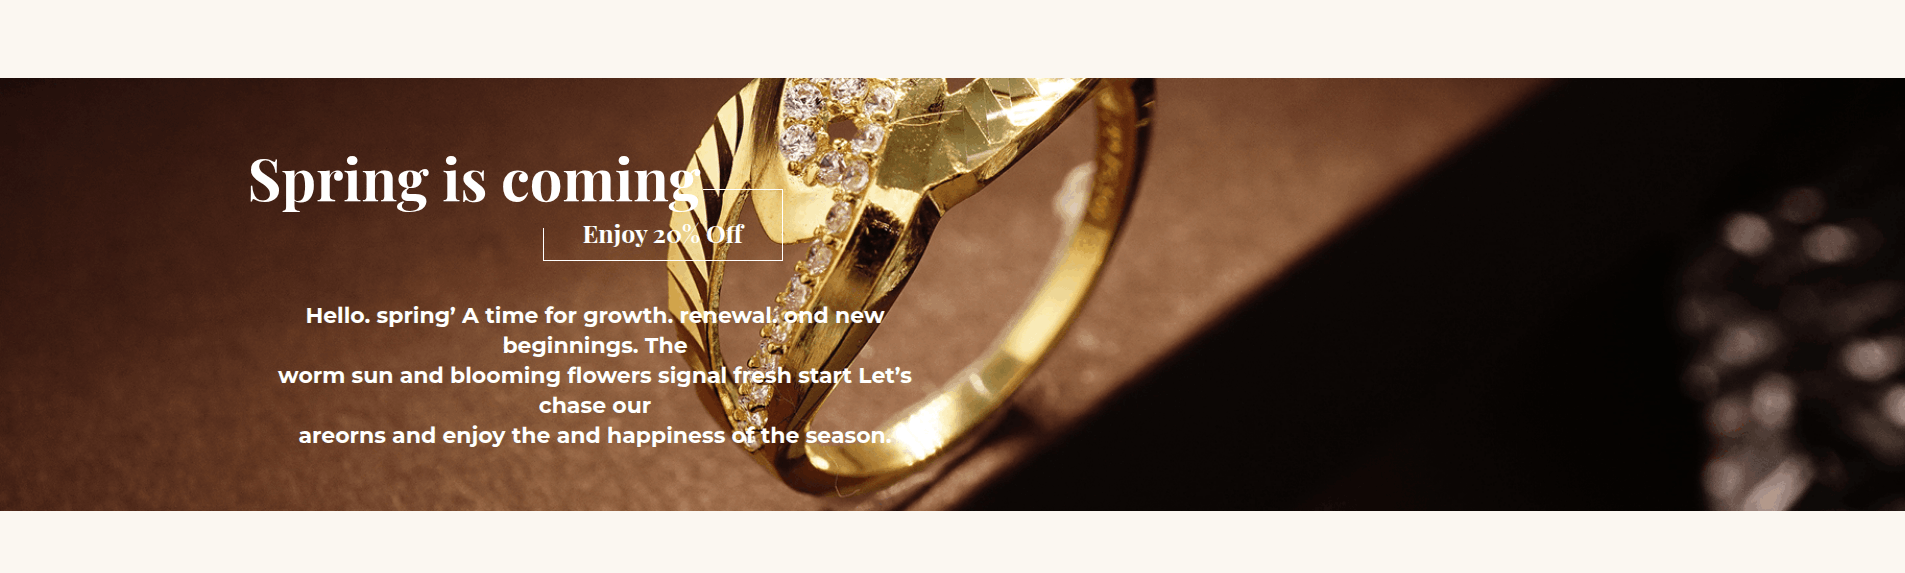
Final Result The customized Spring Is Coming section will appear as shown below.
This section pertains to the Video Section.
Initial Progress Open the page and click Edit with Elementor Select the Video widget Edit the heading, banner image, text, button, and other content as required.
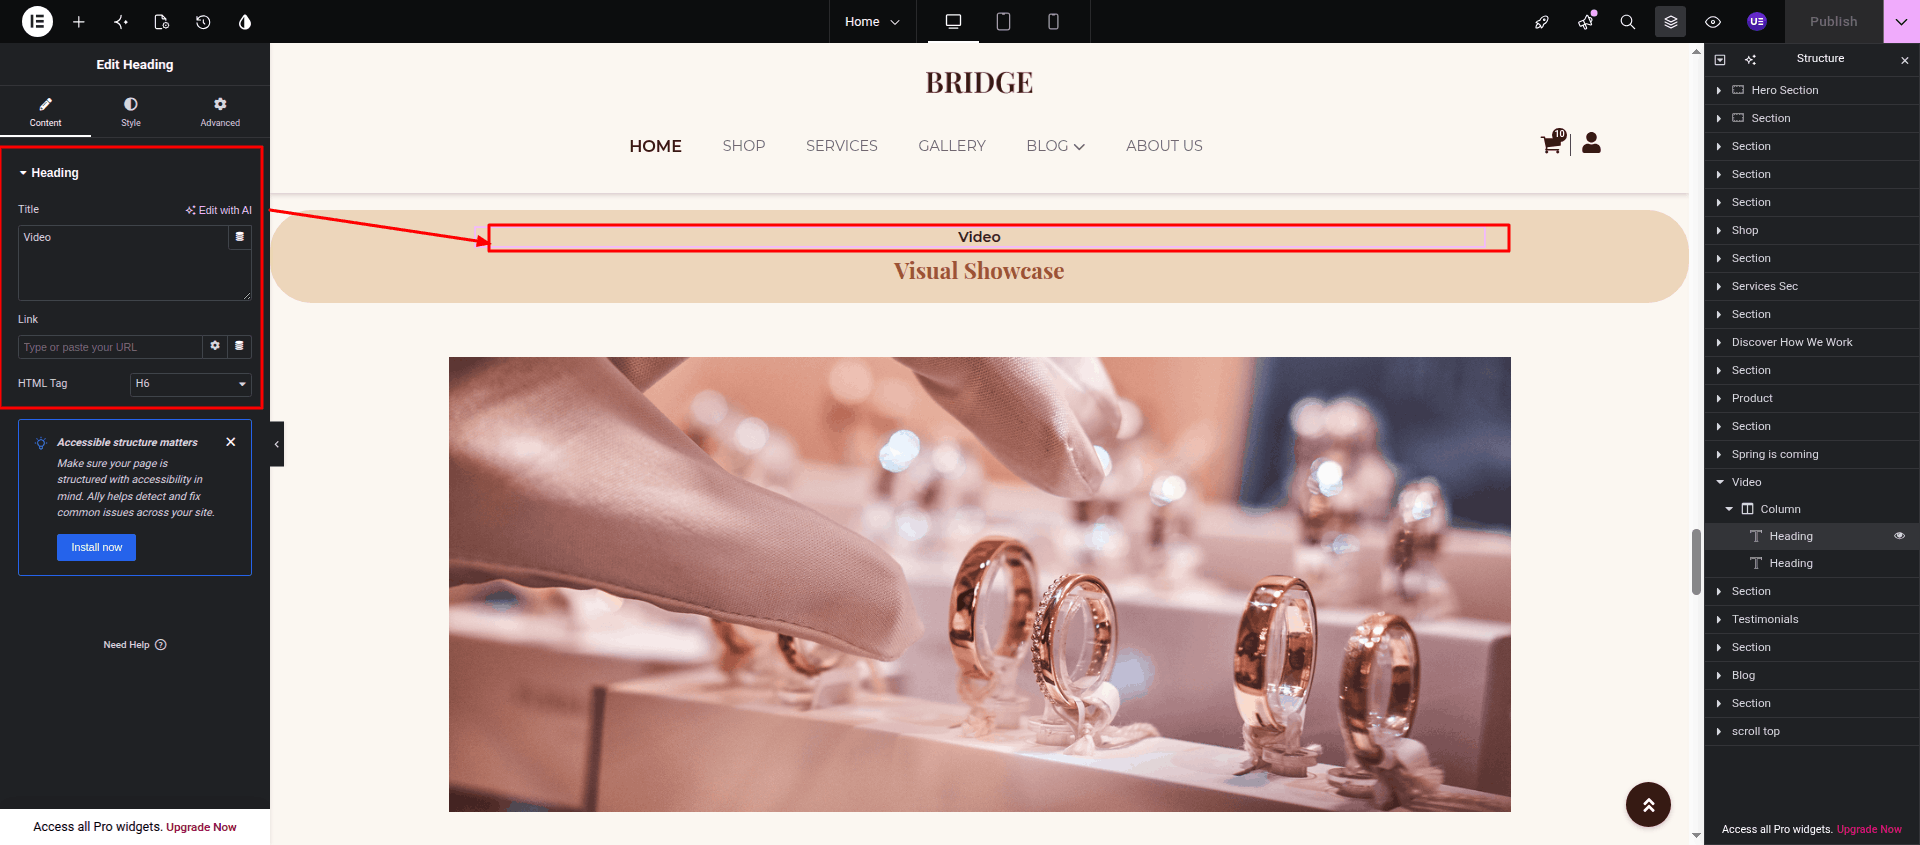
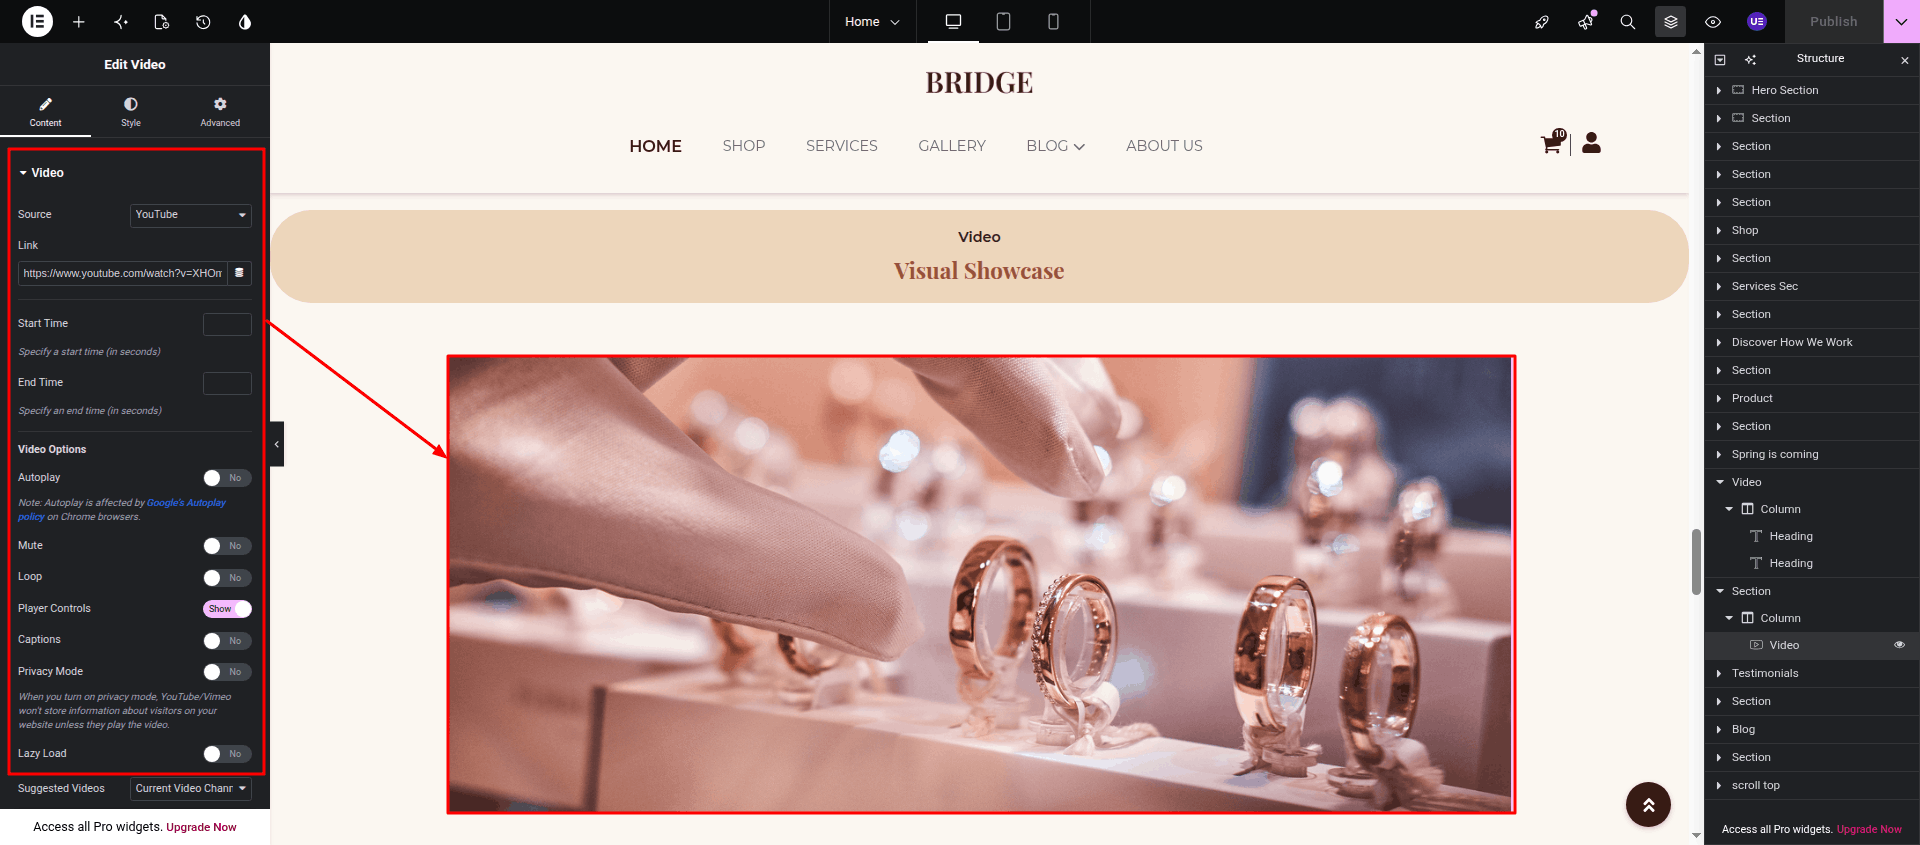
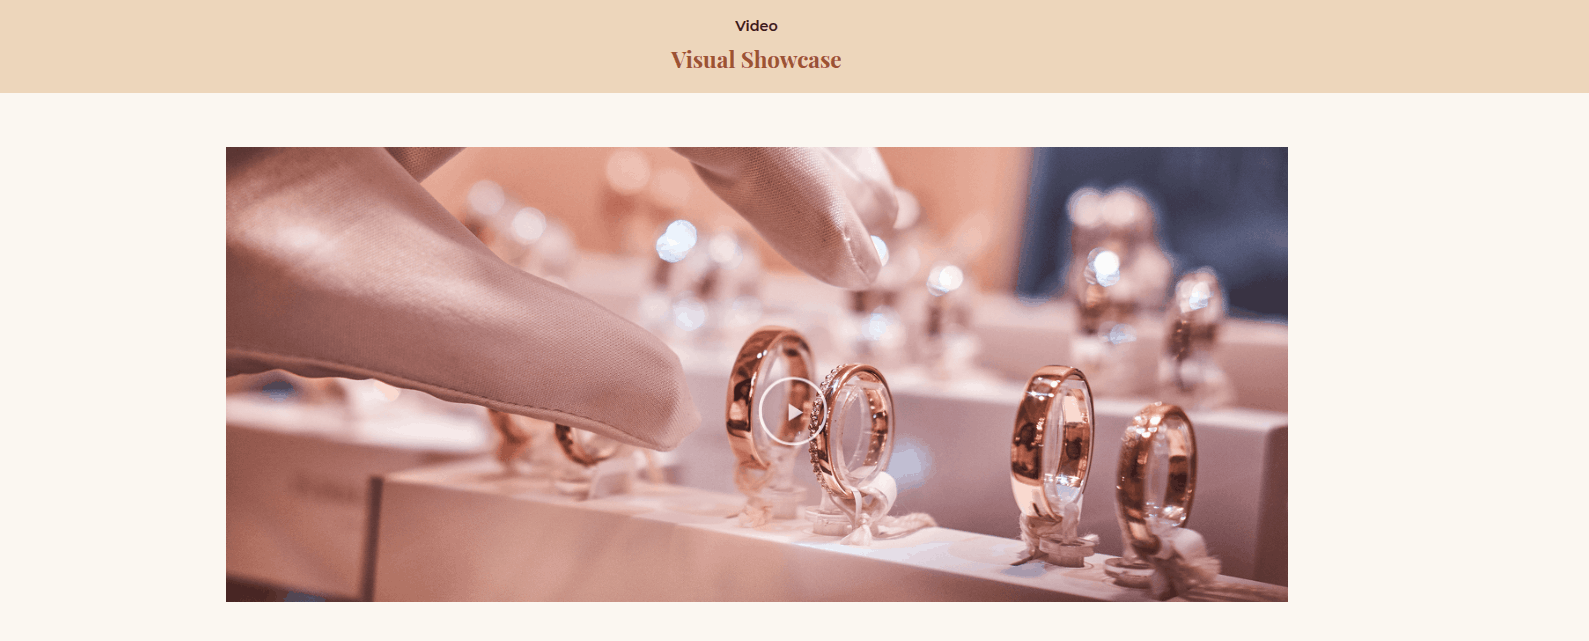
Final Progress See below for design insights.
This section explains how to customize the Testimonials section.
Dashboard Testimonials Add a new testimonial or edit an existing one. After making your changes, click Update or Publish to save them.
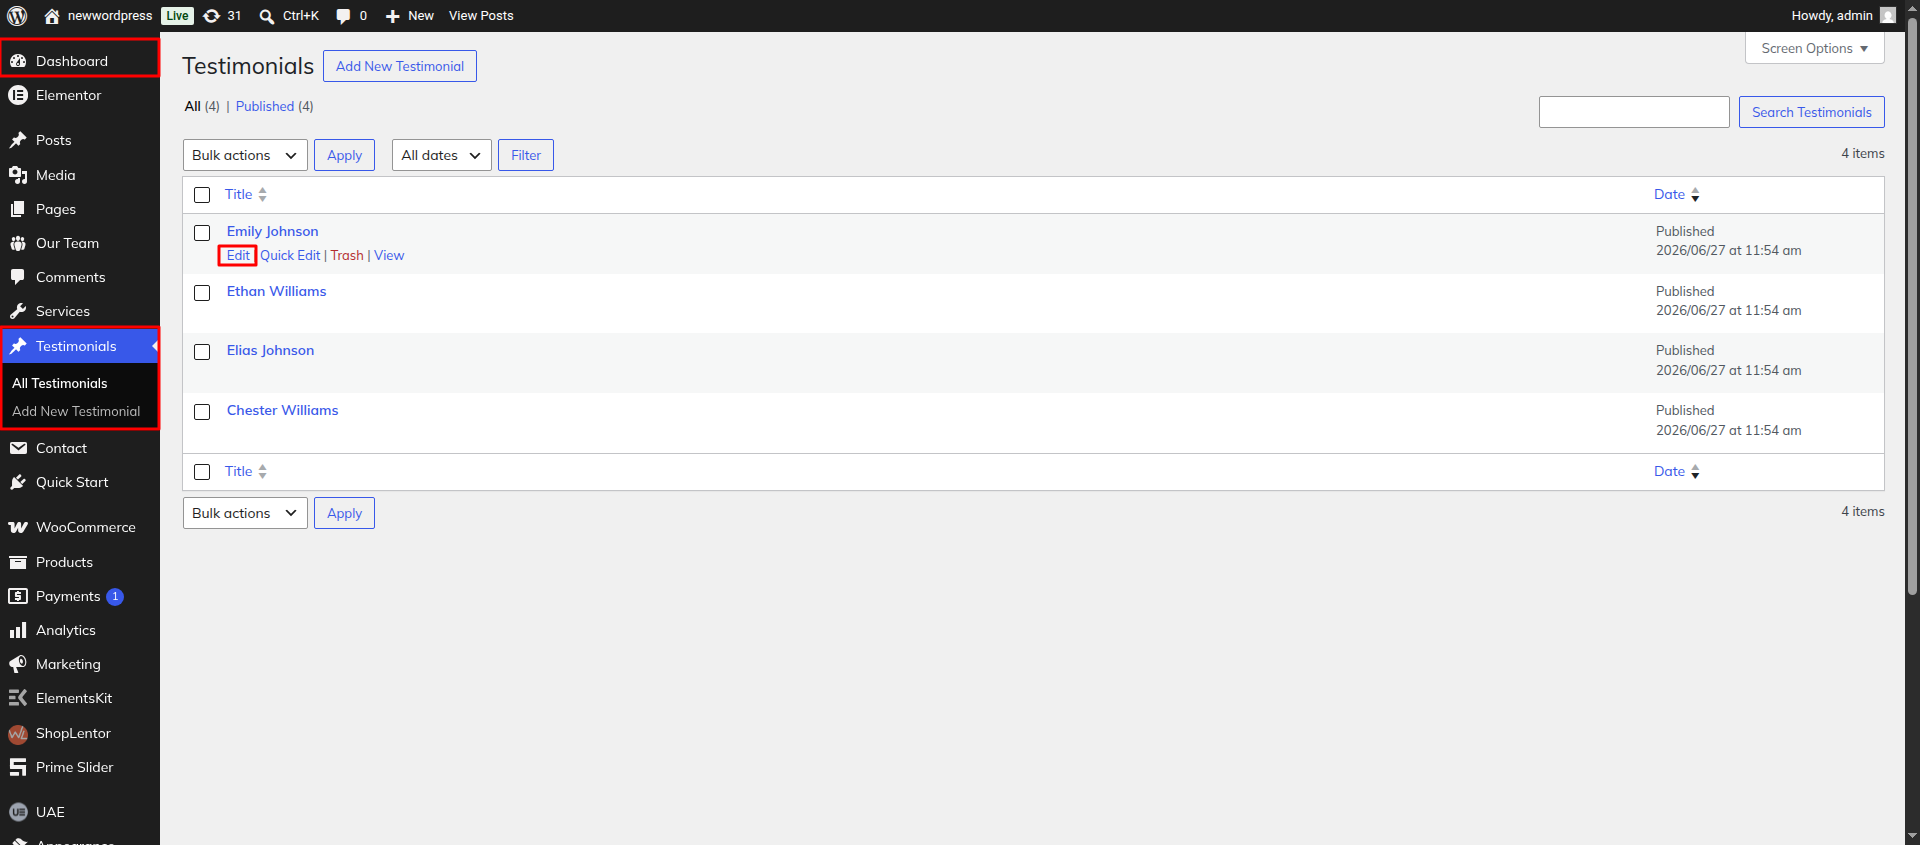
Initial Progress Open the page and click Edit with Elementor Select the Alex Carousel widget Under the Query settings, choose Testimonials as the content source.
After completing all changes, click Publish to save your updates.
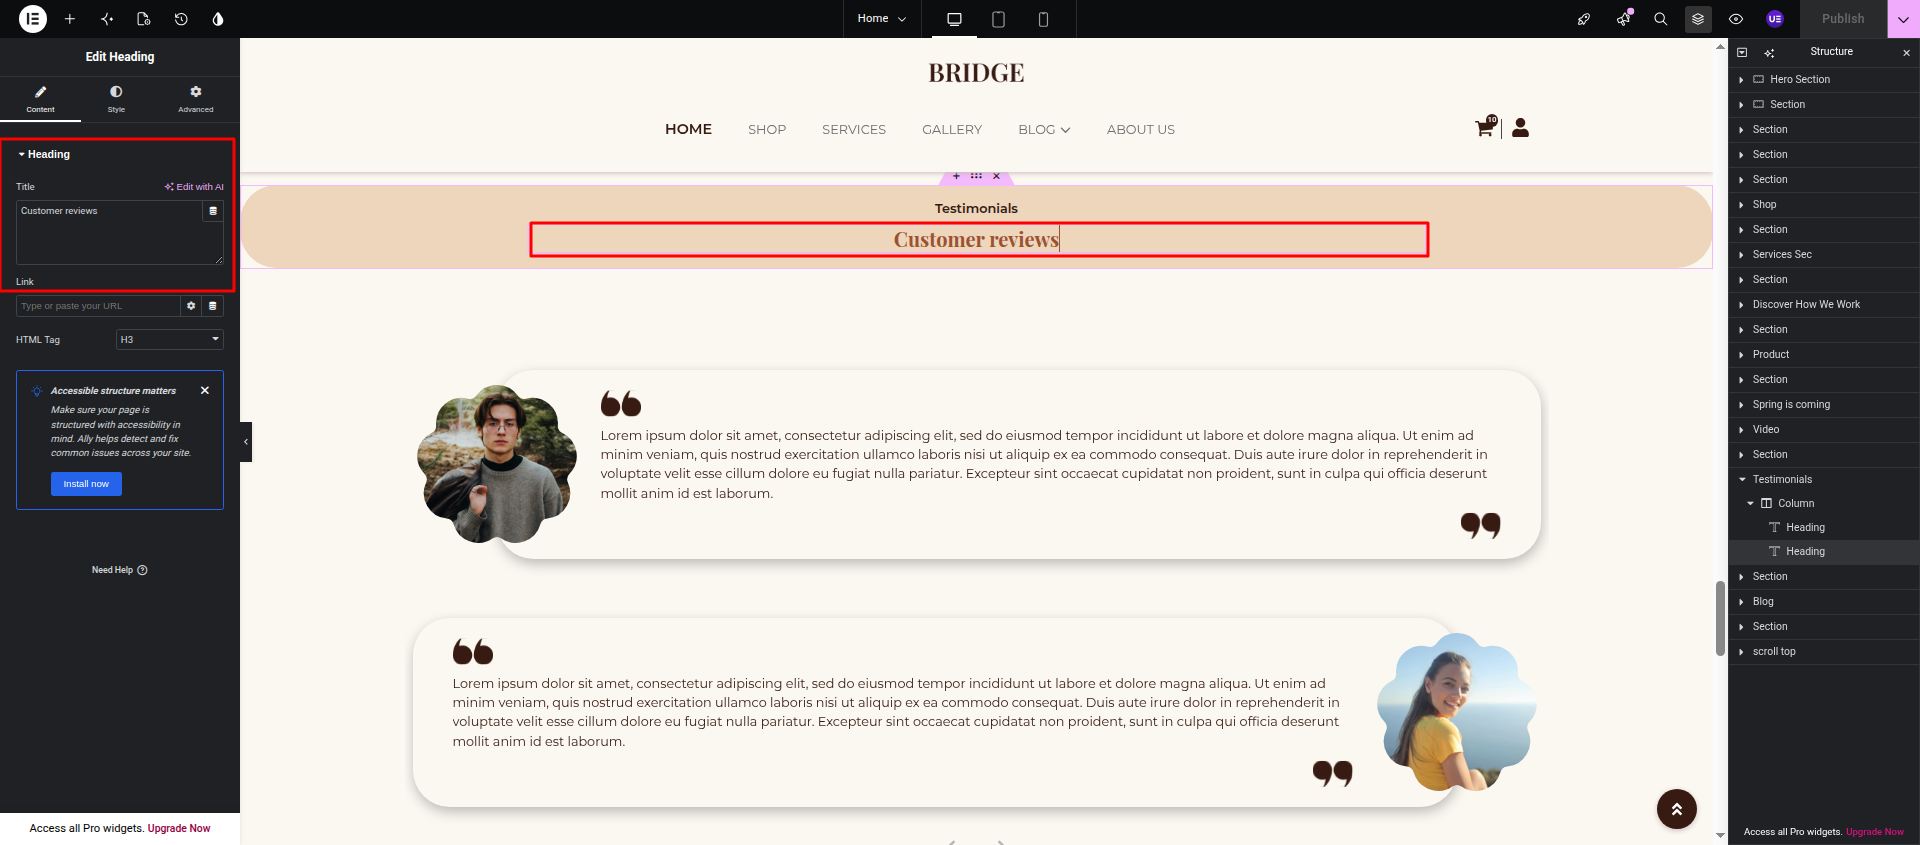
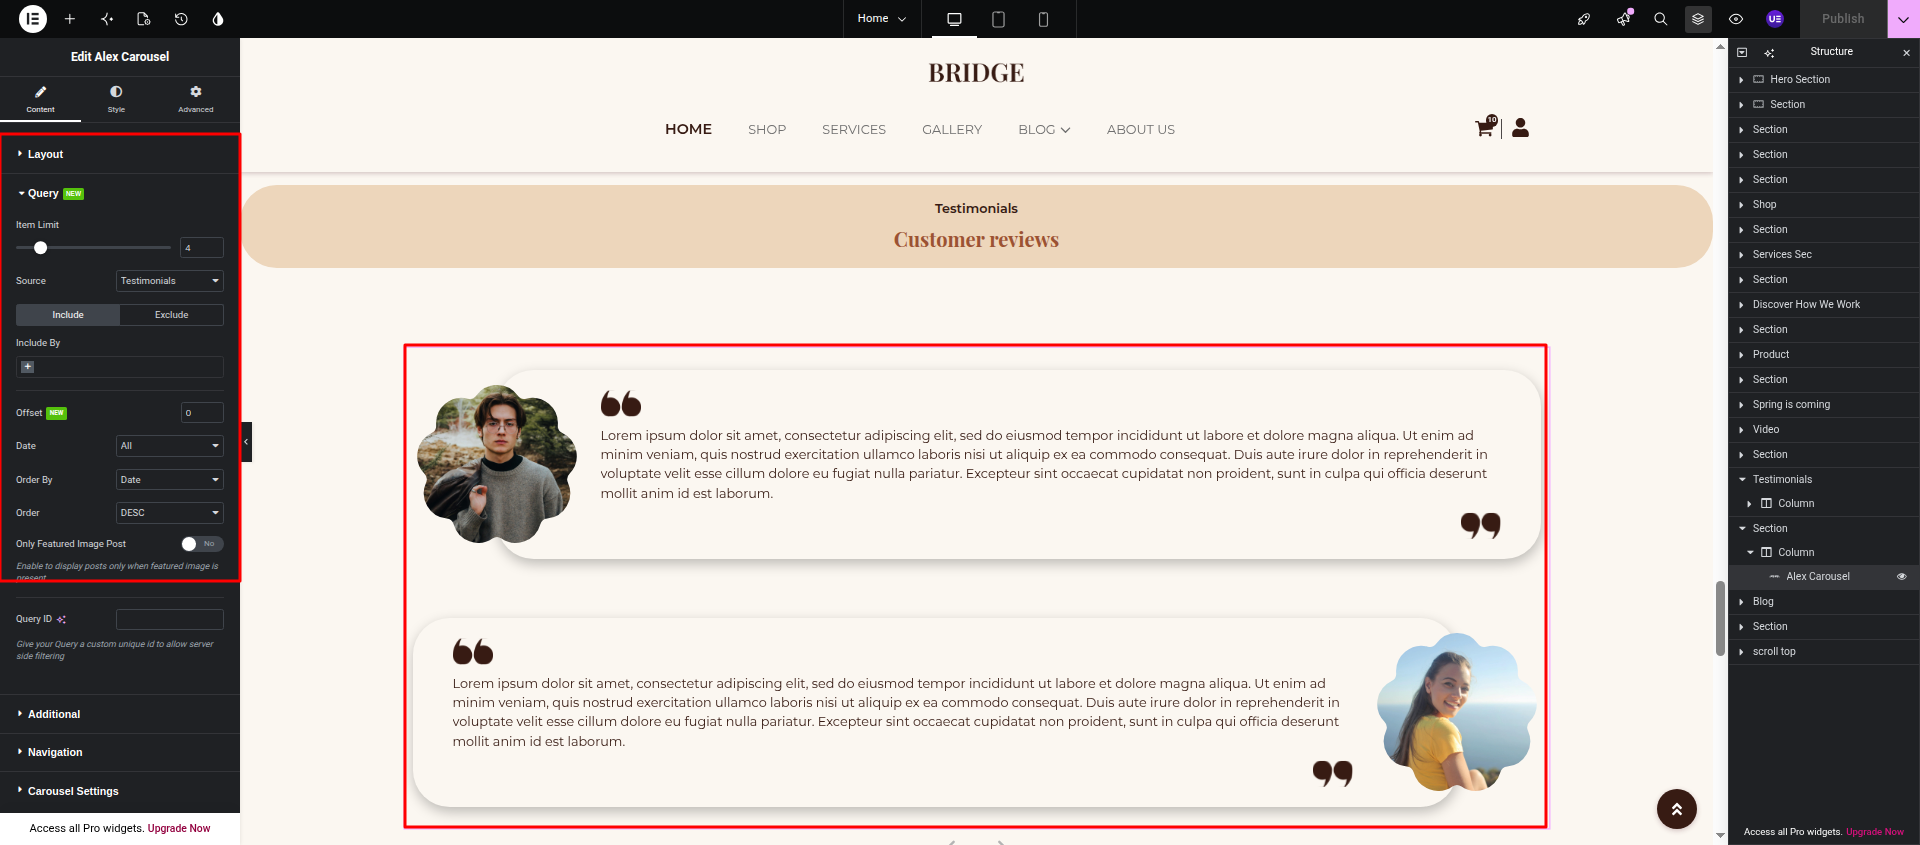
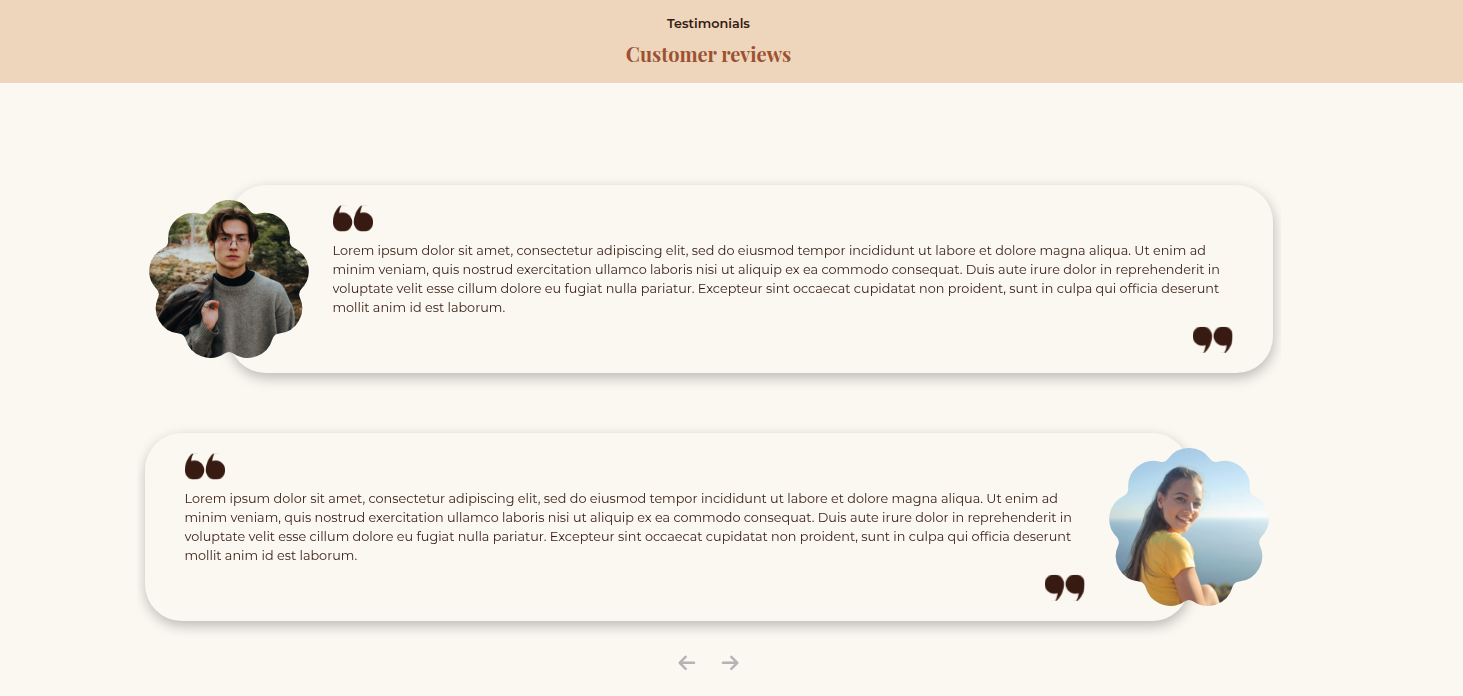
Final Result The customized Testimonials section will appear as shown below.
This section explains how to customize the Blog section.
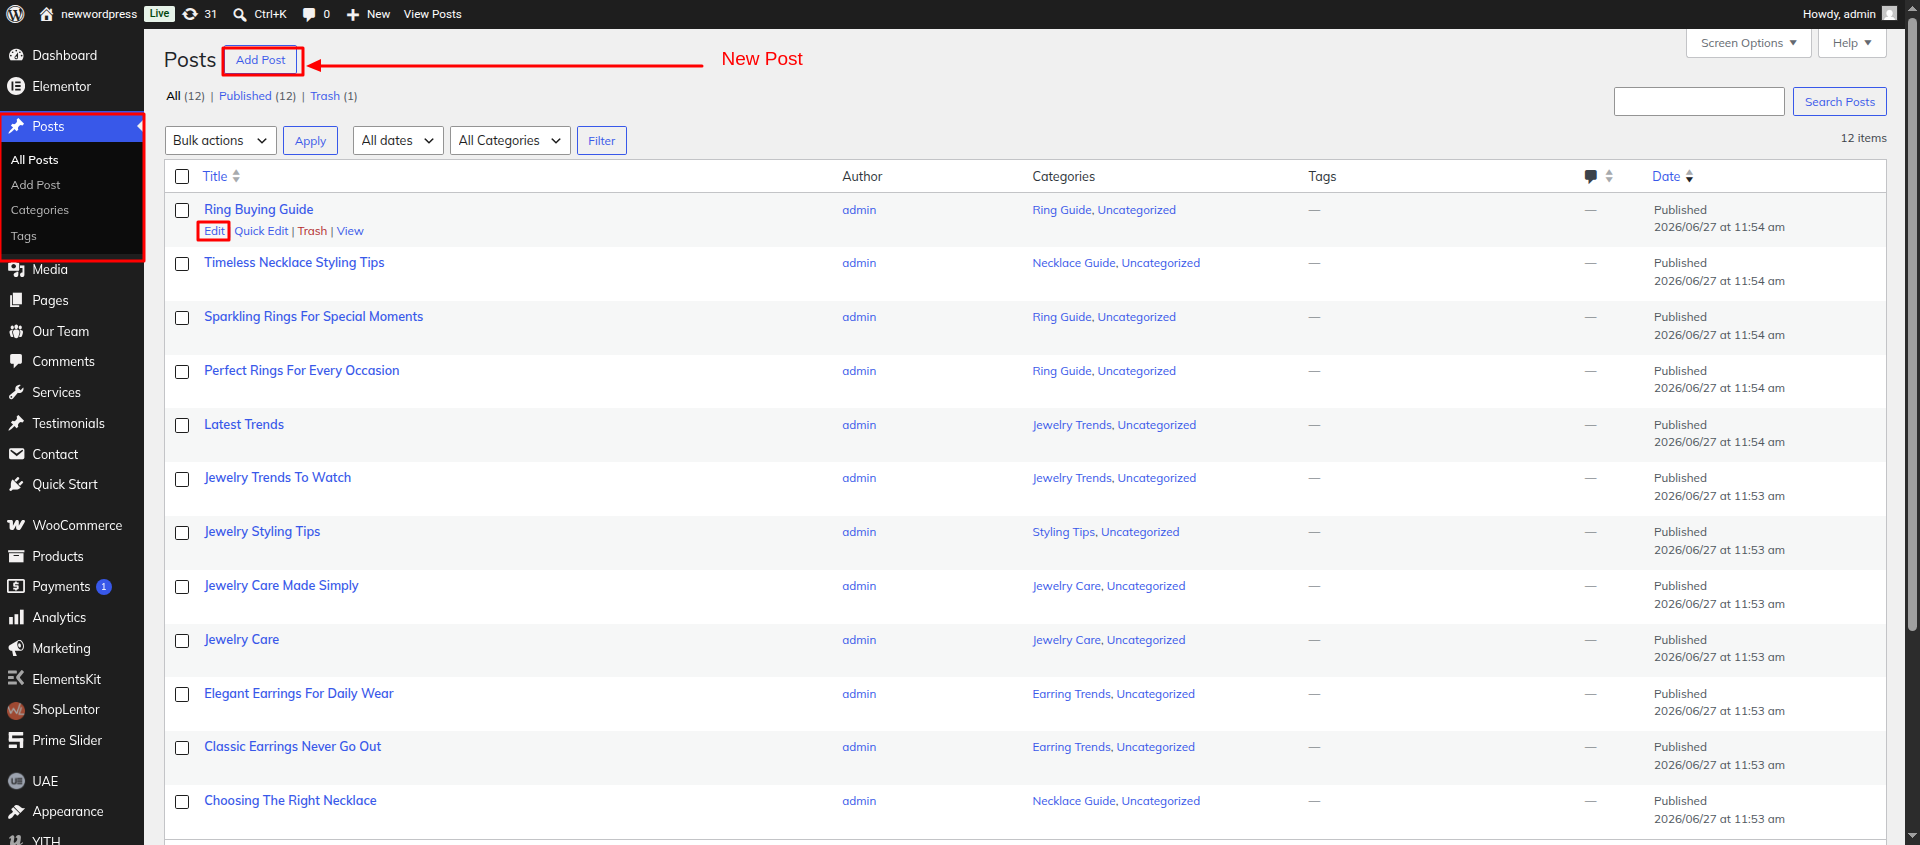
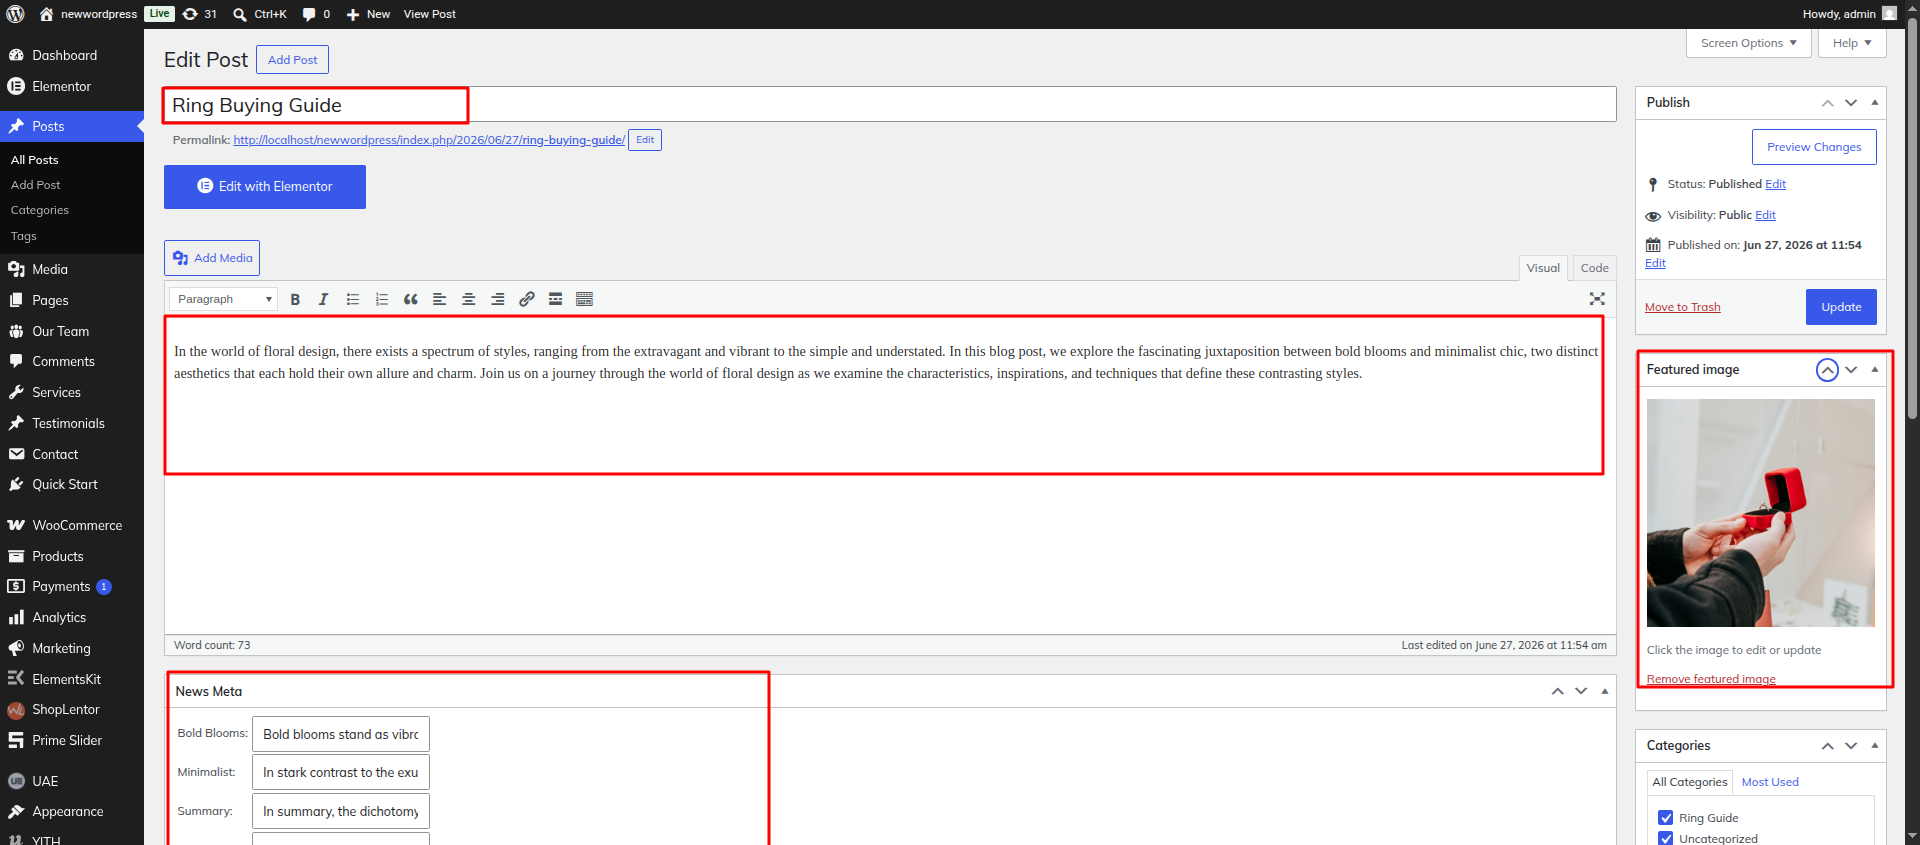
Dashboard Posts Edit an existing post or click Add New to create a new blog post Update the title, featured image, content, categories, tags, and other post details Click Publish or Update to save your changes.
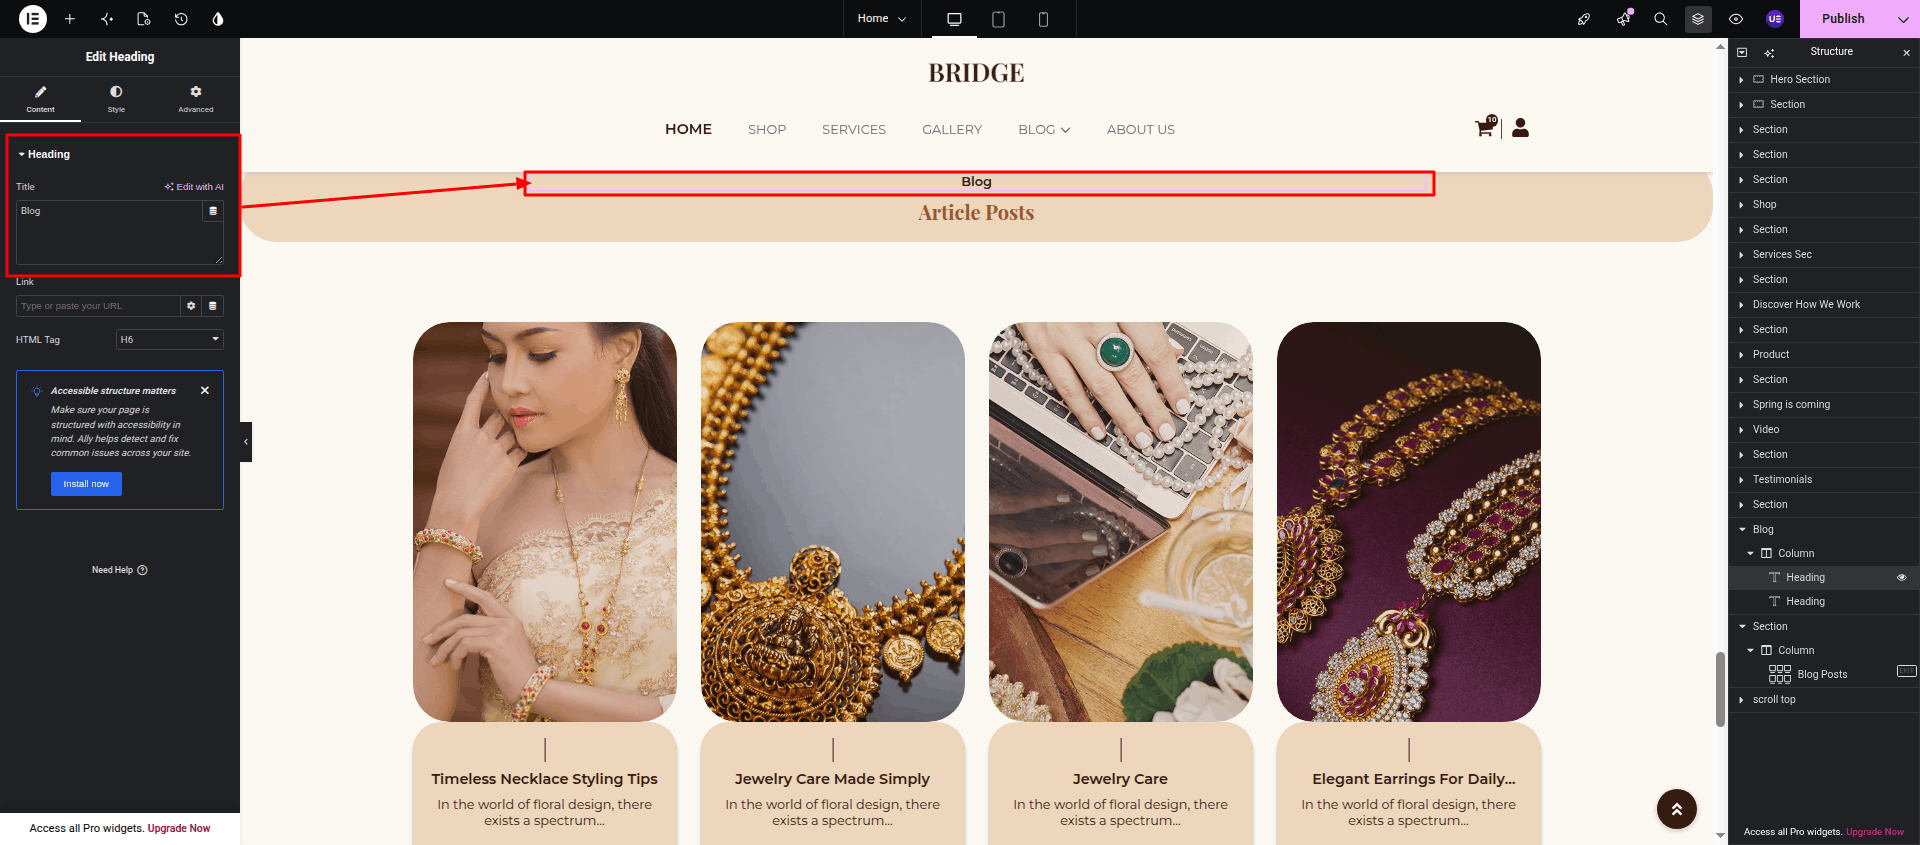
Initial Progress Open the page and click Edit with Elementor Select the Blog Posts widget Under the Query settings, choose the posts to display and customize the layout, number of posts, columns, and other display options as needed.
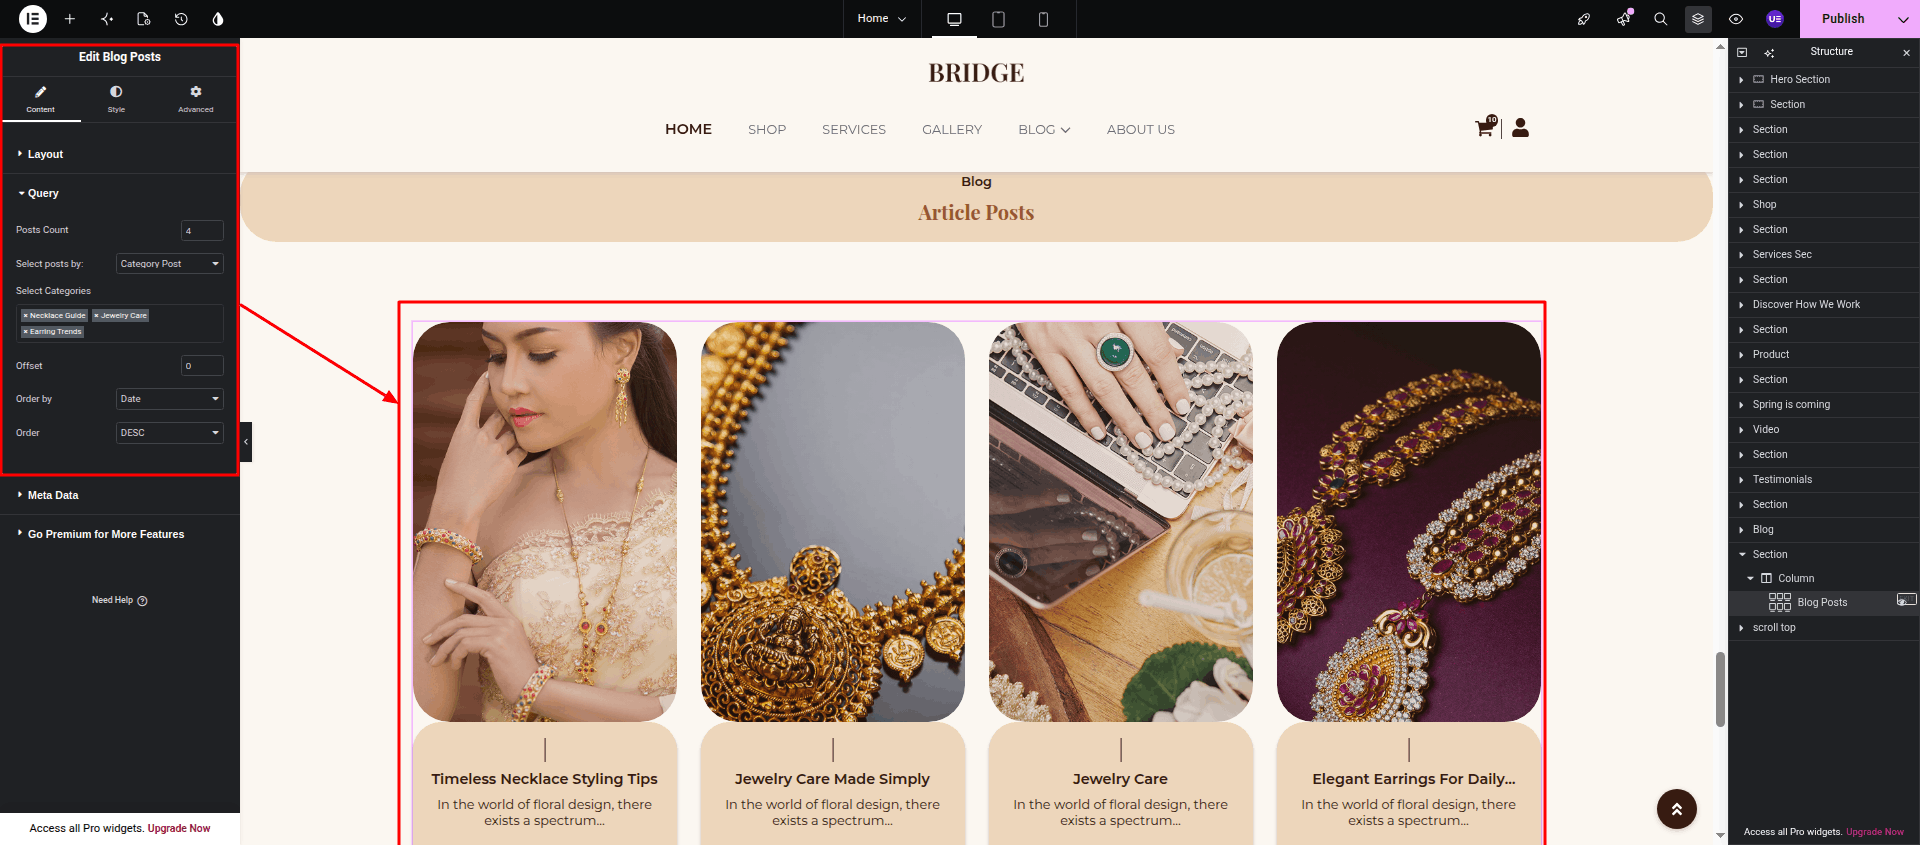
After completing all changes, click Publish to save your updates.
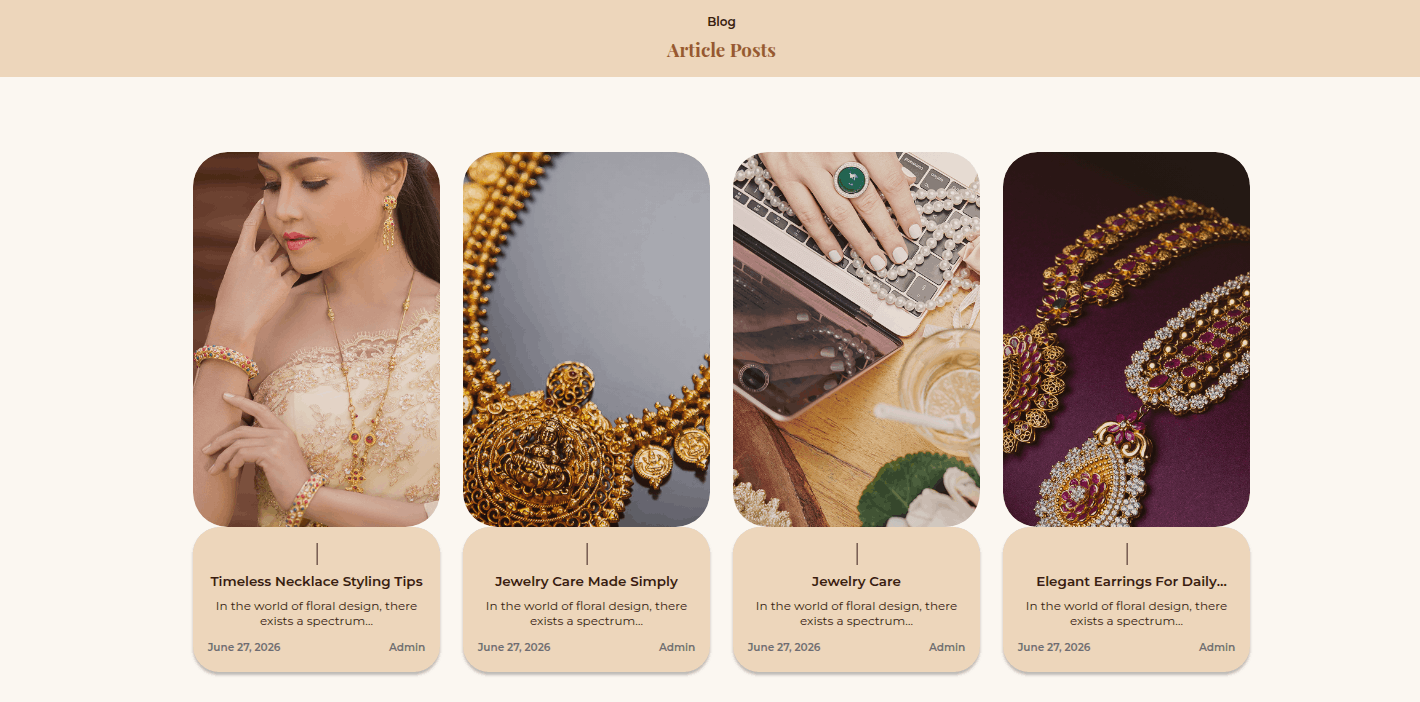
Final Result The customized Blog section will appear as shown below.
This section explains how to customize the Footer.
Initial Progress Dashboard ElementsKit Footer Click Edit with Elementor to customize the footer template.
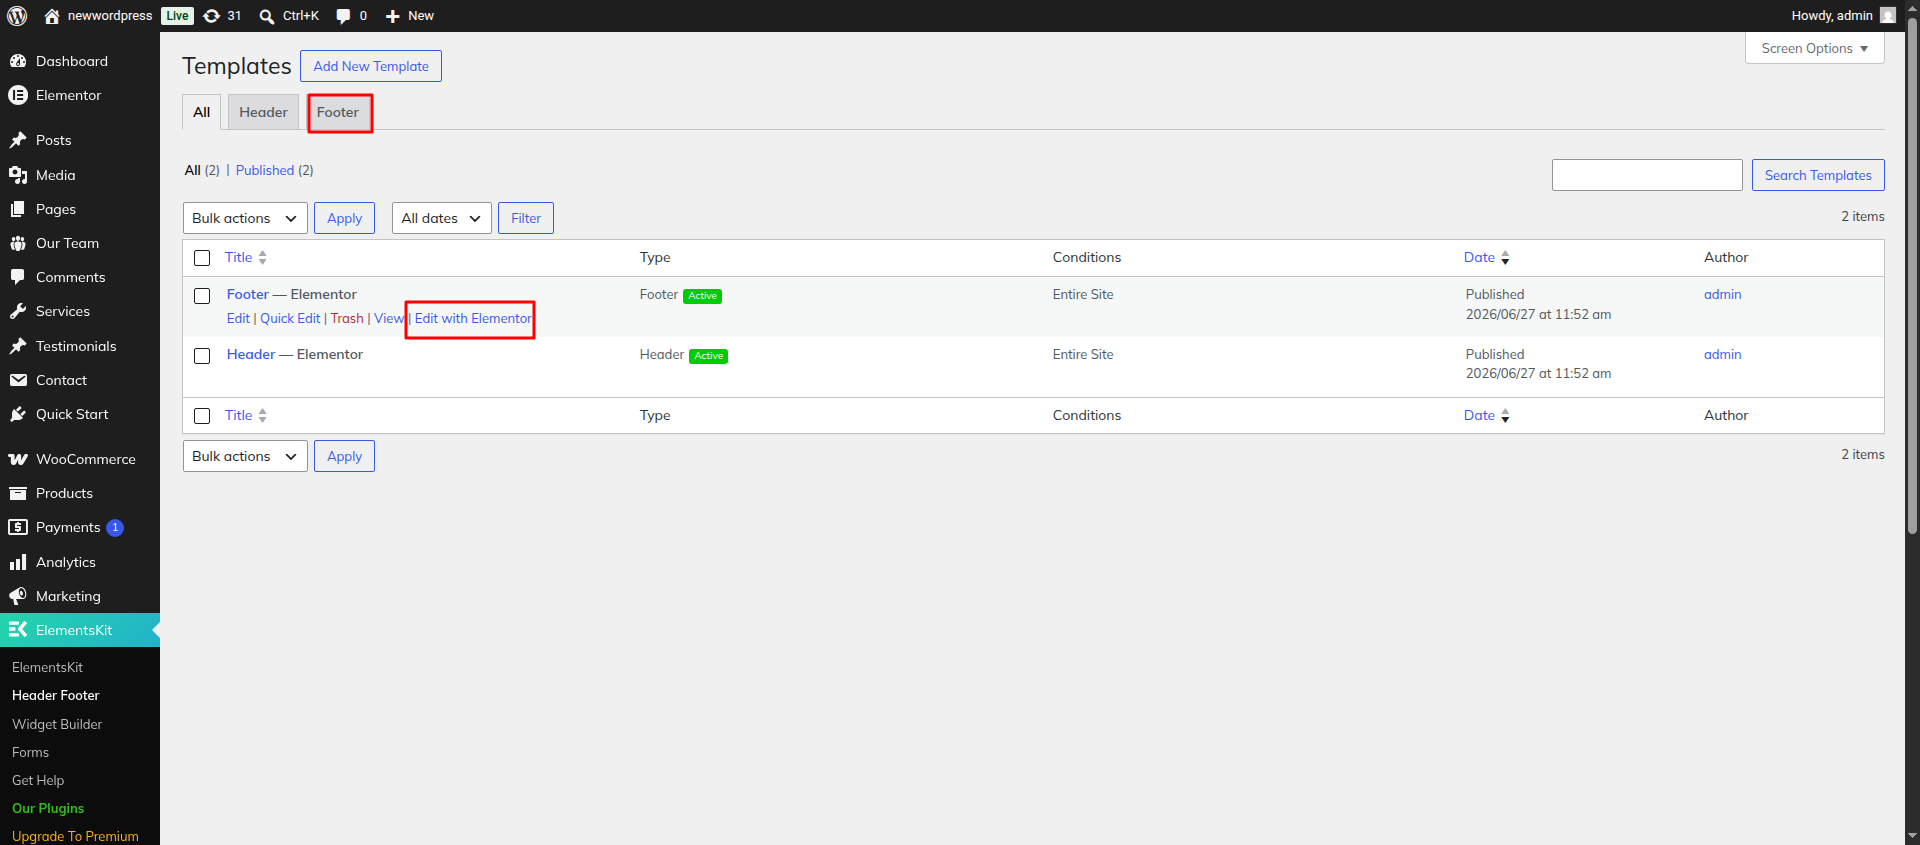
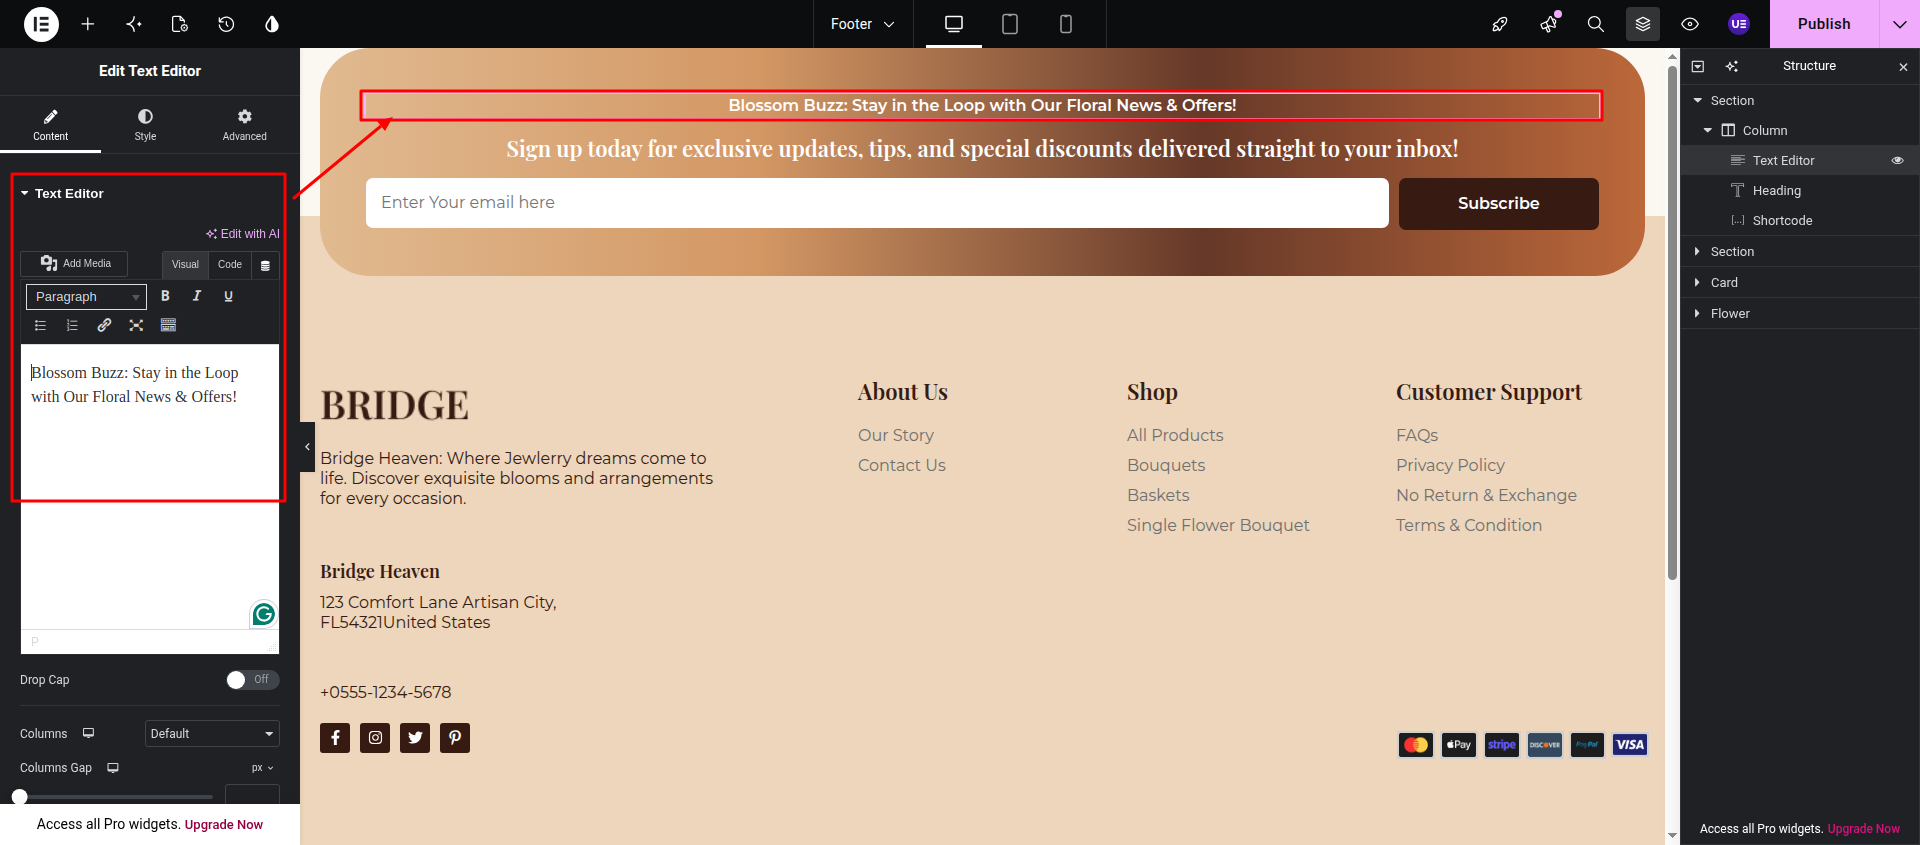
Newsletter Heading Select the Text Editor widget to edit the newsletter heading, description, or any other text content.
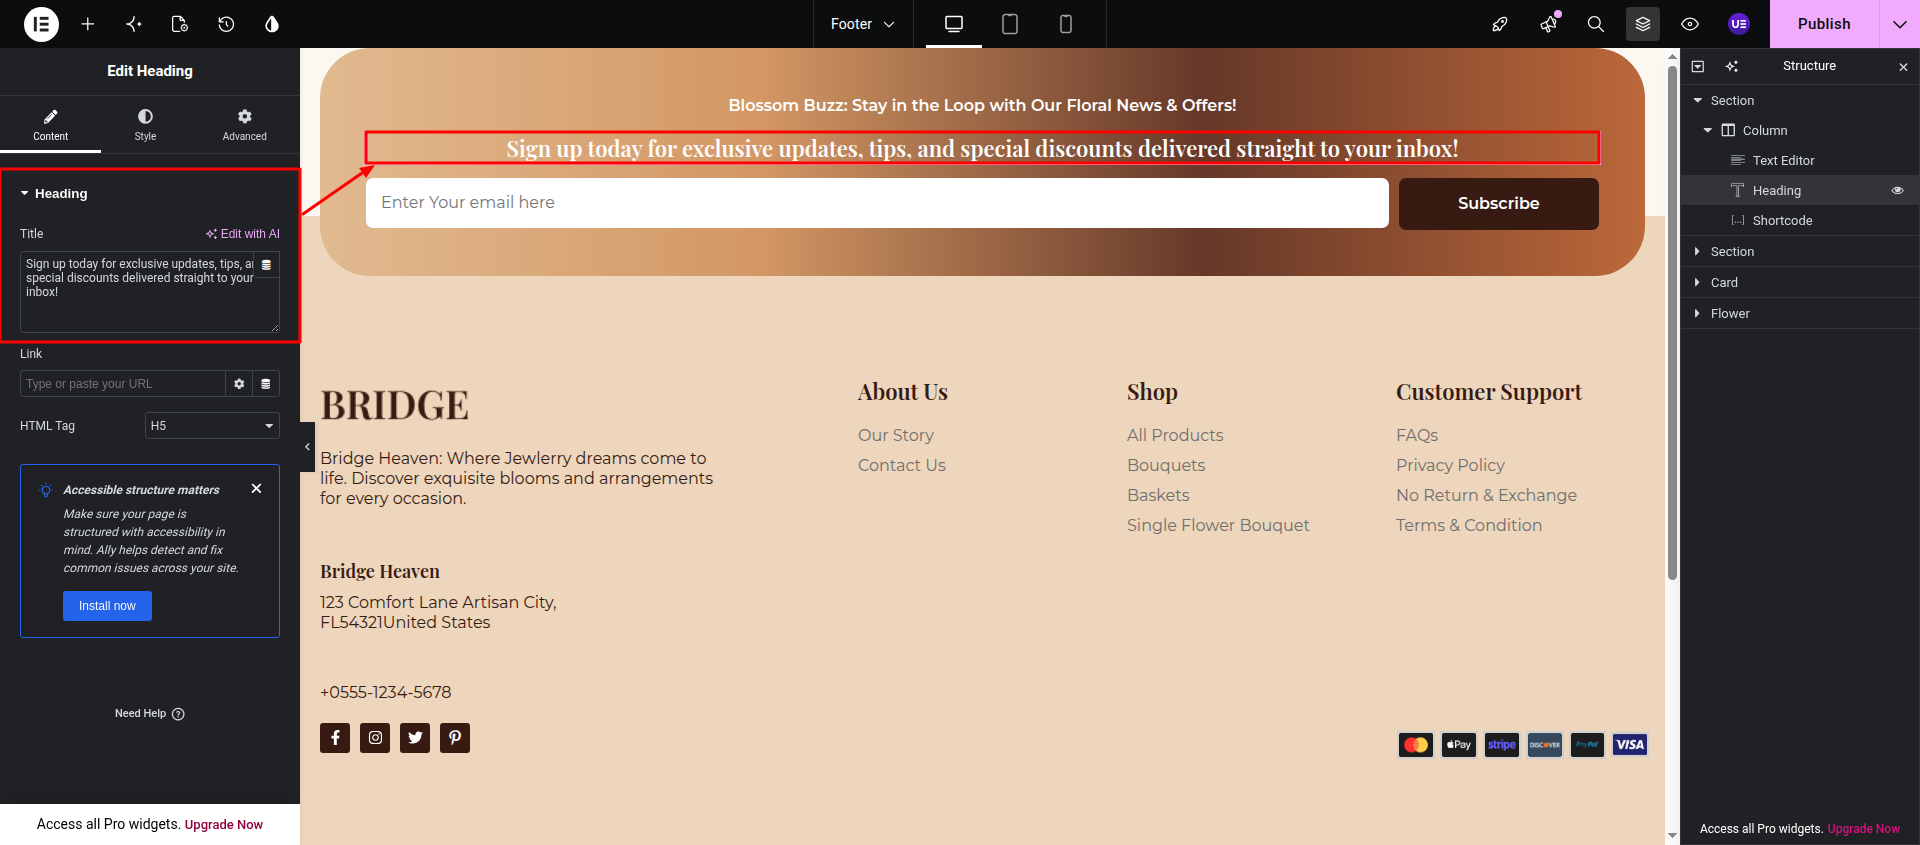
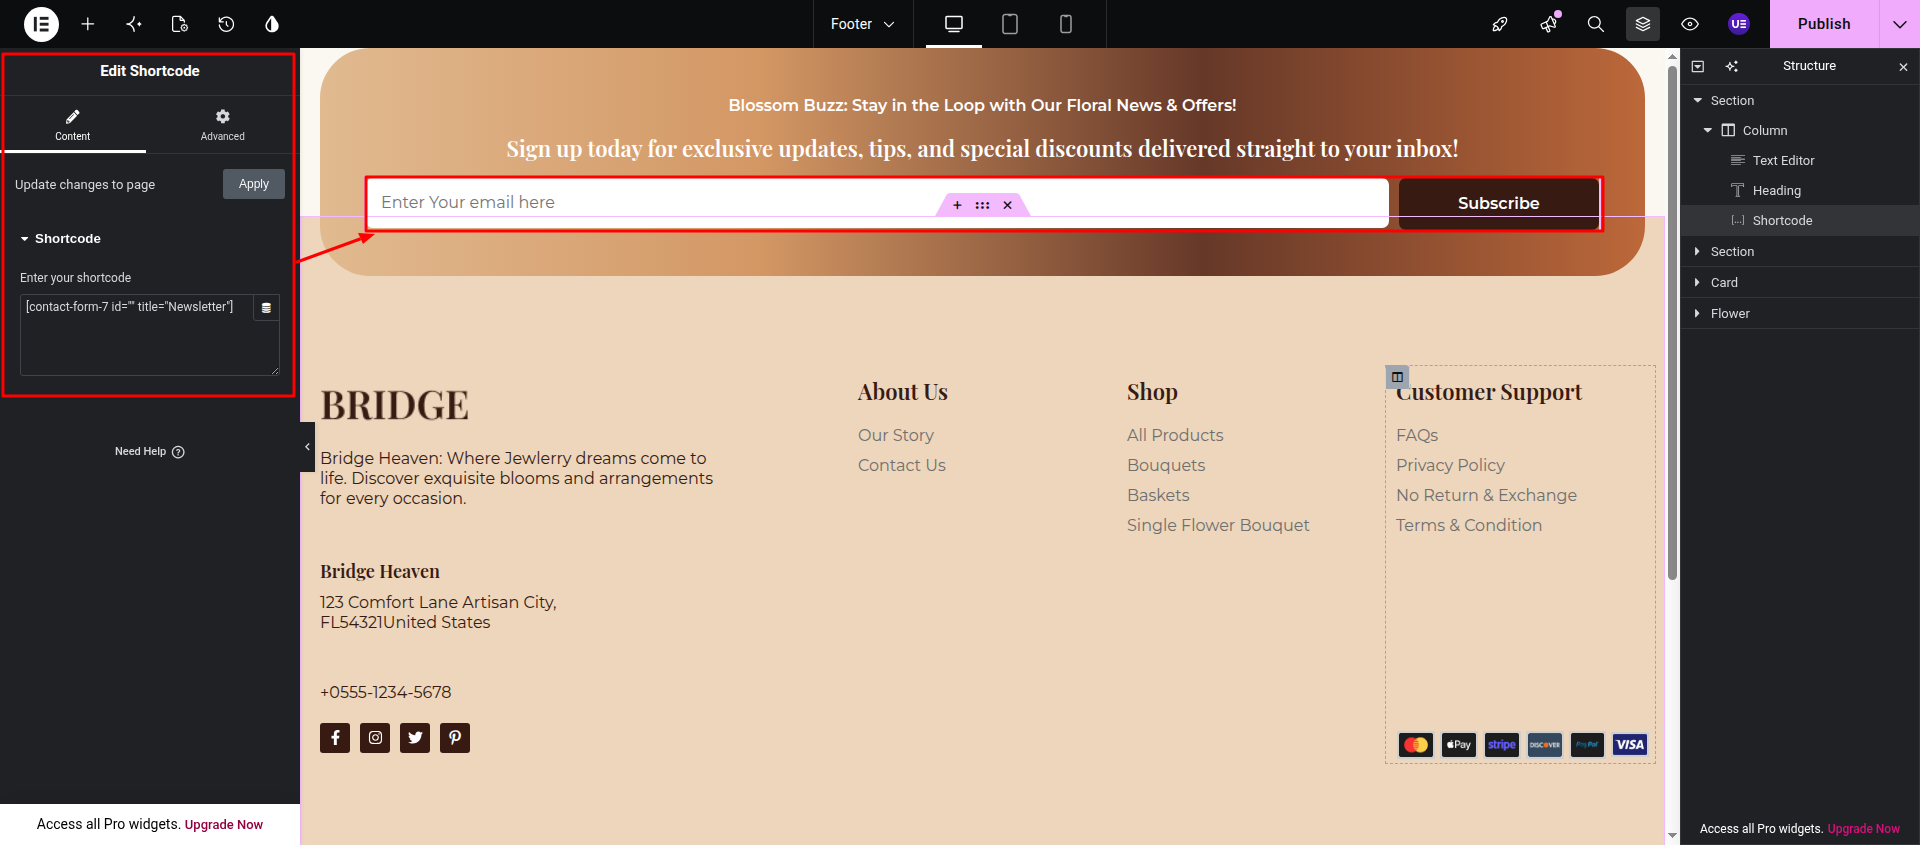
Newsletter Form Drag the Shortcode widget into the newsletter section and paste your Contact Form 7 shortcode.
Example Shortcode:
[contact-form-7 id="" title="Newsletter"]
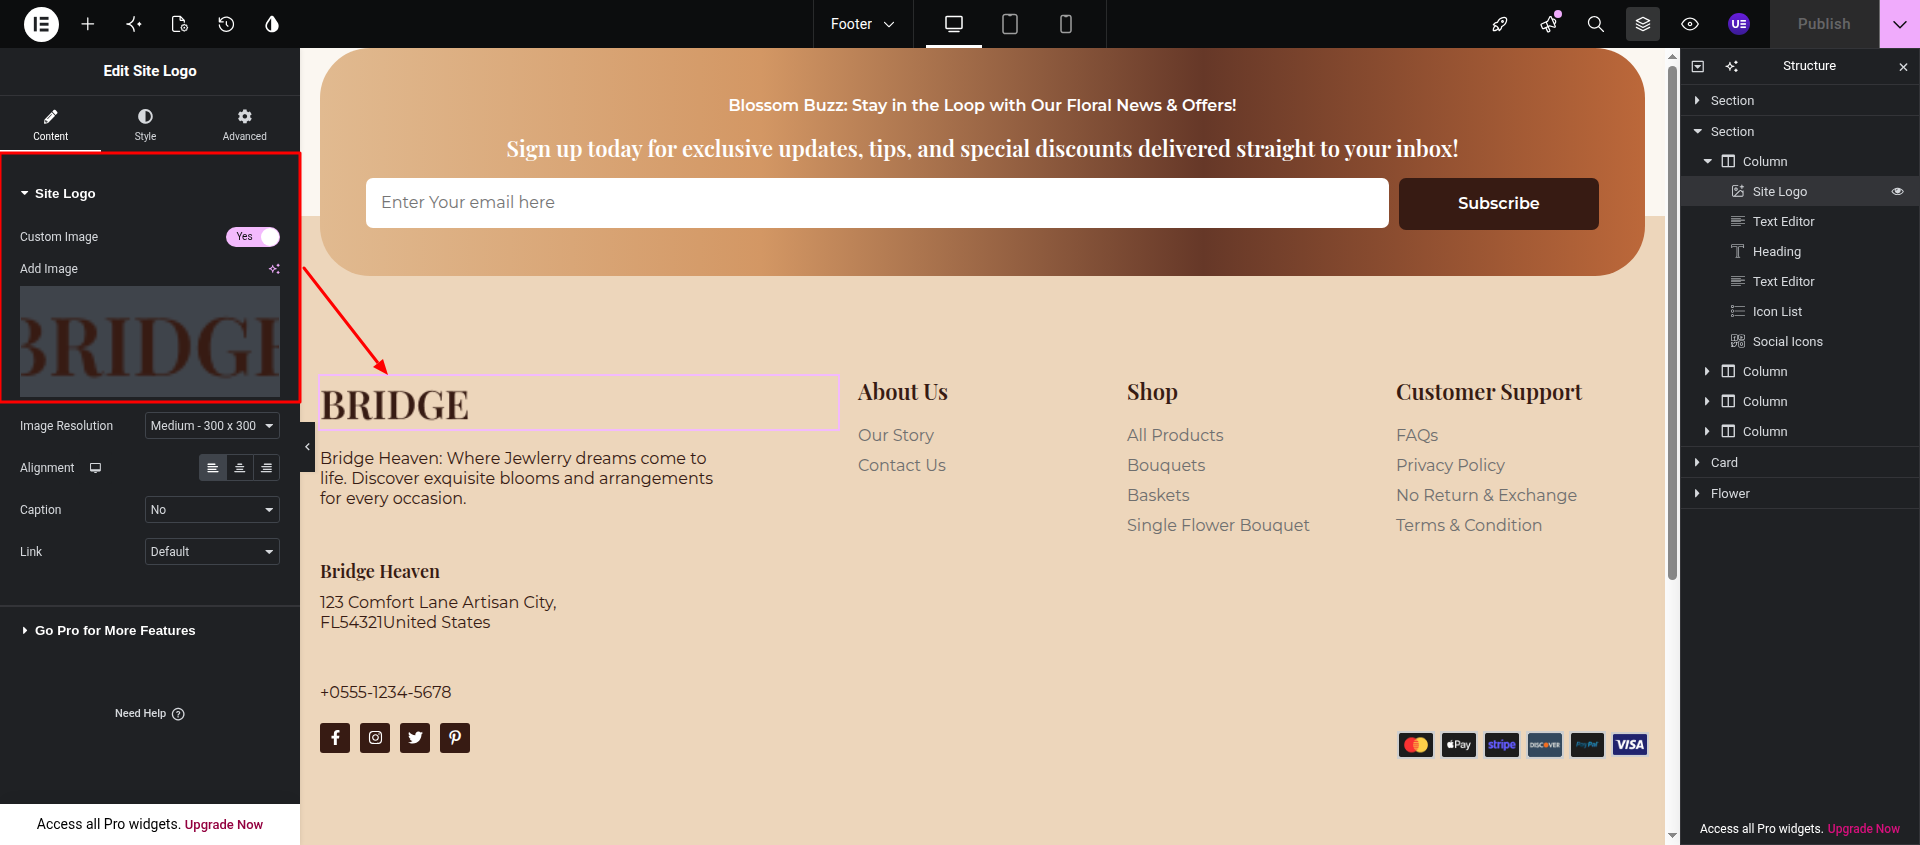
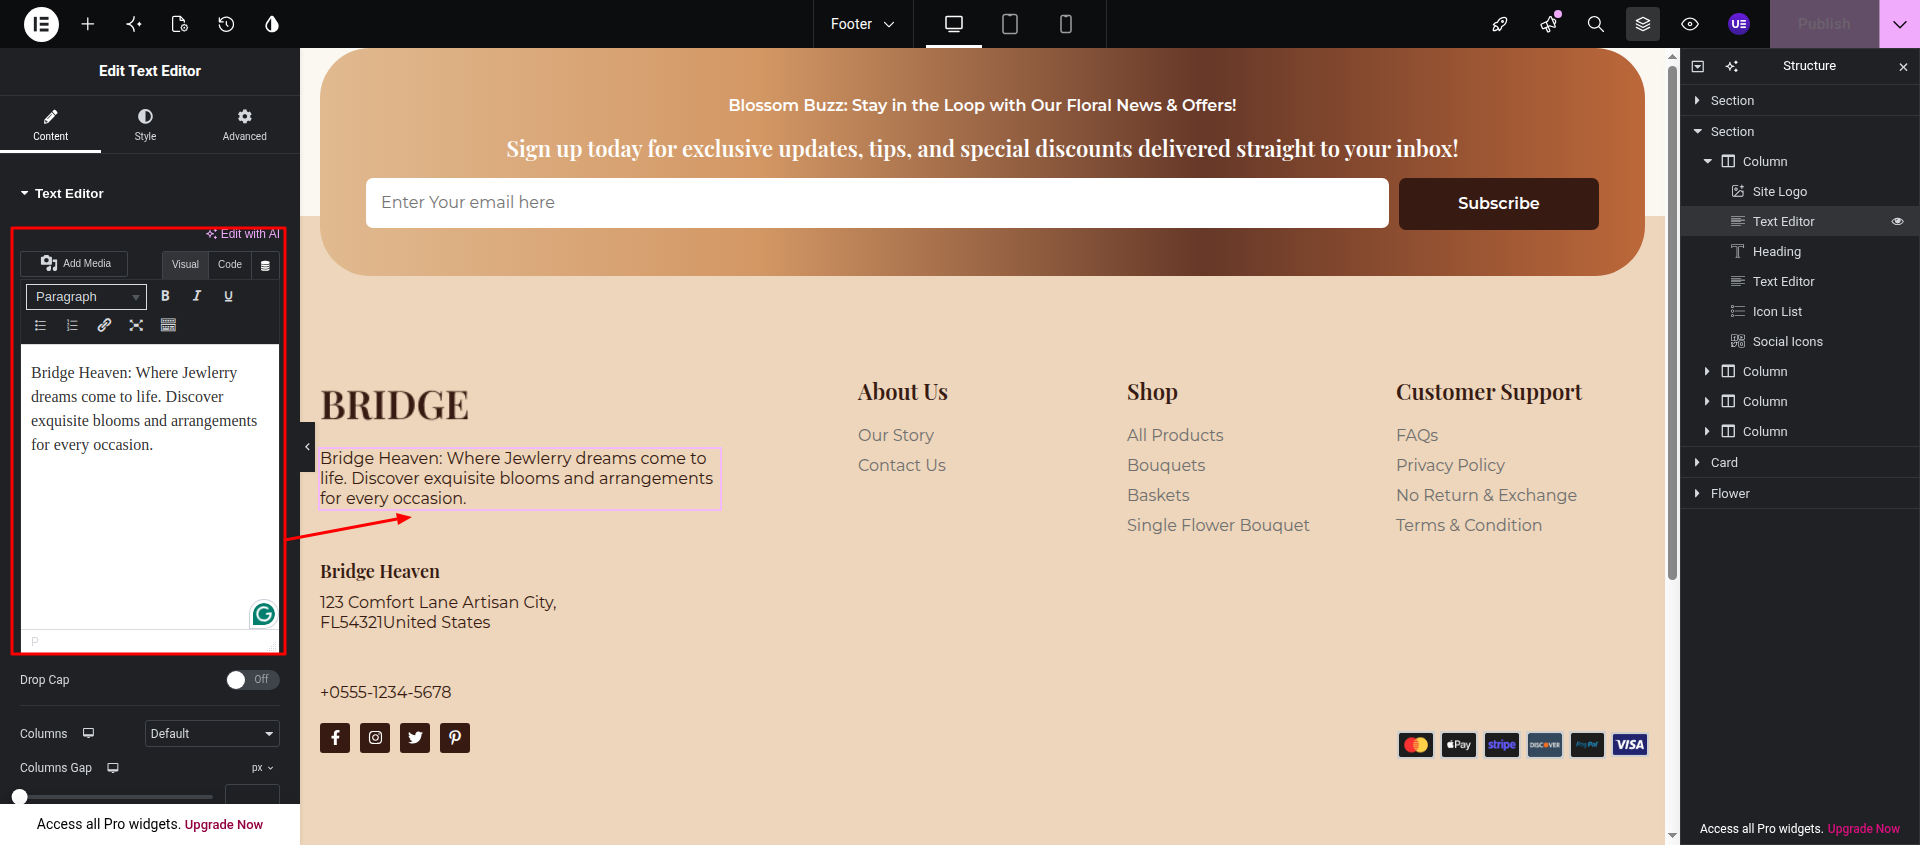
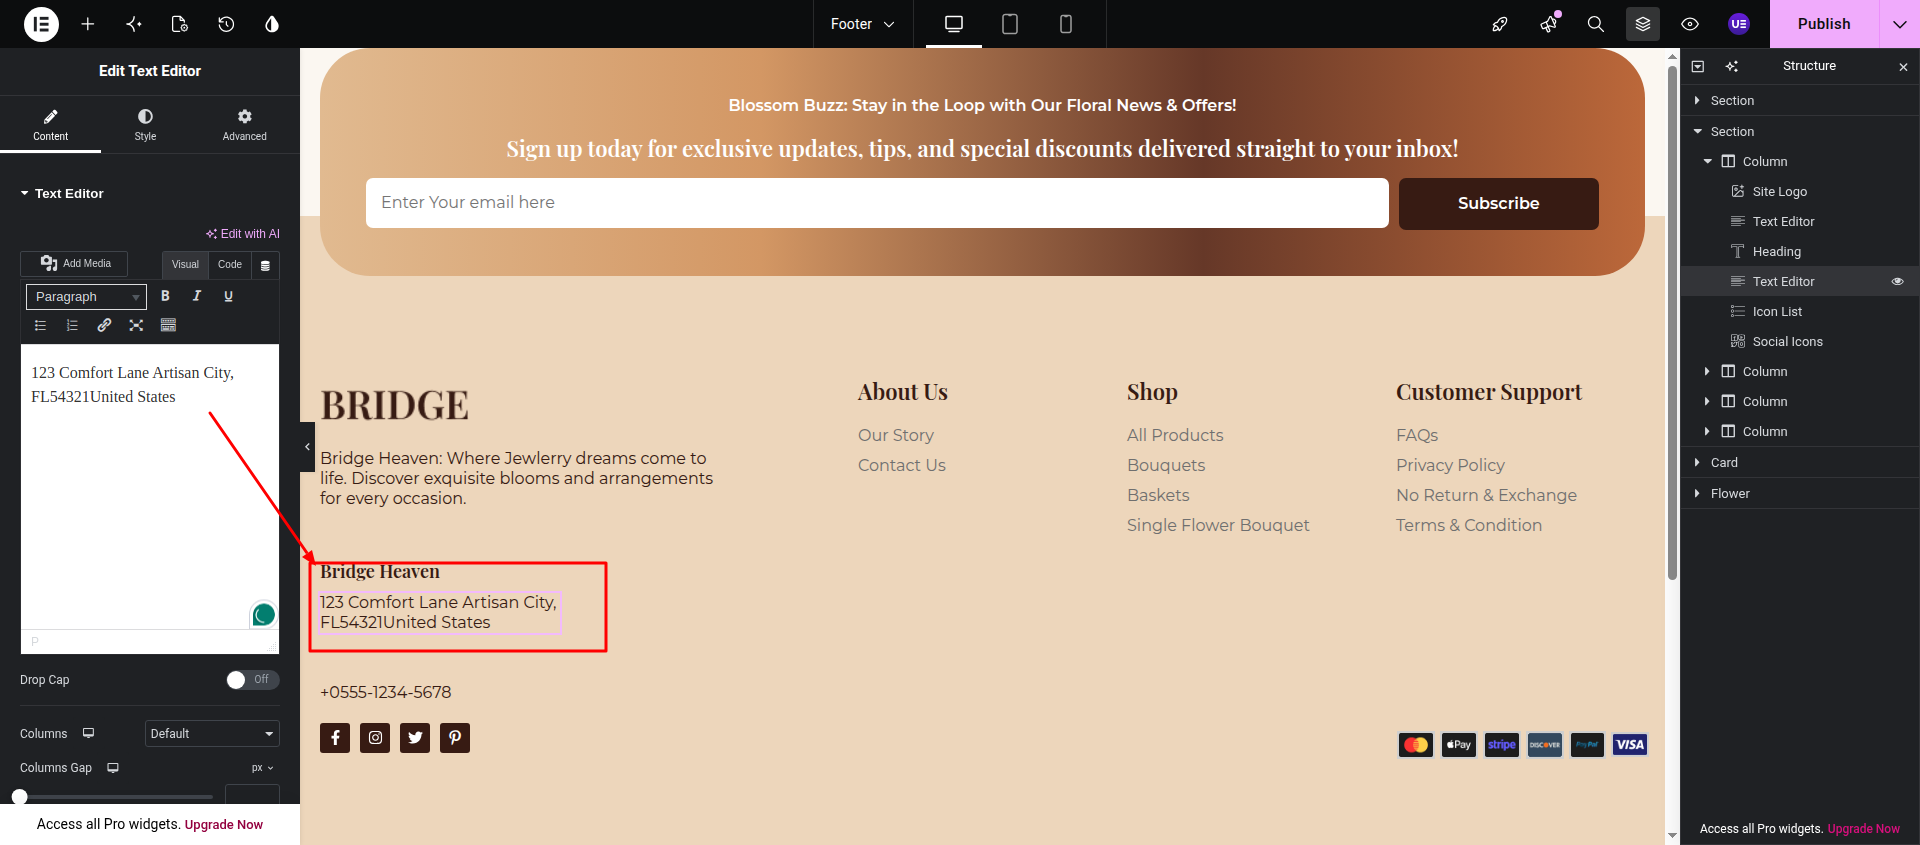
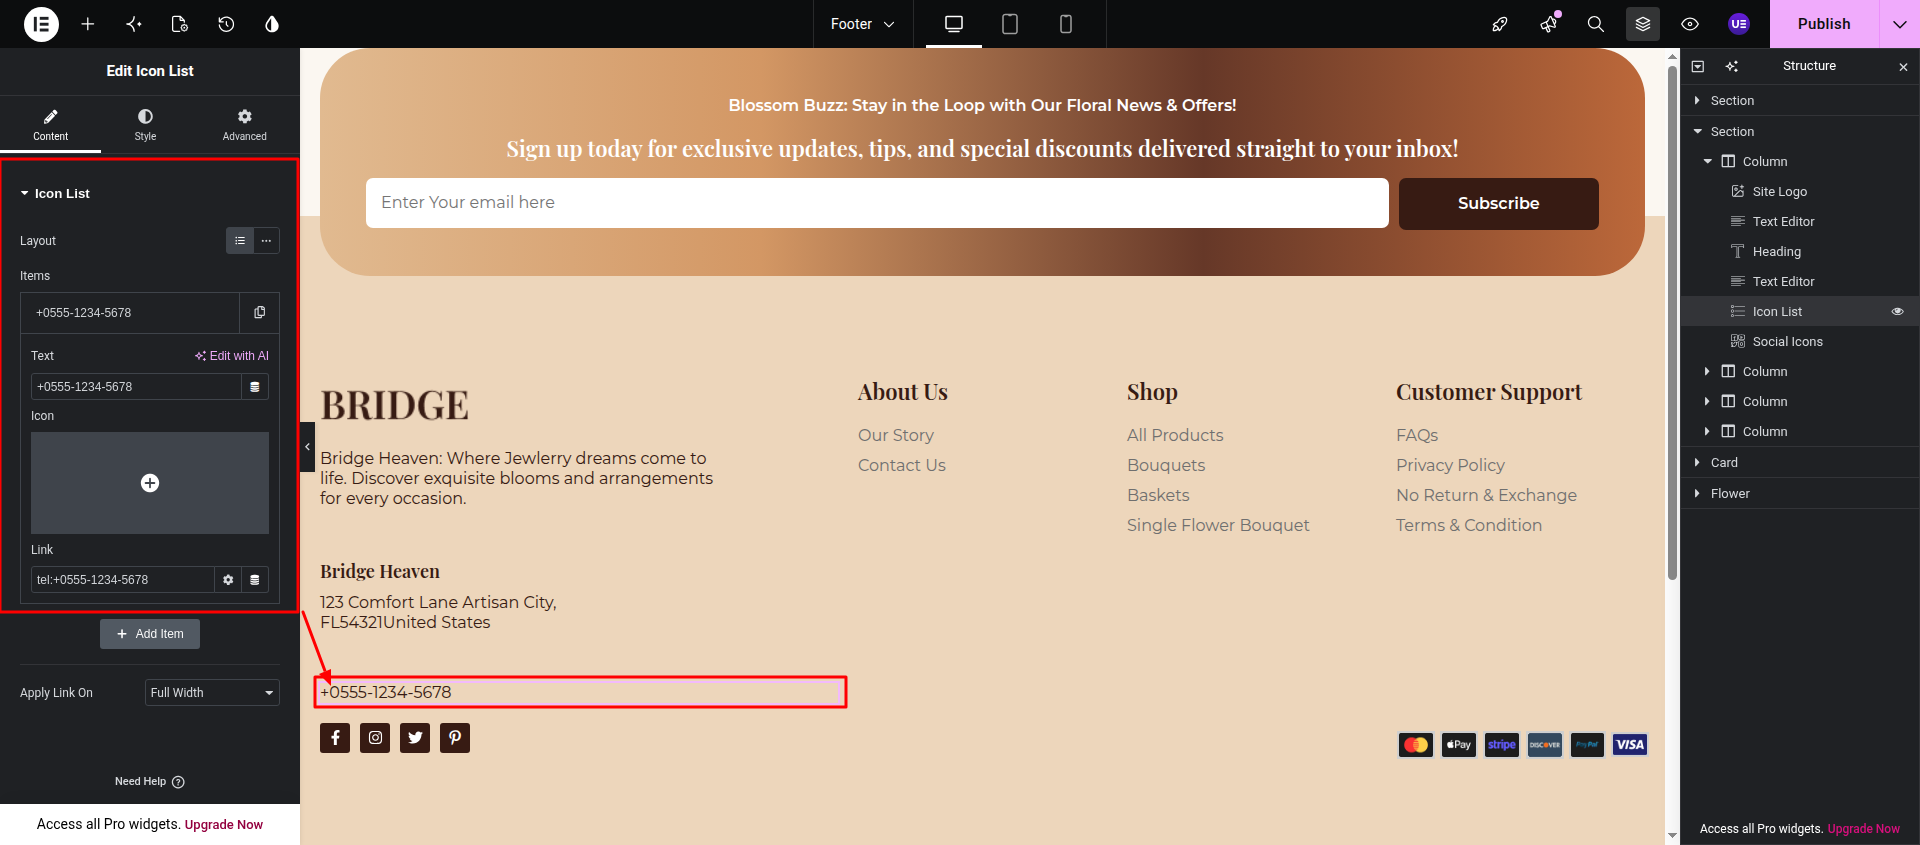
Logo & Content Select the Site Logo or Image widget to change the footer logo. You can also edit the text, contact information, social icons, and other content in the logo column.
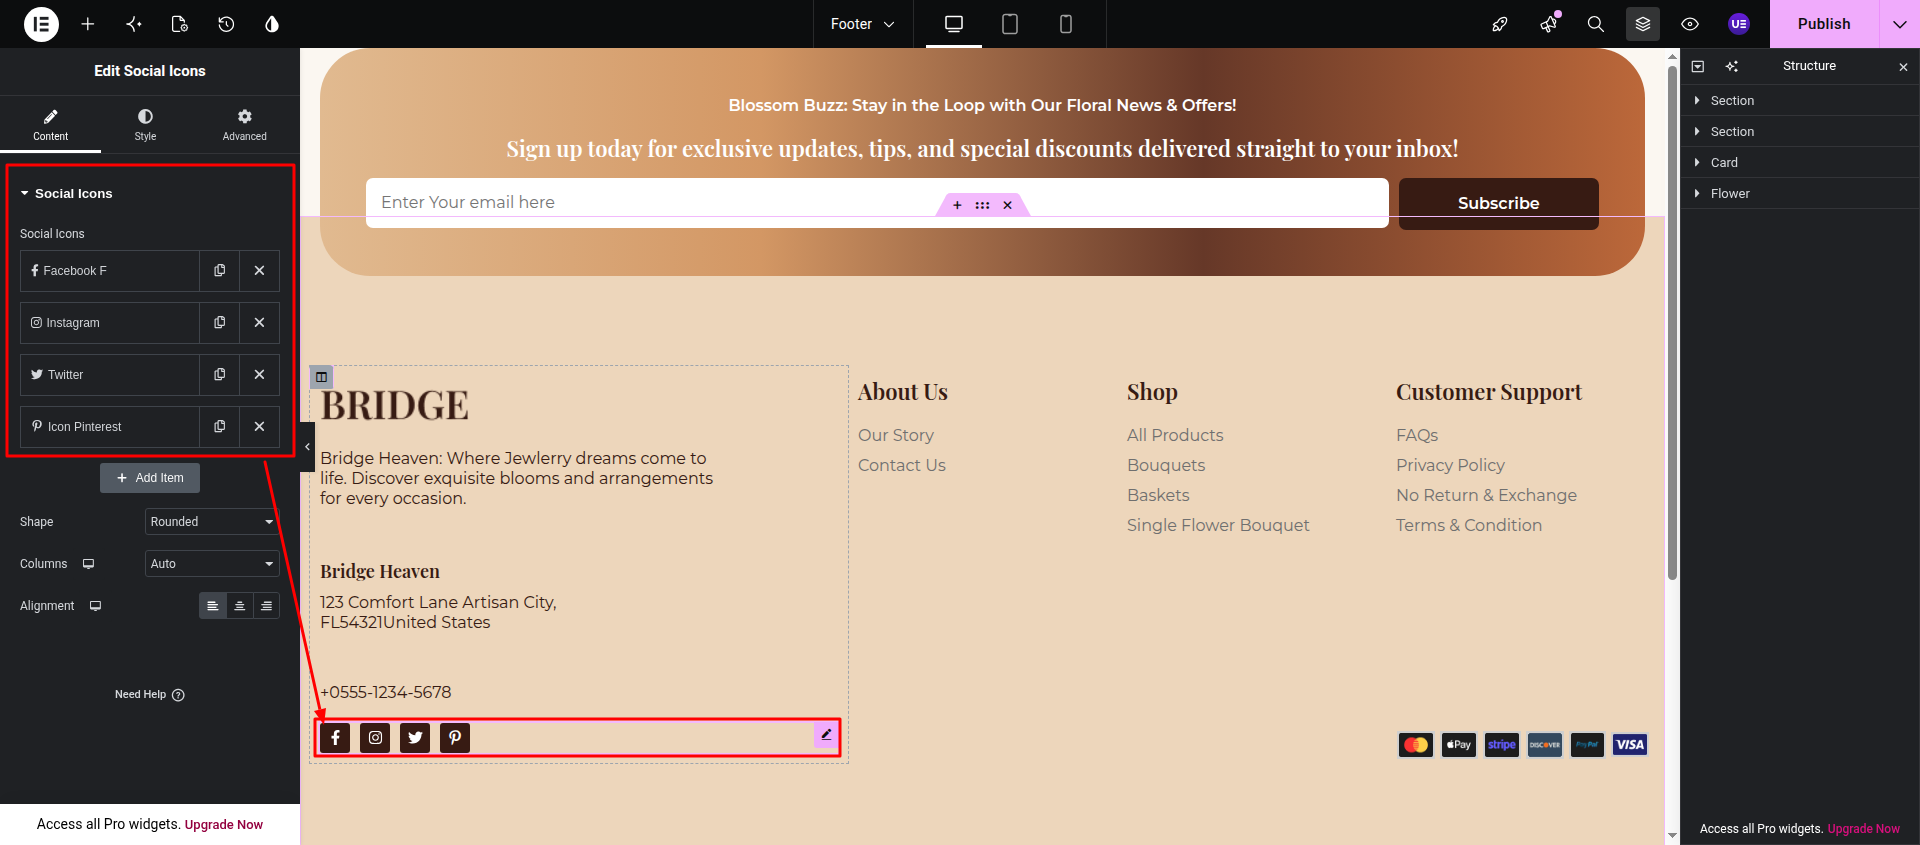
Menu Columns Edit the navigation menus, headings, colors, typography, and other menu settings as required.
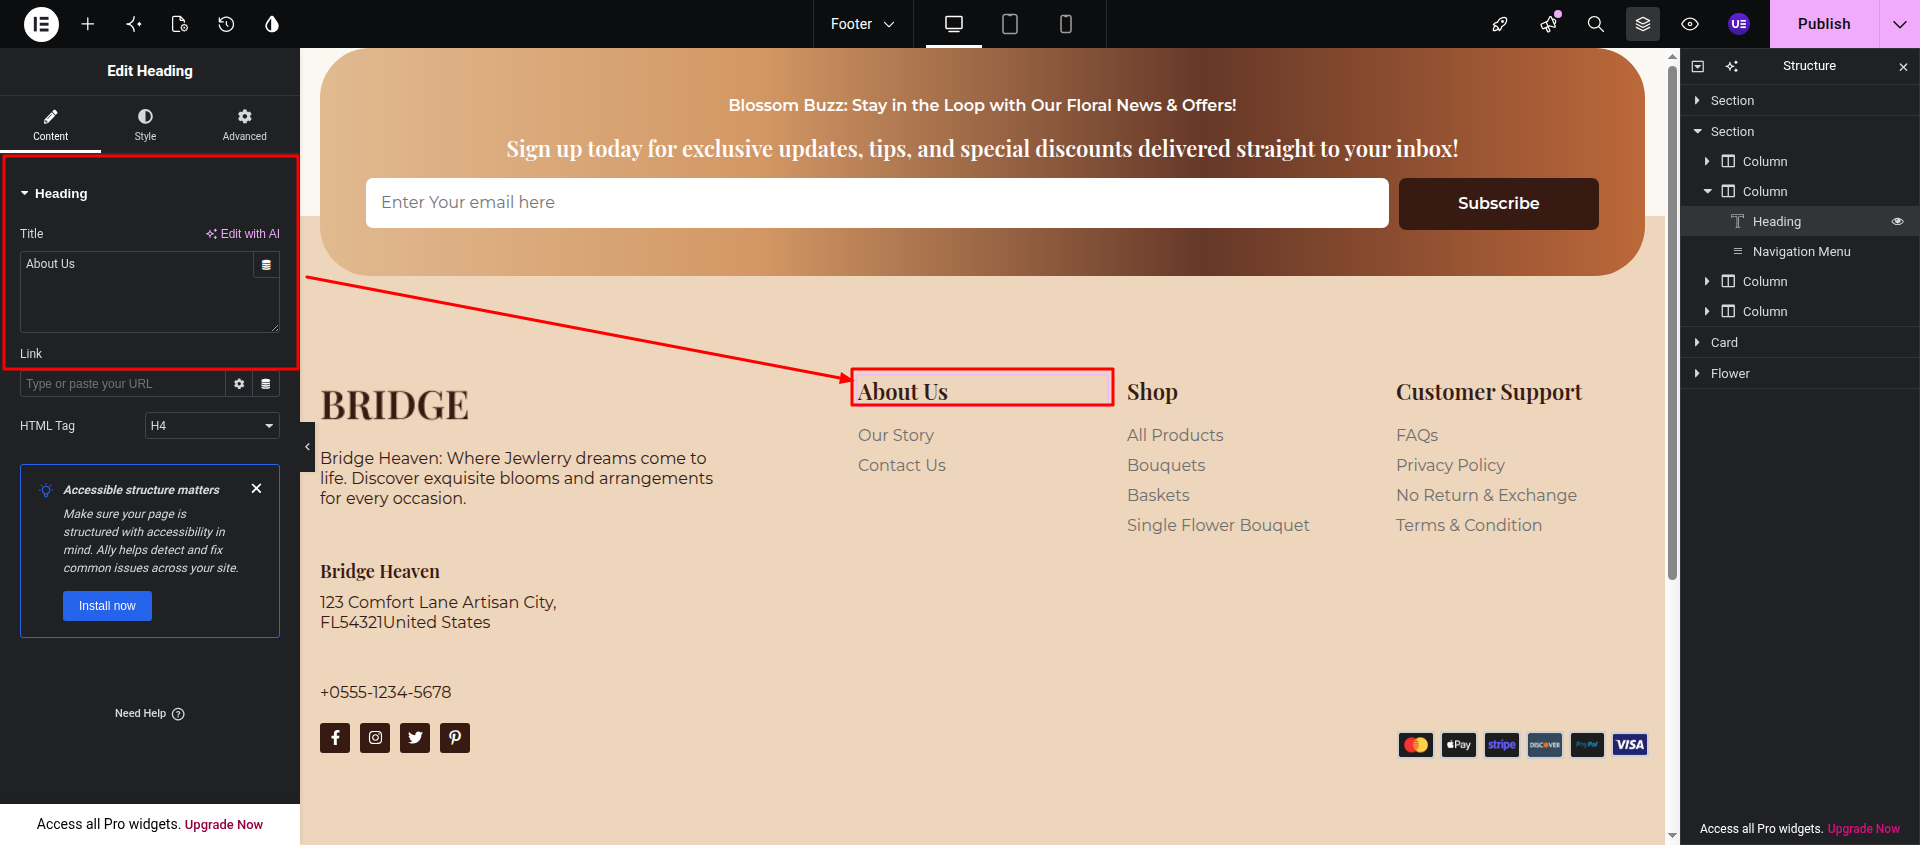
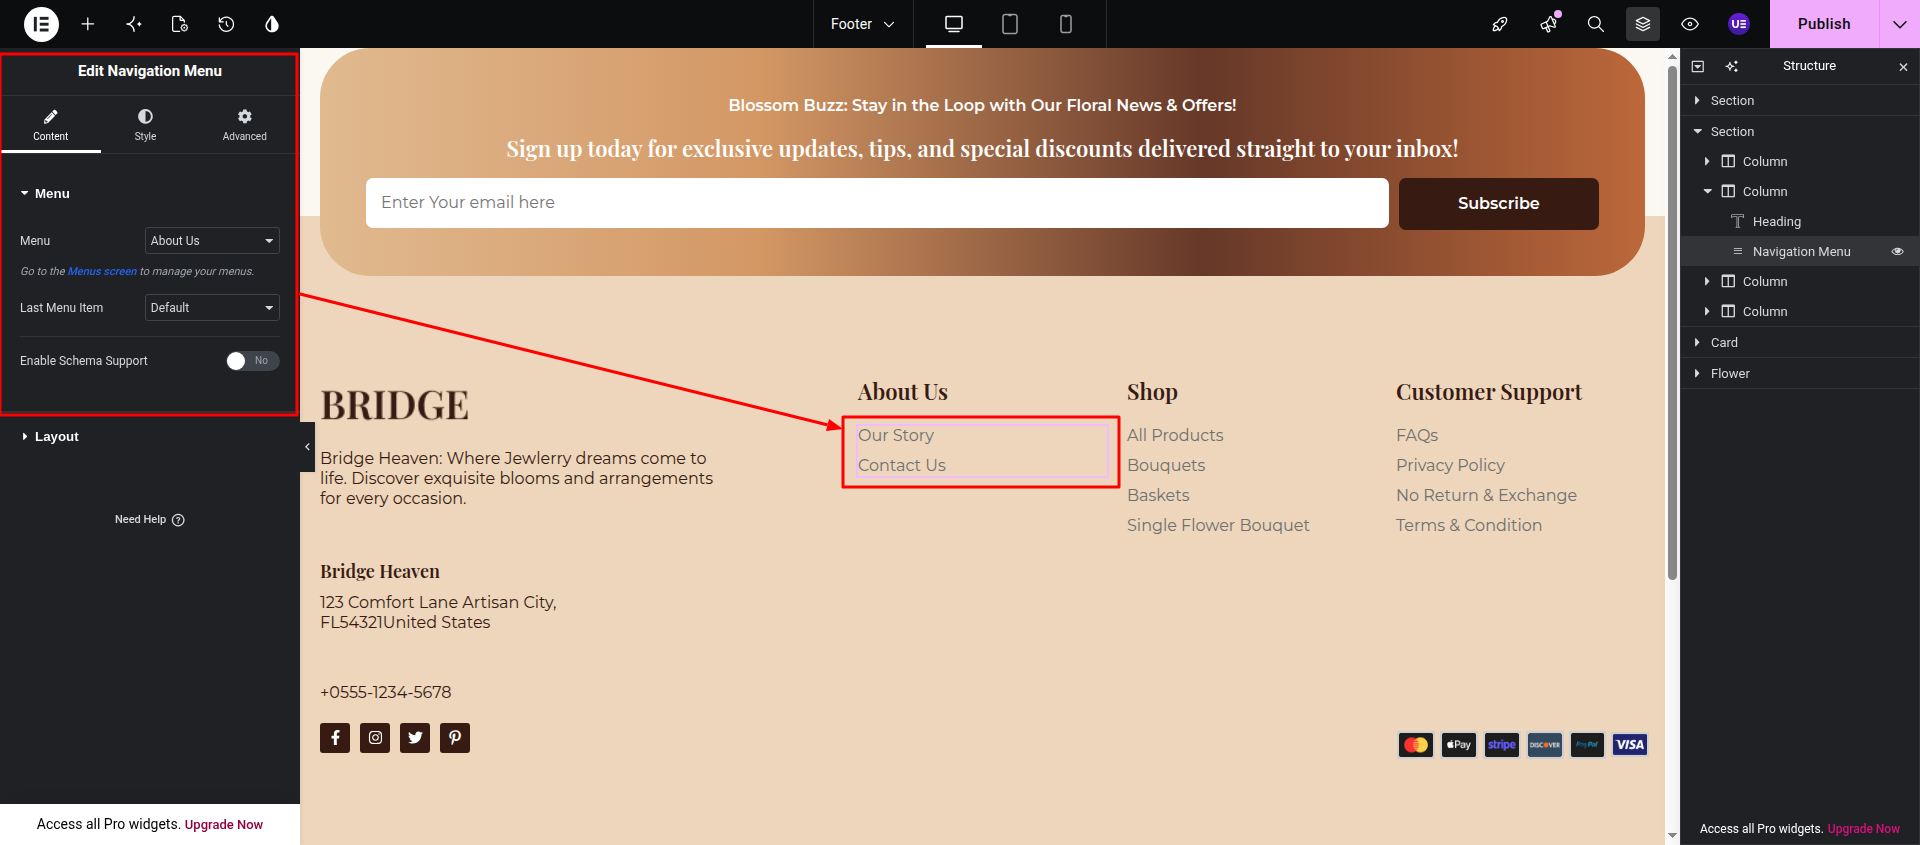
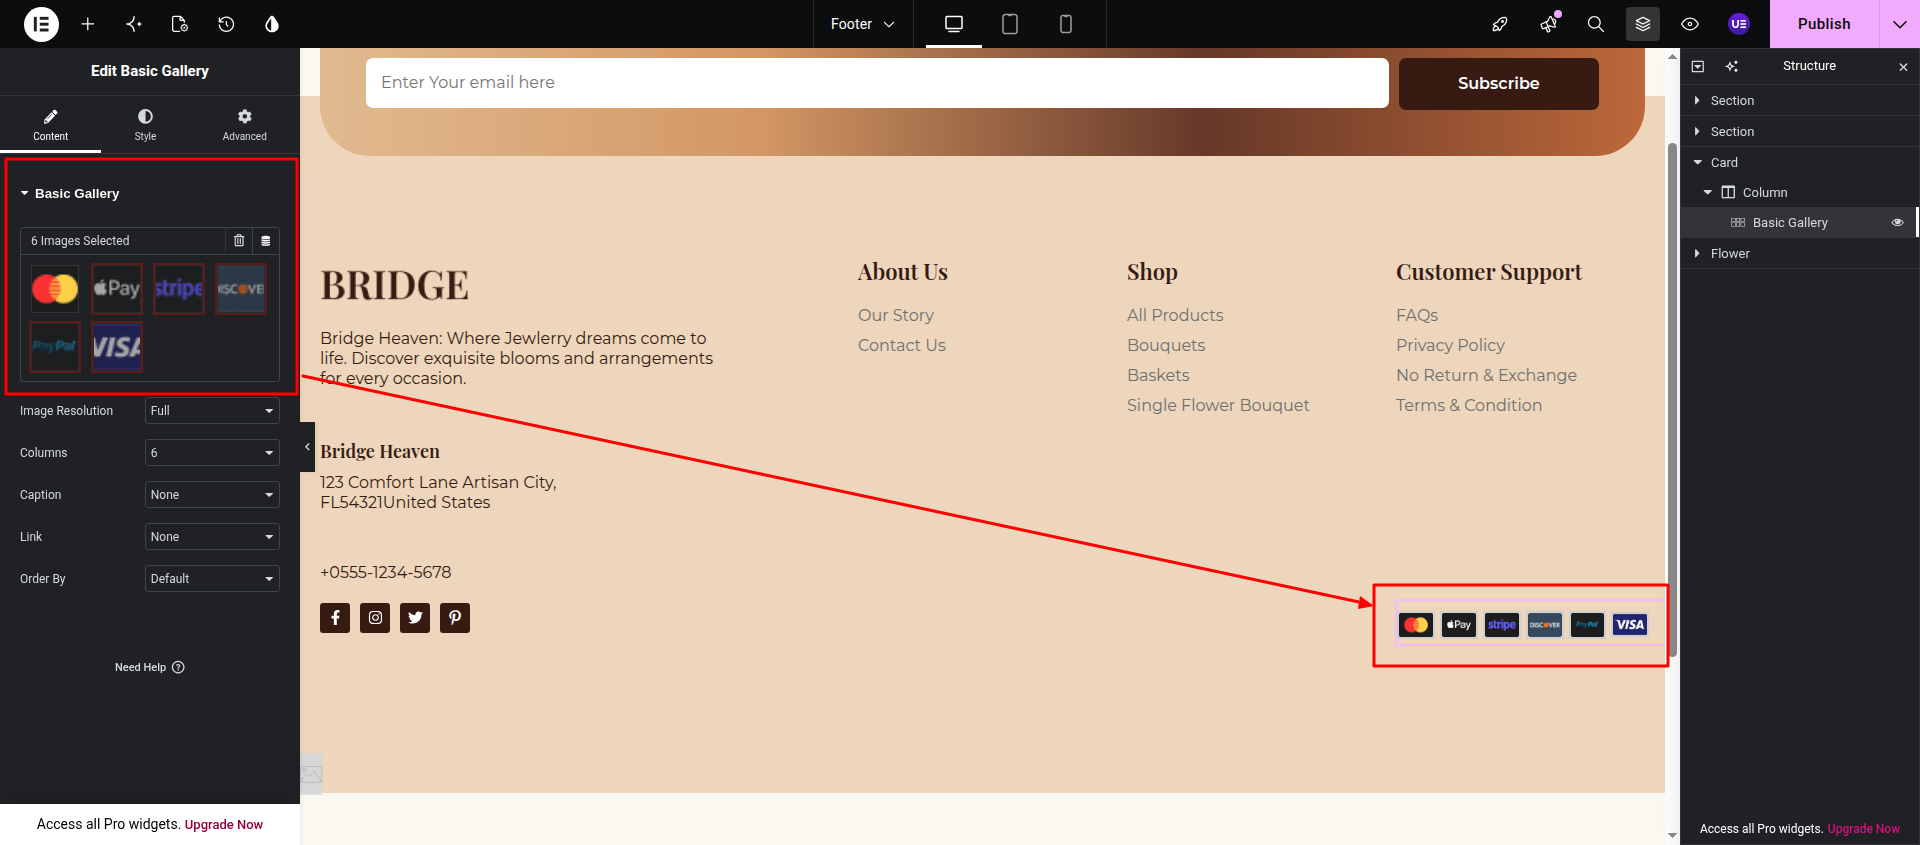
After completing all changes, click Publish to save your updates.
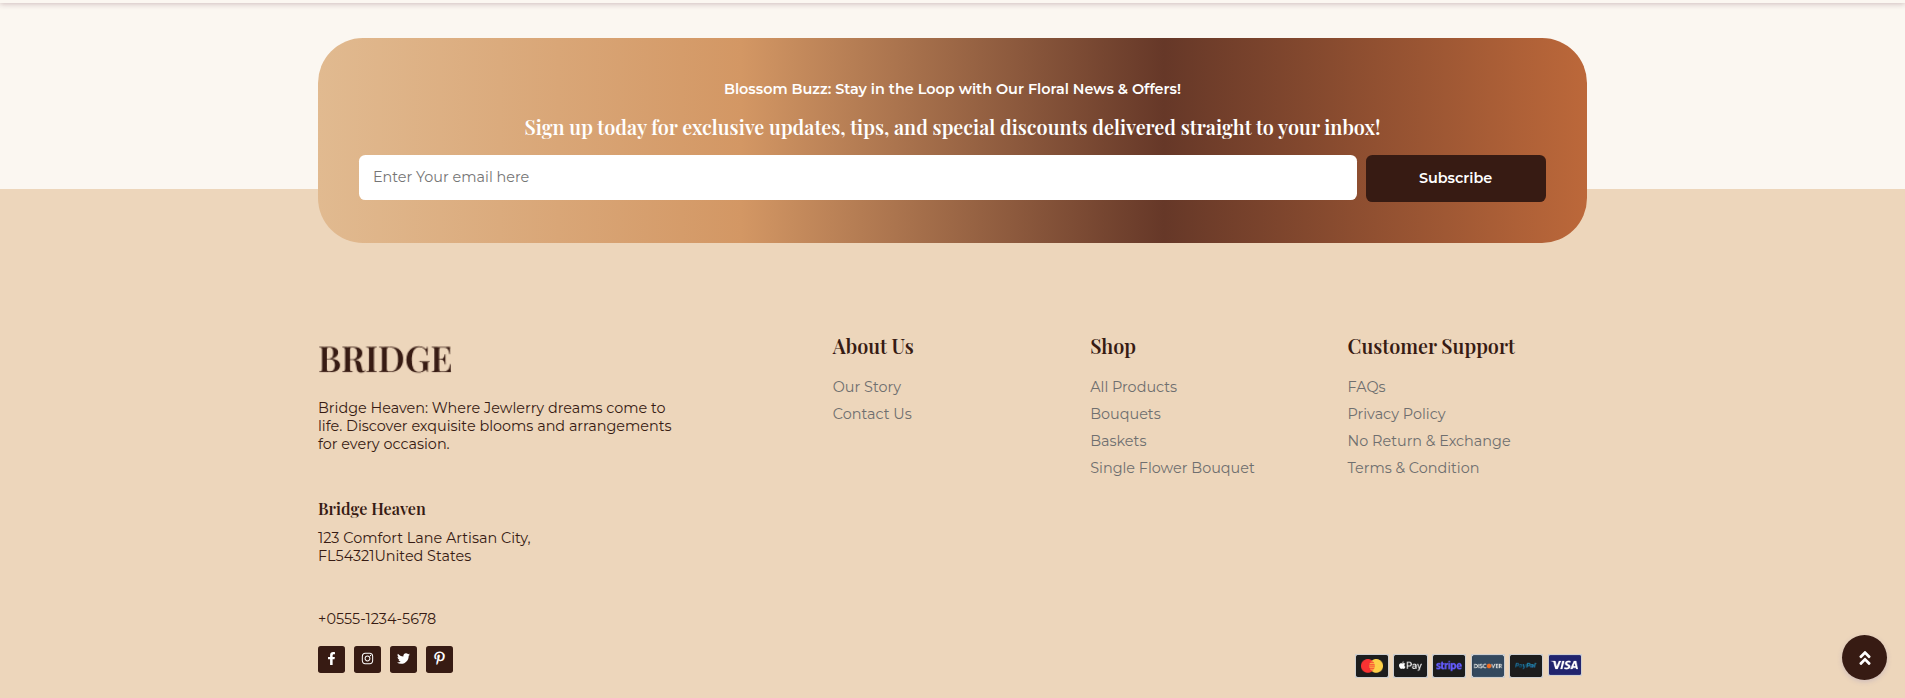
Final Result The customized footer will appear as shown below.