Recognizing of the layout of folders
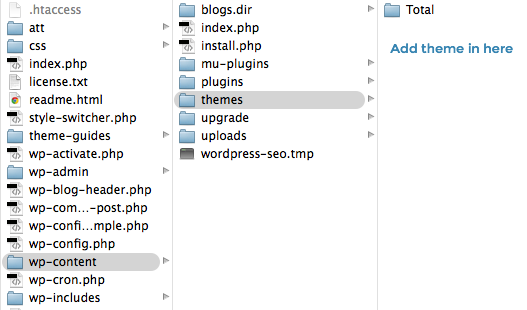
After installation, the bundle will display multiple directories. Below is an overview of each file and its accompanying data:
Please keep in mind that the offered snapshots are only intended to serve as templates and should not be used in actual production situations.
Theme: This location contains every requirement WordPress theme files.
"lawyer-legal-firm-pro" This folder contains all of the necessary WordPress theme files.
Developing via the Template
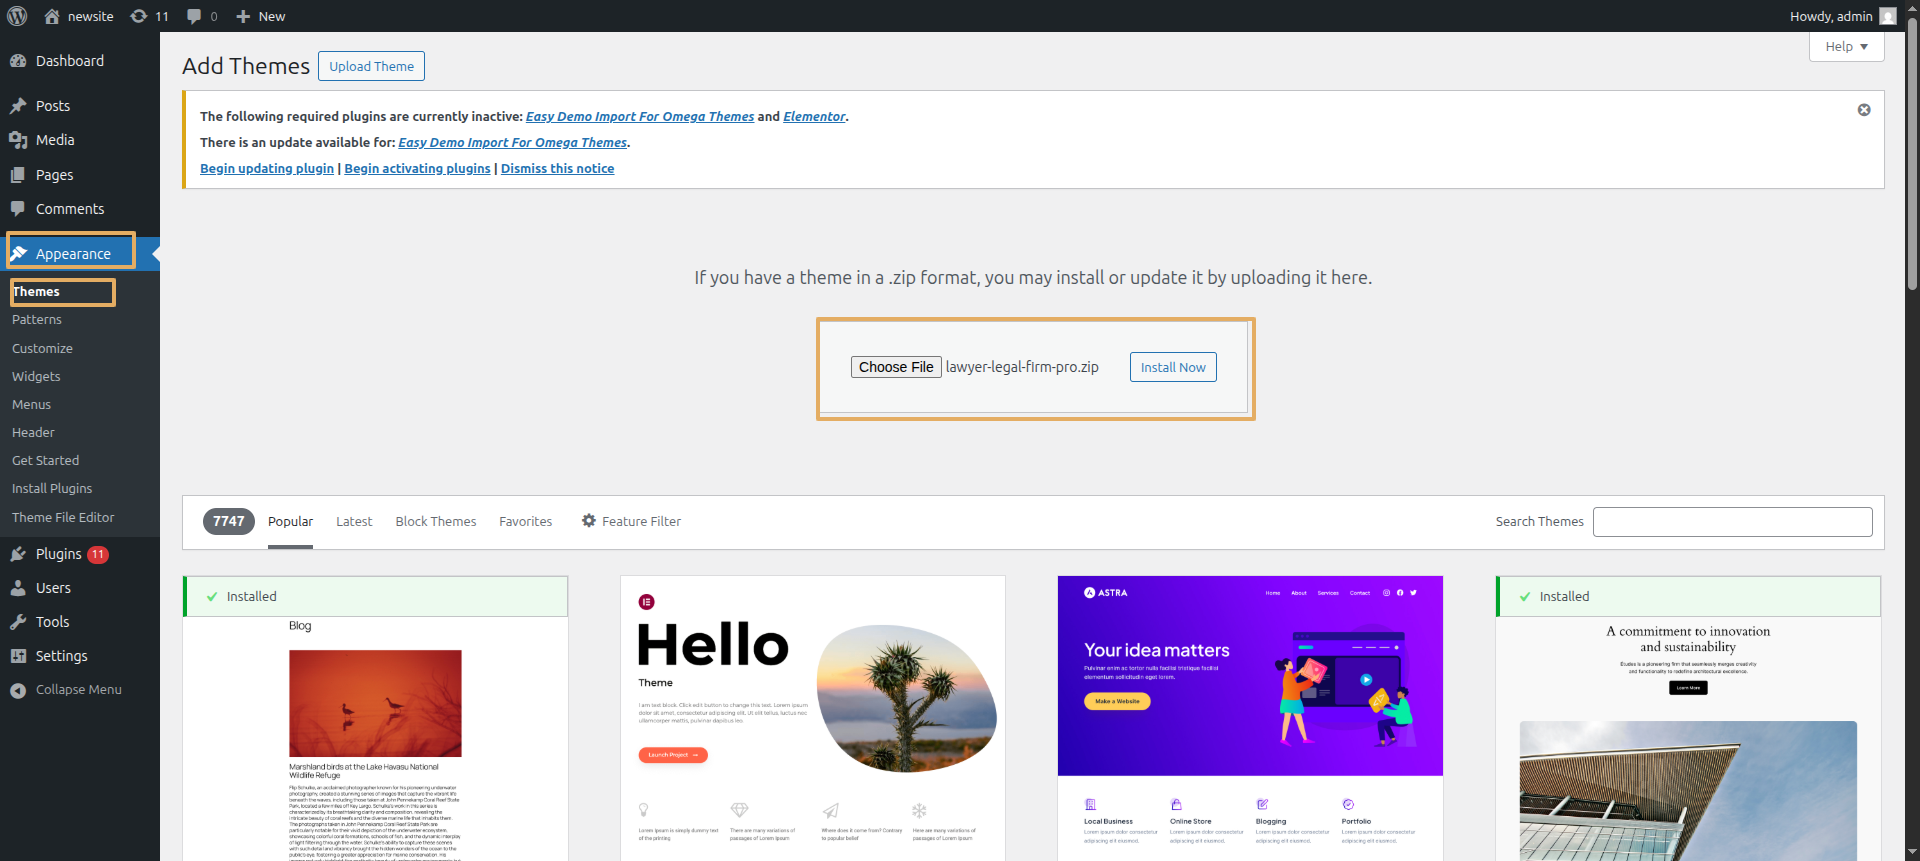
The installation of a WordPress theme is a straightforward process that can be accomplished using one of two methods outlined below.
Initial Progress Log into your WordPress Admin as an administrator to activate the selected theme.
Next Progress while hitting "Dashboard" Discover "Appearance" Move forward "Themes" then "Add New" and lastly "Upload Themes" previous tapping "Install Now" .
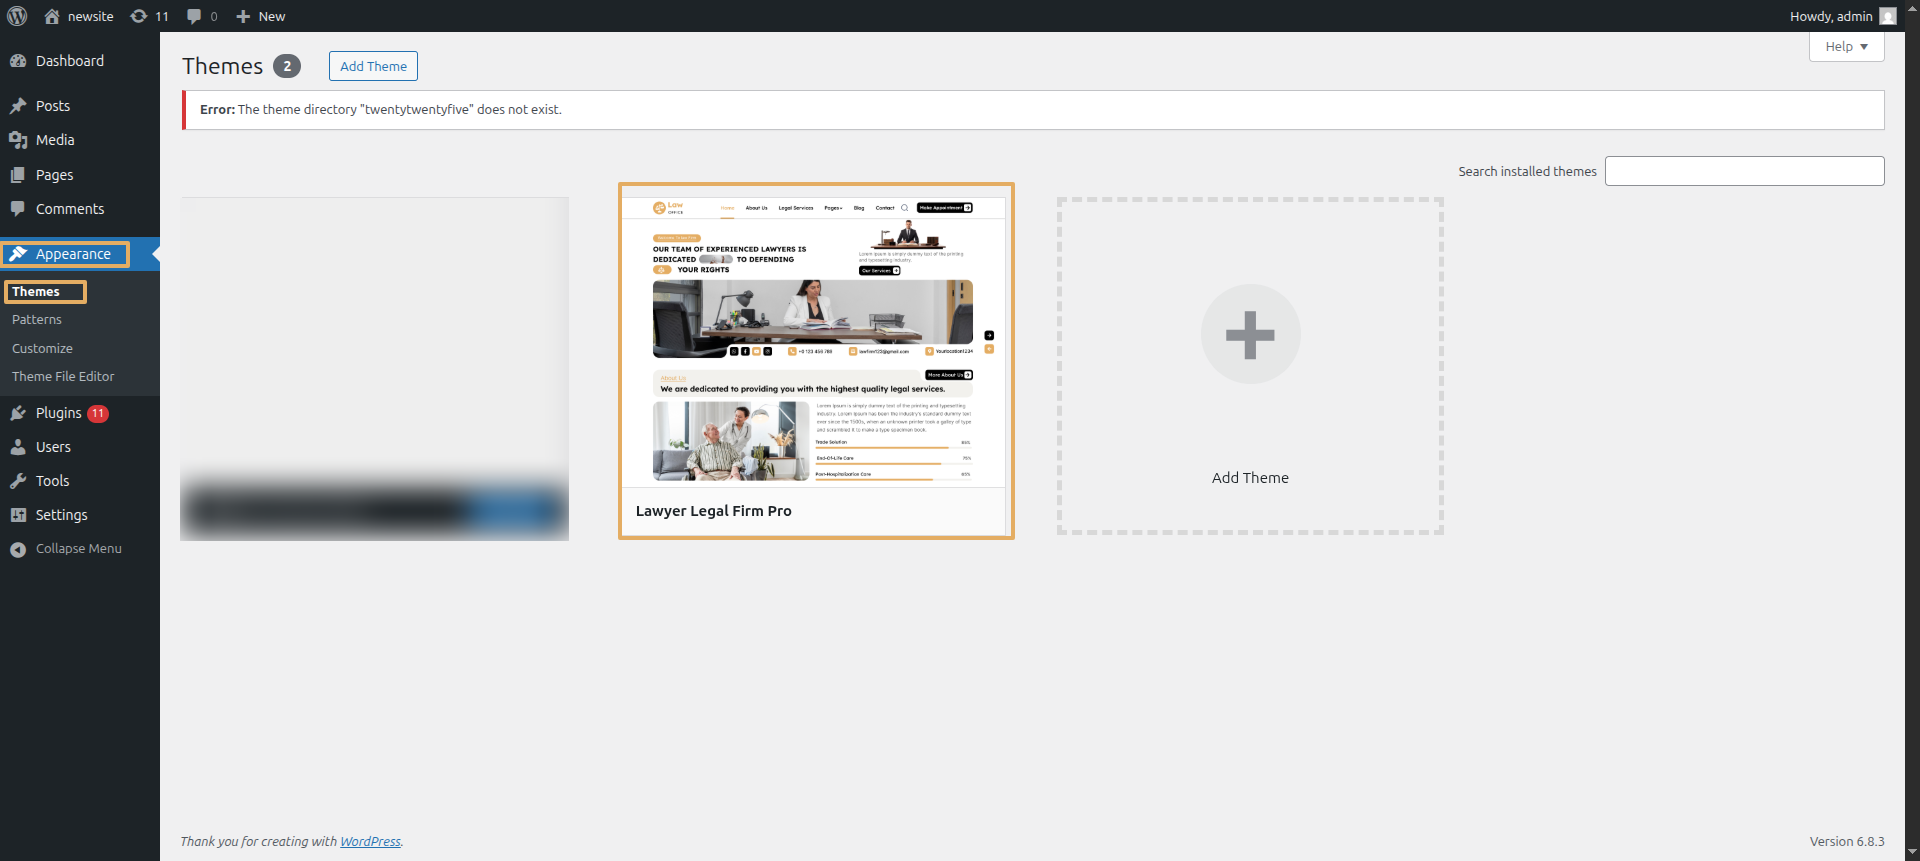
Final Process while hitting "Dashboard" Discover "Appearance" and lastly "Themes" previous tapping "Activate" .
Transmissions through FTP
Use FTP as a last resort. Open your FTP client, log in, and locate wp-content and your theme. Download, unzip, and transfer the folder to the server's "themes" directory. The new template will show under "Appearance" in your WordPress Dashboard.
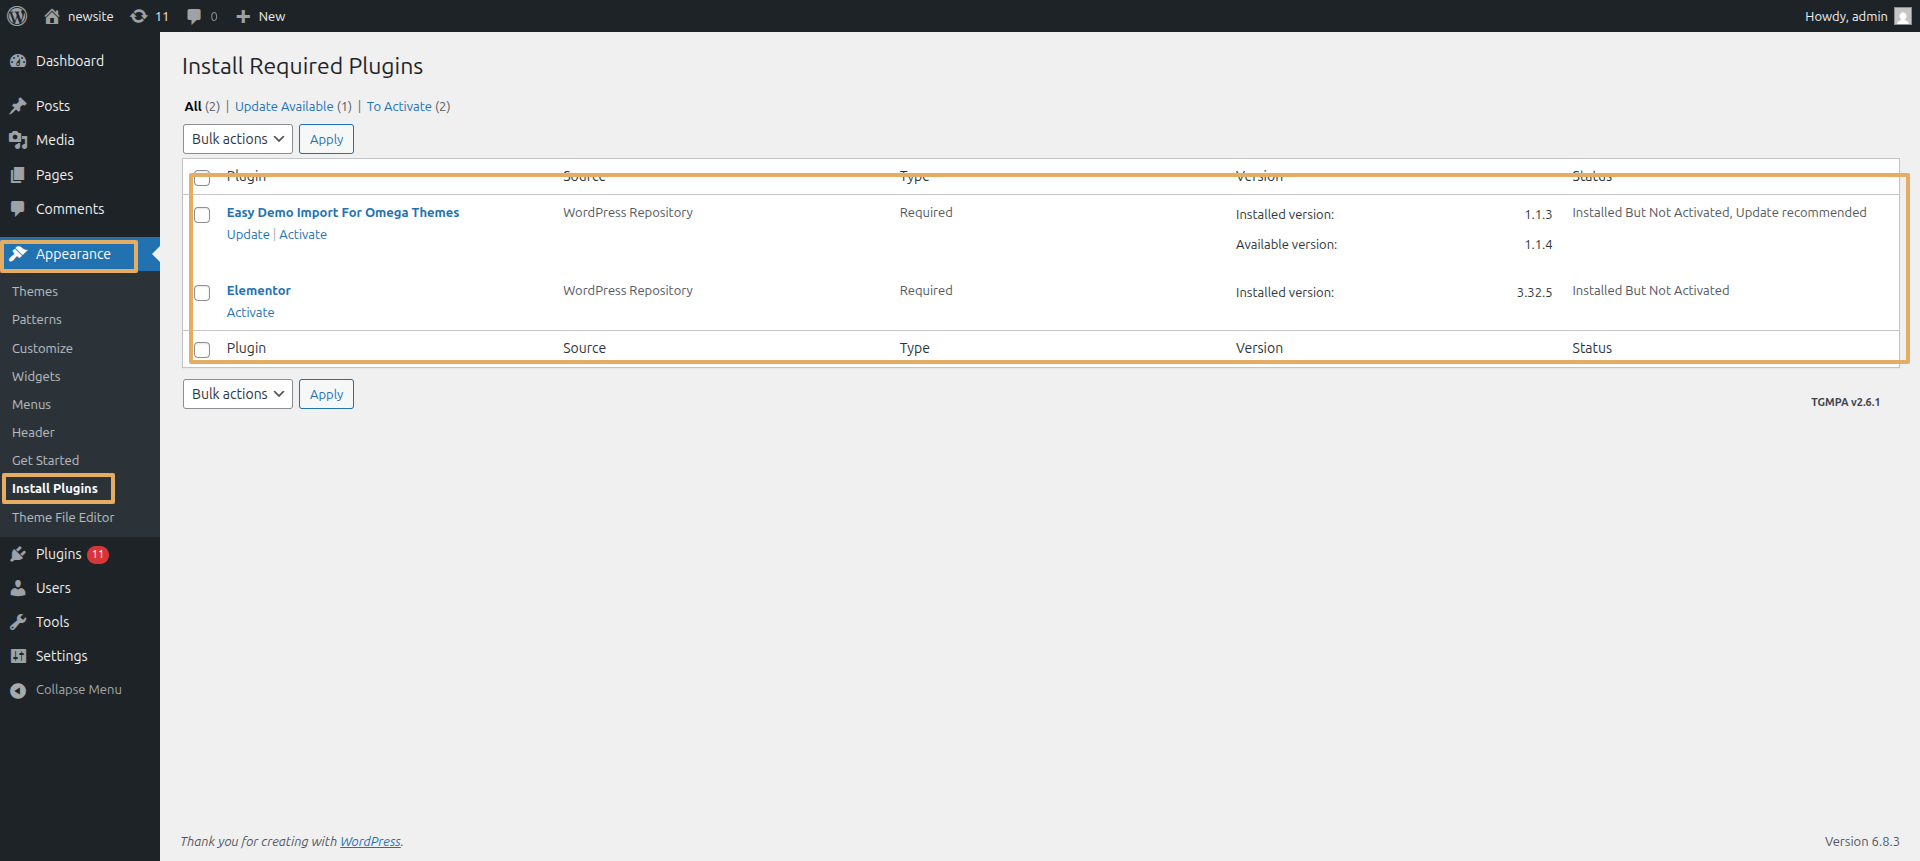
Applying the Plugins as the outset.
Initial Progress while hitting "Dashboard" Discover "Appearance" and lastly "Install Plugins" previous tapping "Install Now" .
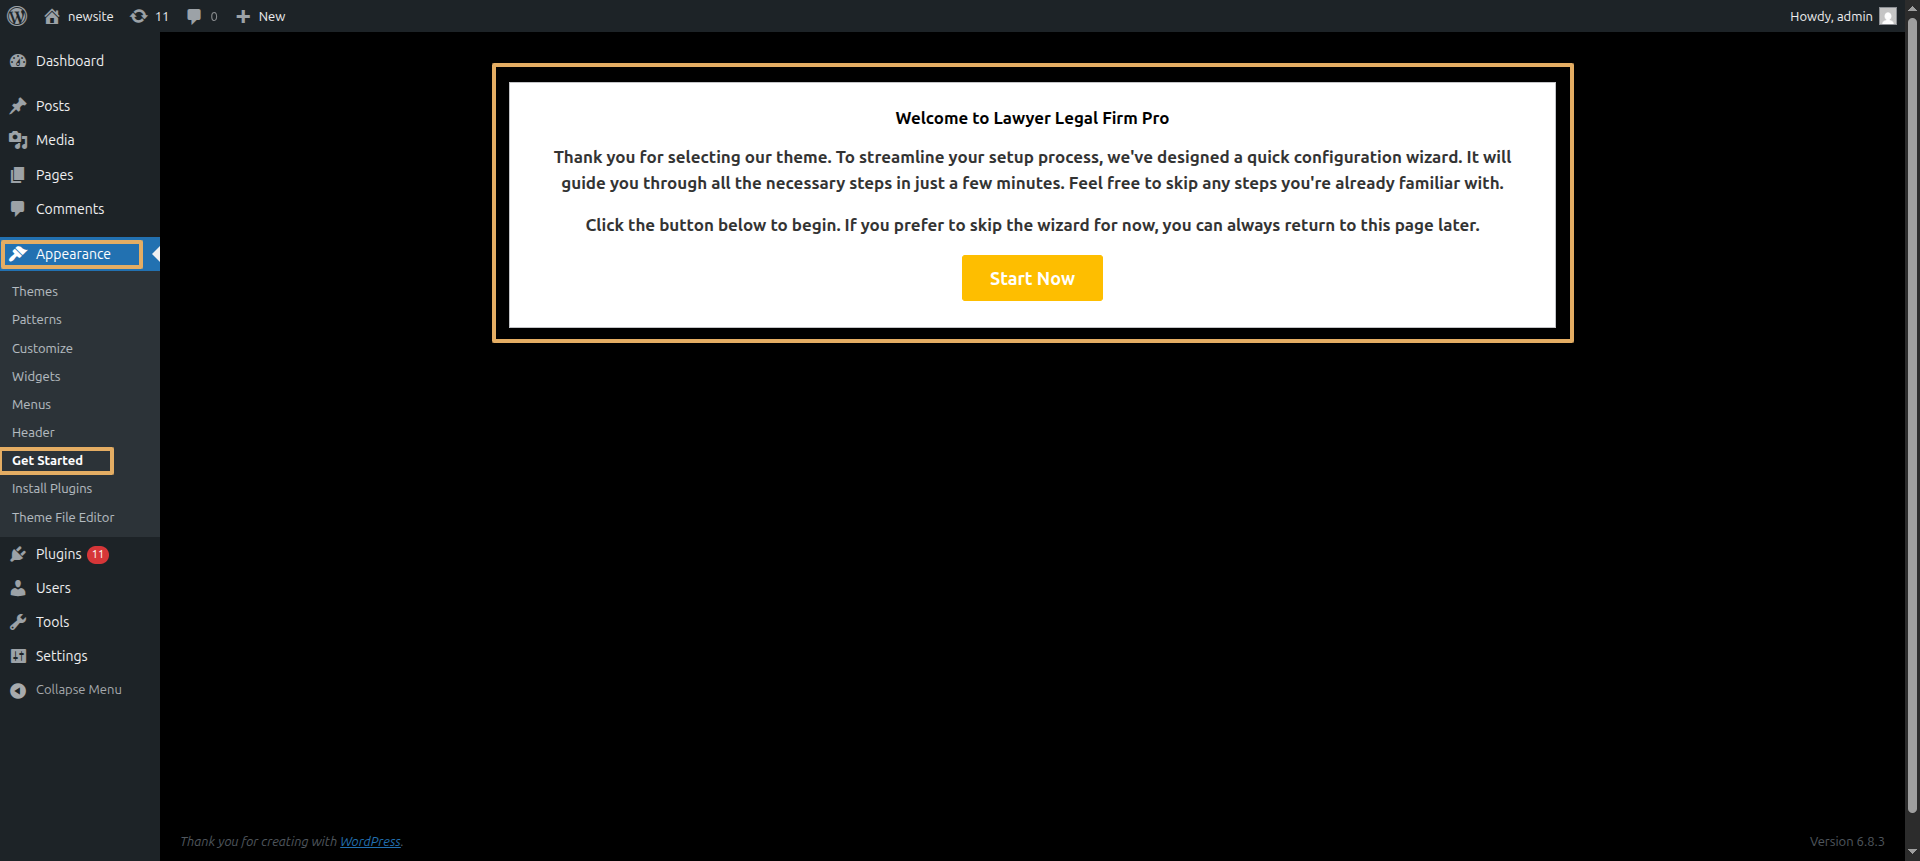
Applying the Demo Imported as the outset
The Demo Import function in WordPress offers a straightforward solution for users to seamlessly import demo content with just a few simple clicks..
Initial Progress while hitting "Dashboard" Discover "Appearance" and lastly "Get Started" previous tapping "Run Importer" .
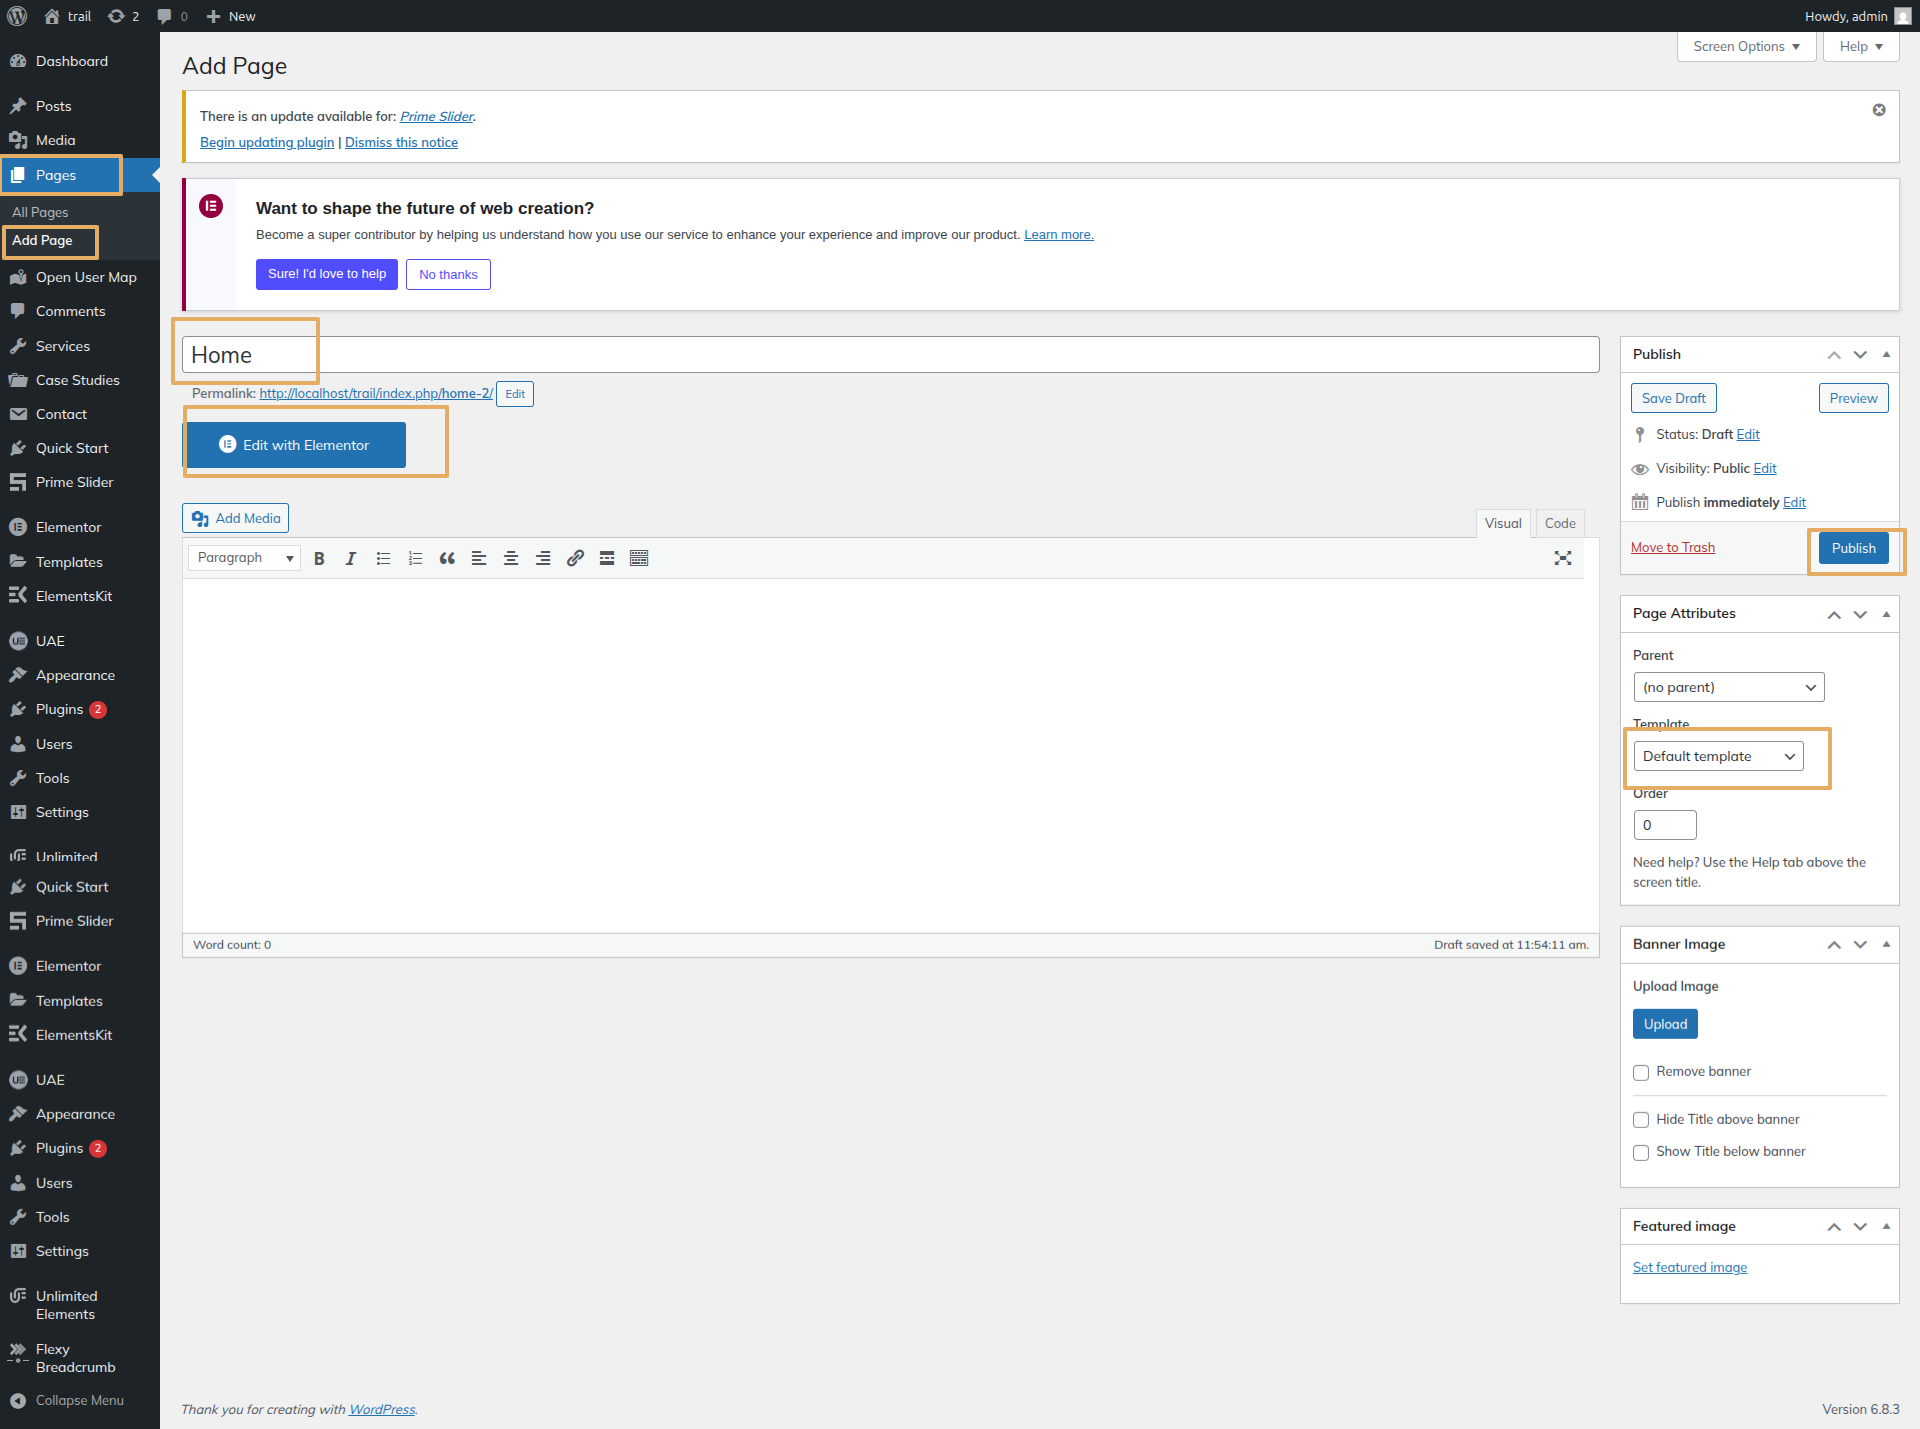
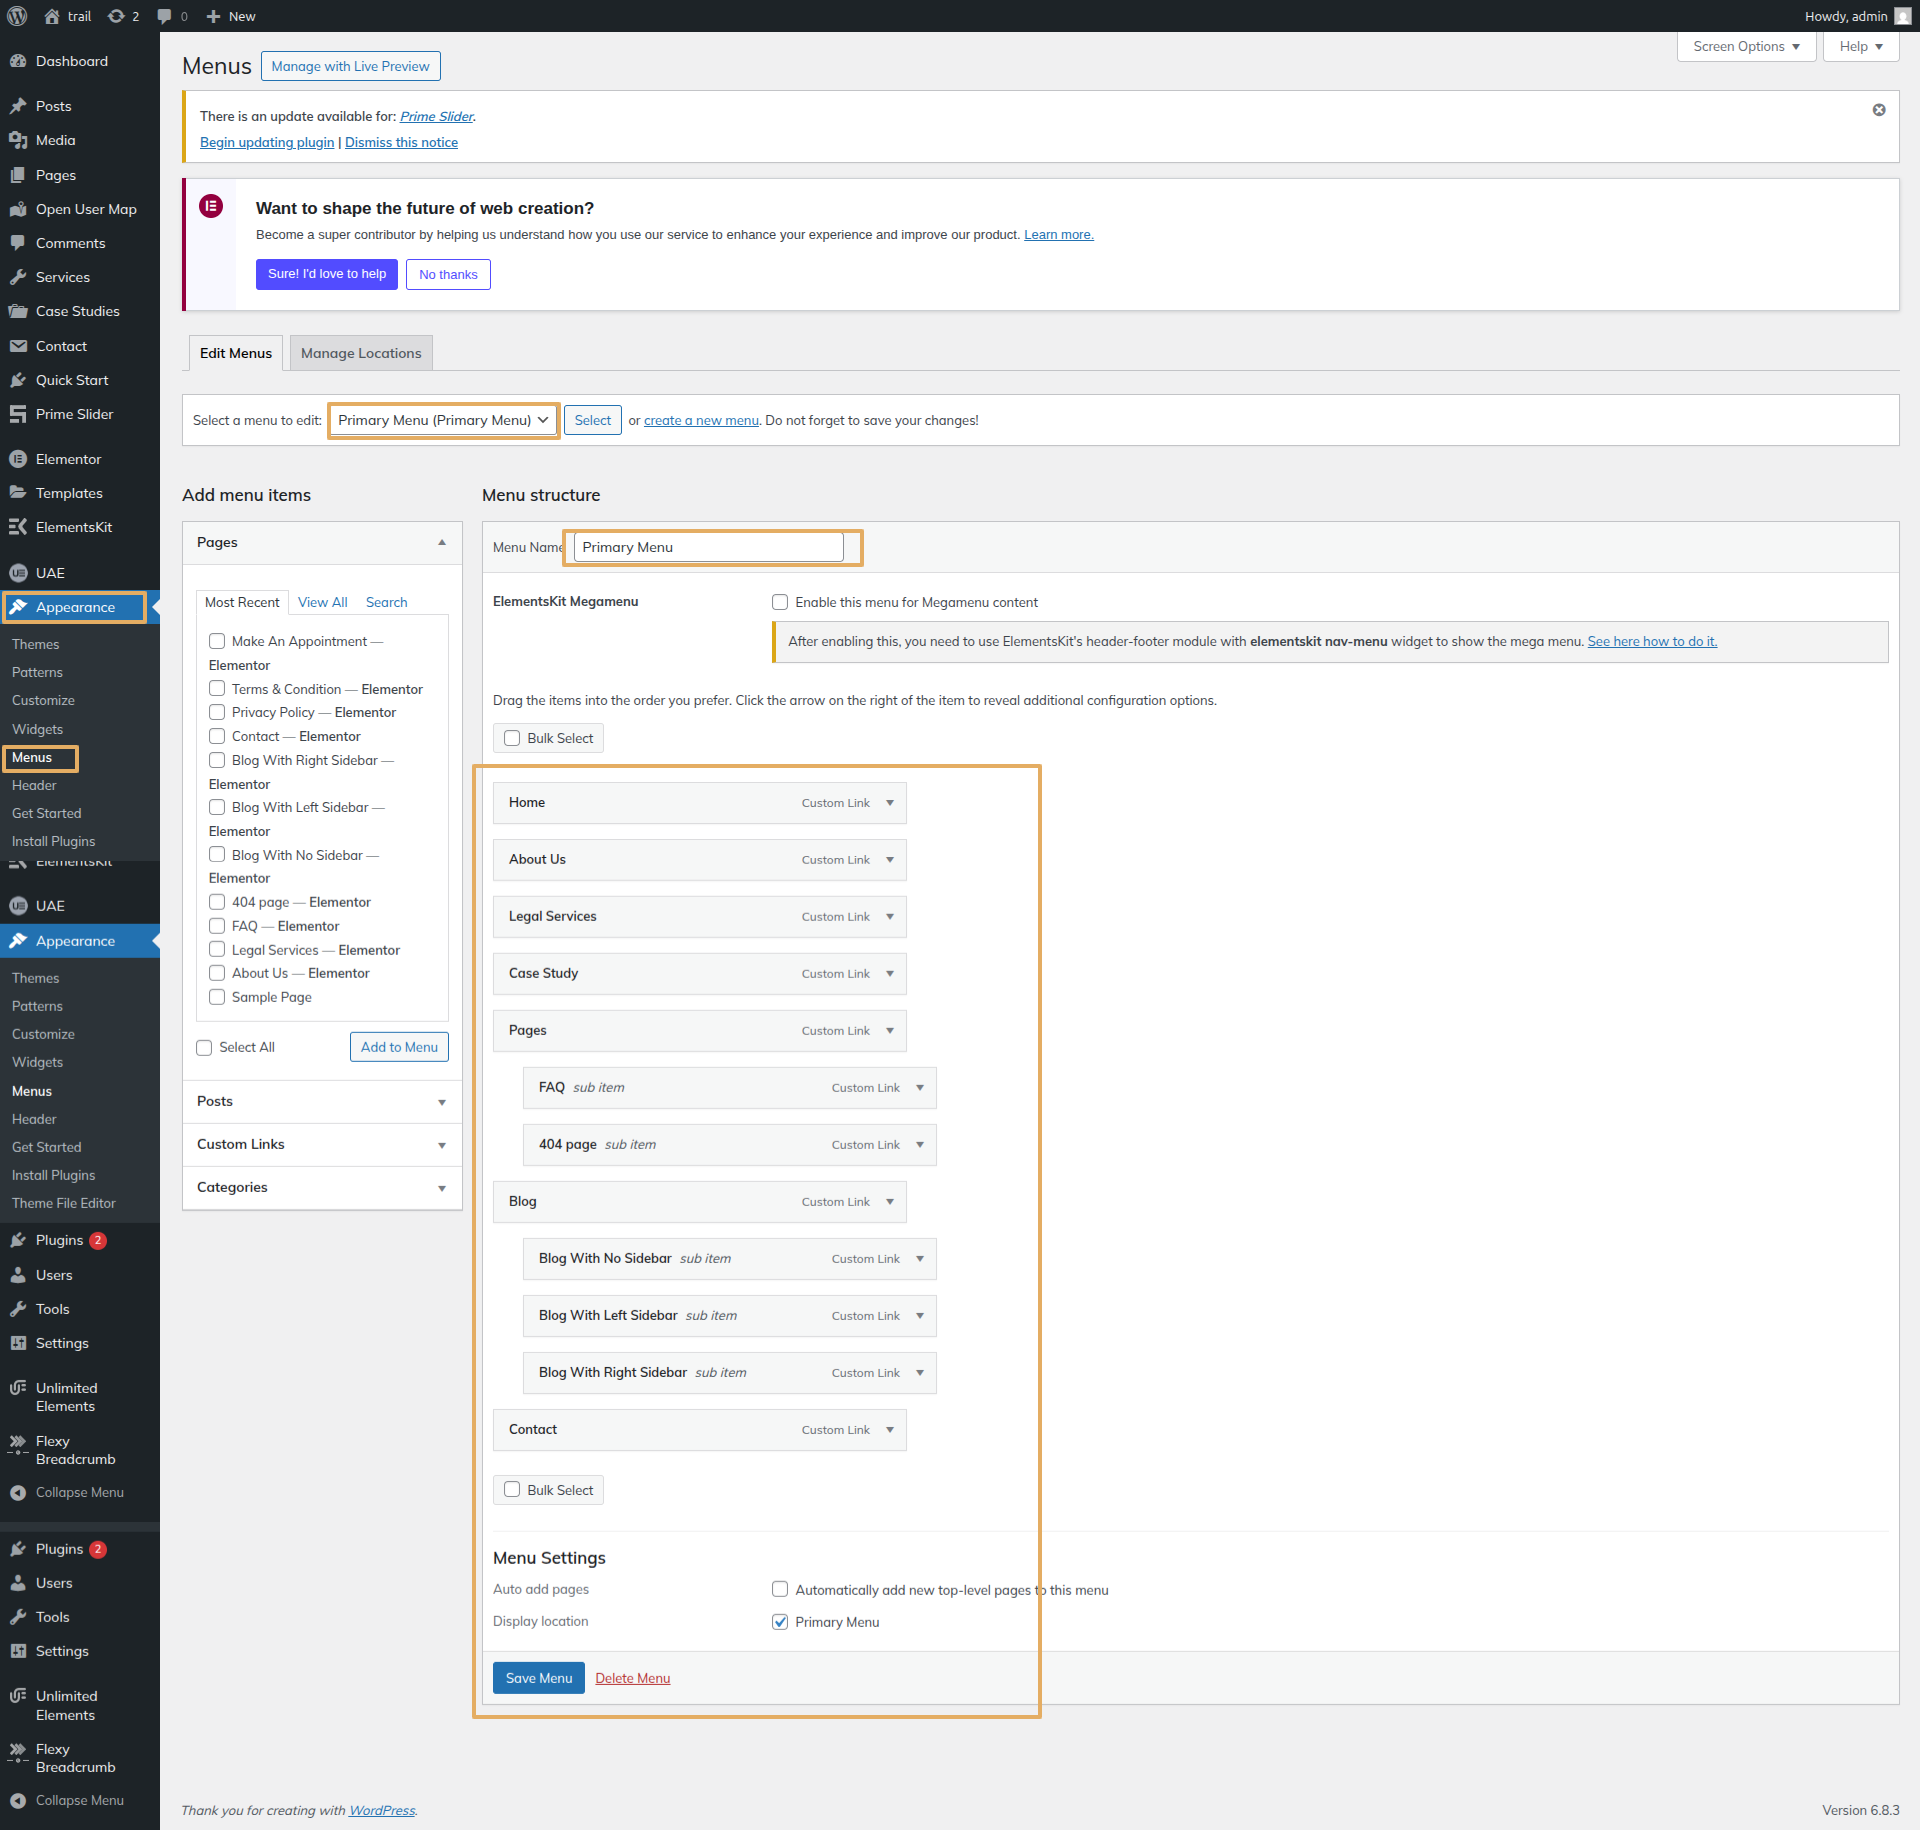
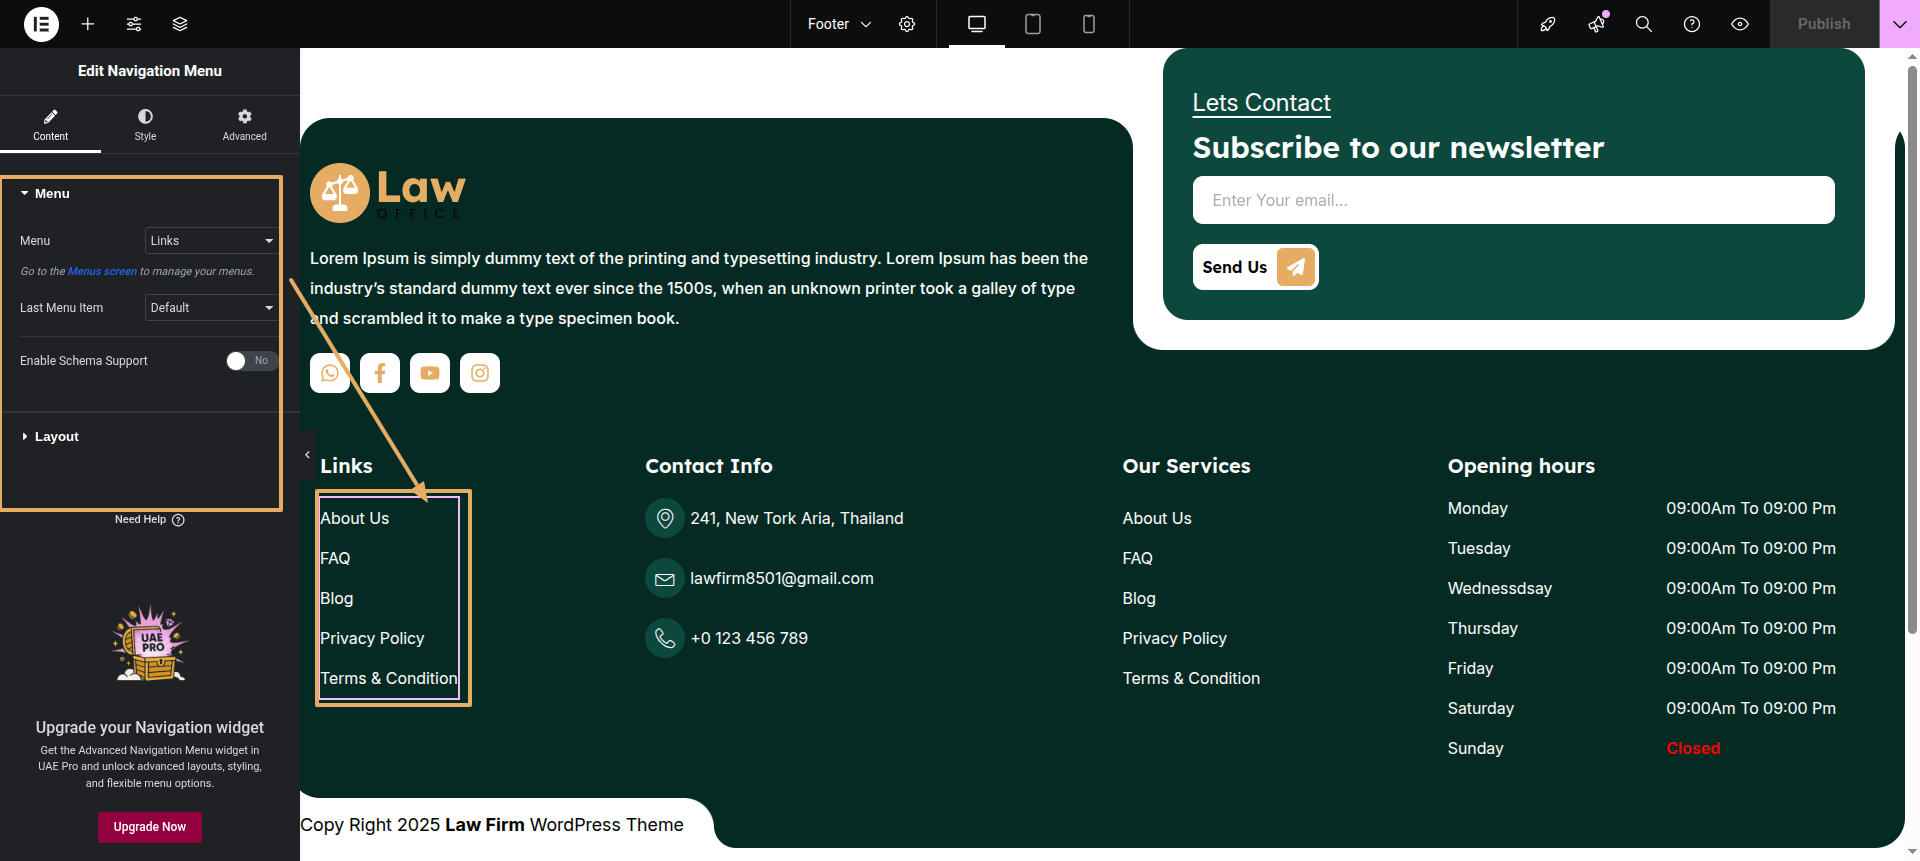
This section pertains to the Navigation reference.
Initial Progress while hitting "Dashboard" Discover "Page" and lastly "Add New" previous tapping "Published" .
Next Progress while hitting "Dashboard" Discover "Appearance" then "Menu" Move forward "Menu Name" and lastly "Display Location" previous tapping "Create Menu" .
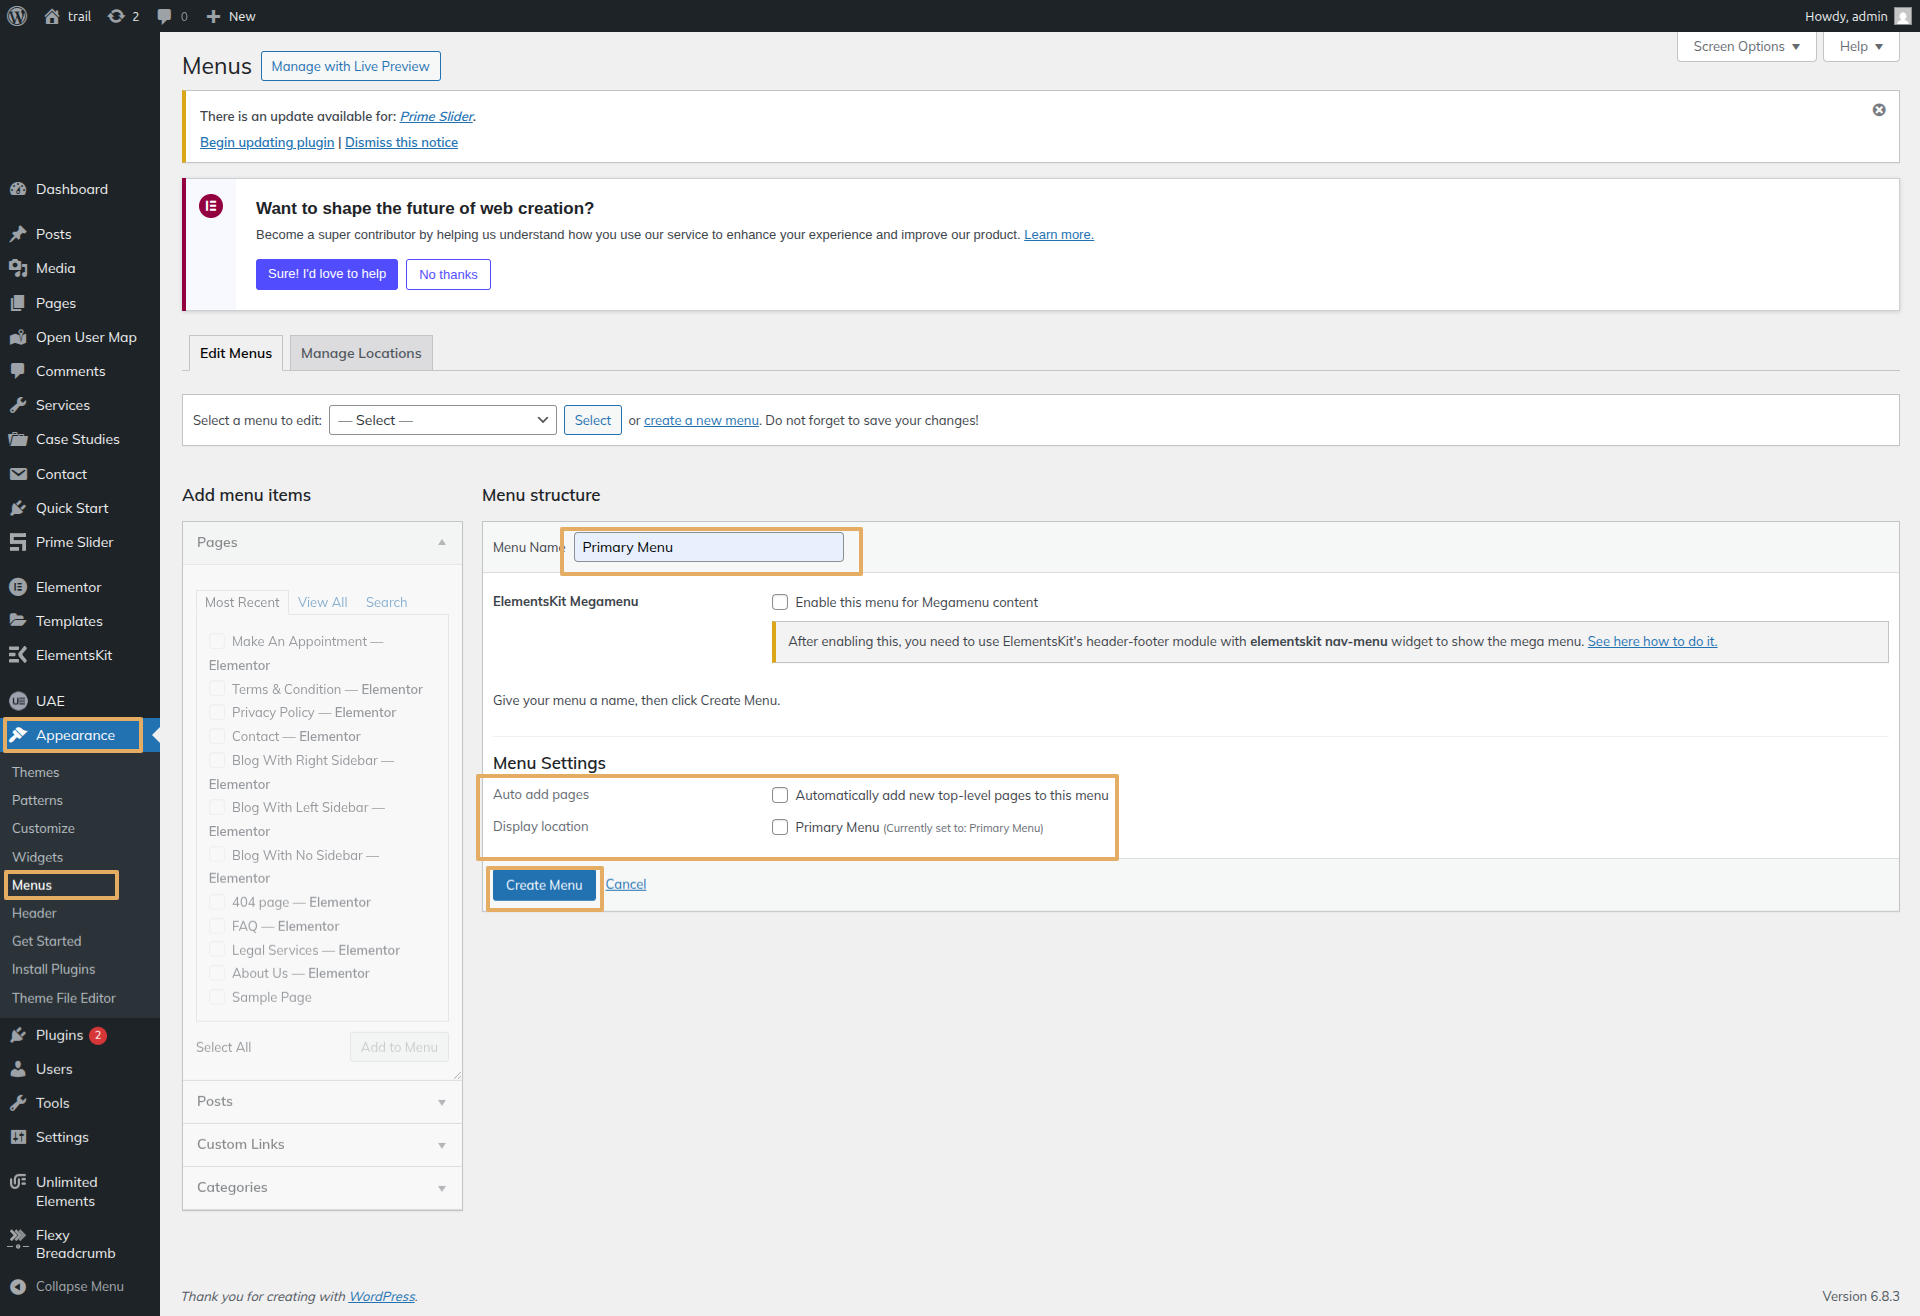
Final Progress while hitting "Dashboard" Discover "Appearance" then "Menu" Move forward "Select All" and lastly "Add to Menu" previous tapping "Save Menu" .
This section pertains to the Site Identity reference.
Initial Progress while hitting "Dashboard" Discover "Elements-Kit" Move forward "Edit with elementor" select image/site identity widget" and then "Publish" .
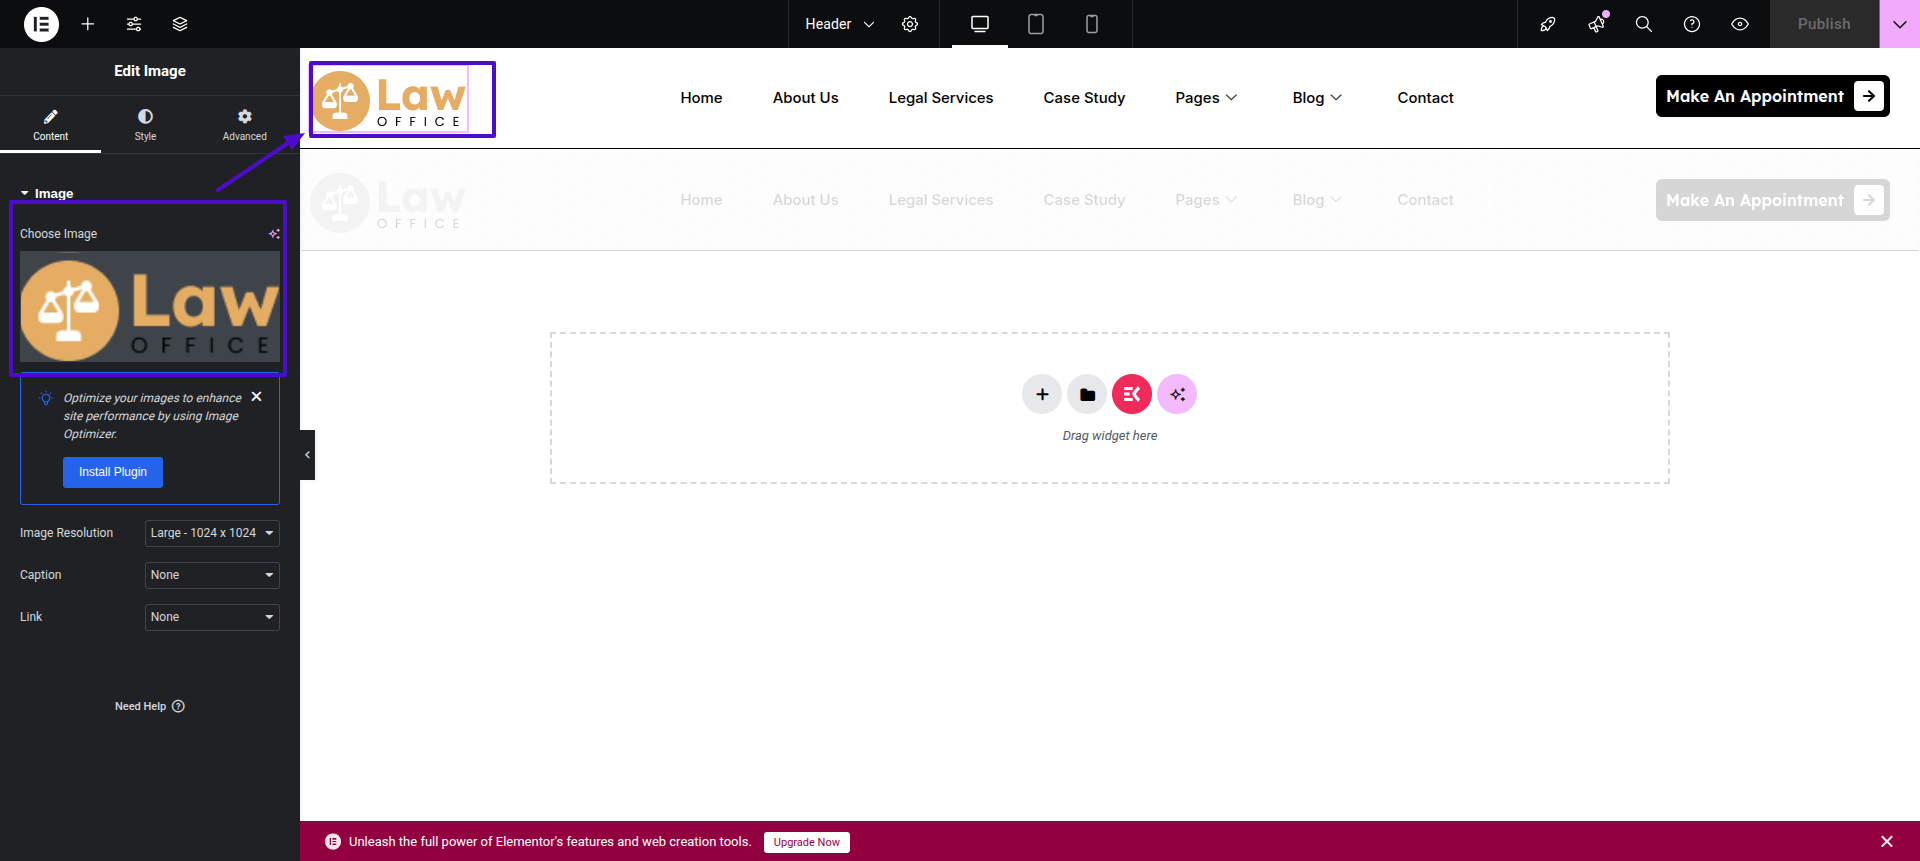
Final Progress See below for design insights.
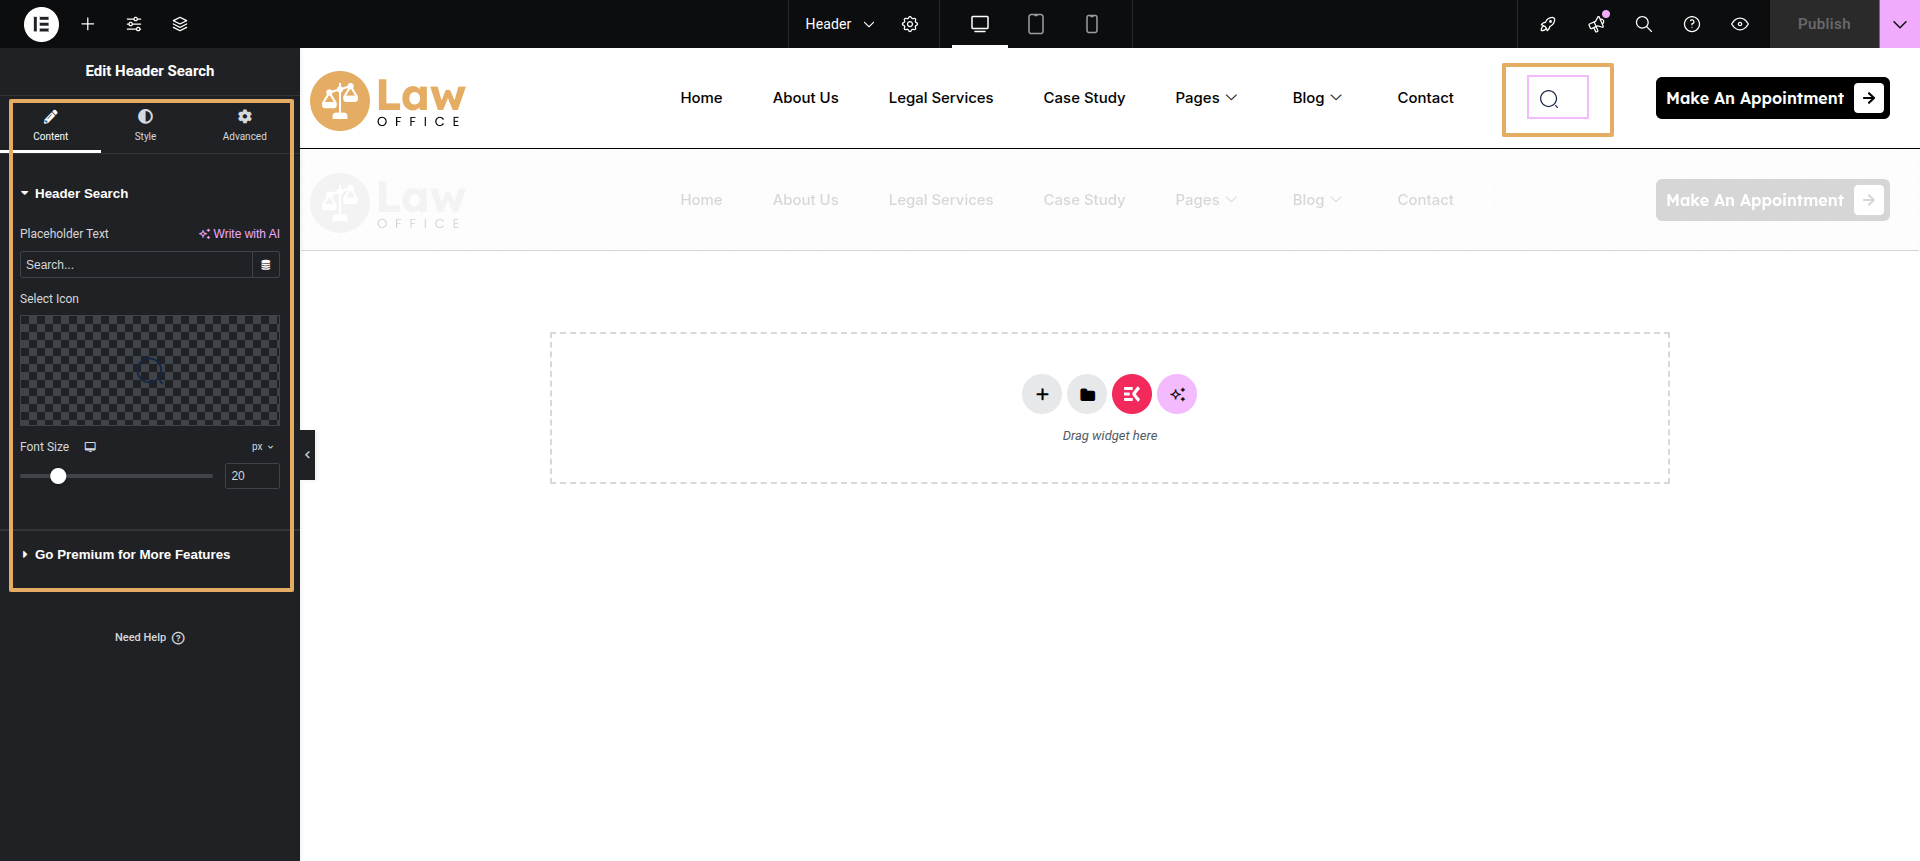
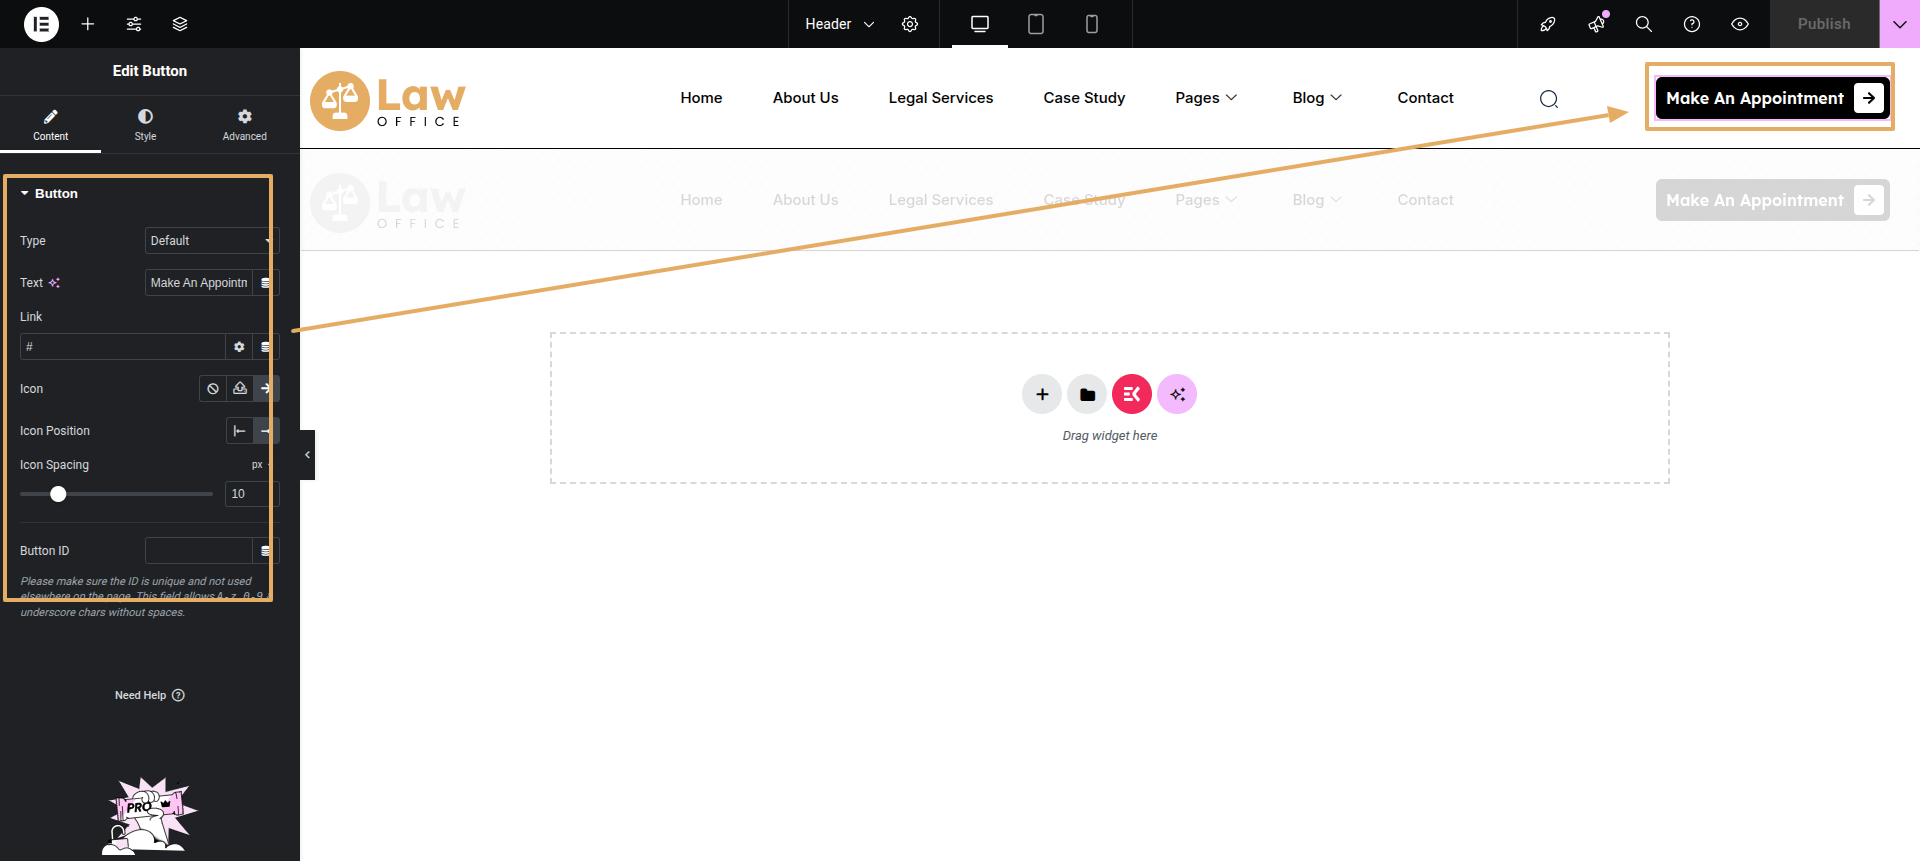
This section pertains to the Header reference.
Initial Progress while hitting "Dashboard" Discover "Appearance" then "Customizing" Move forward "Theme Settings" and lastly "Header Settings" previous tapping "Published" .
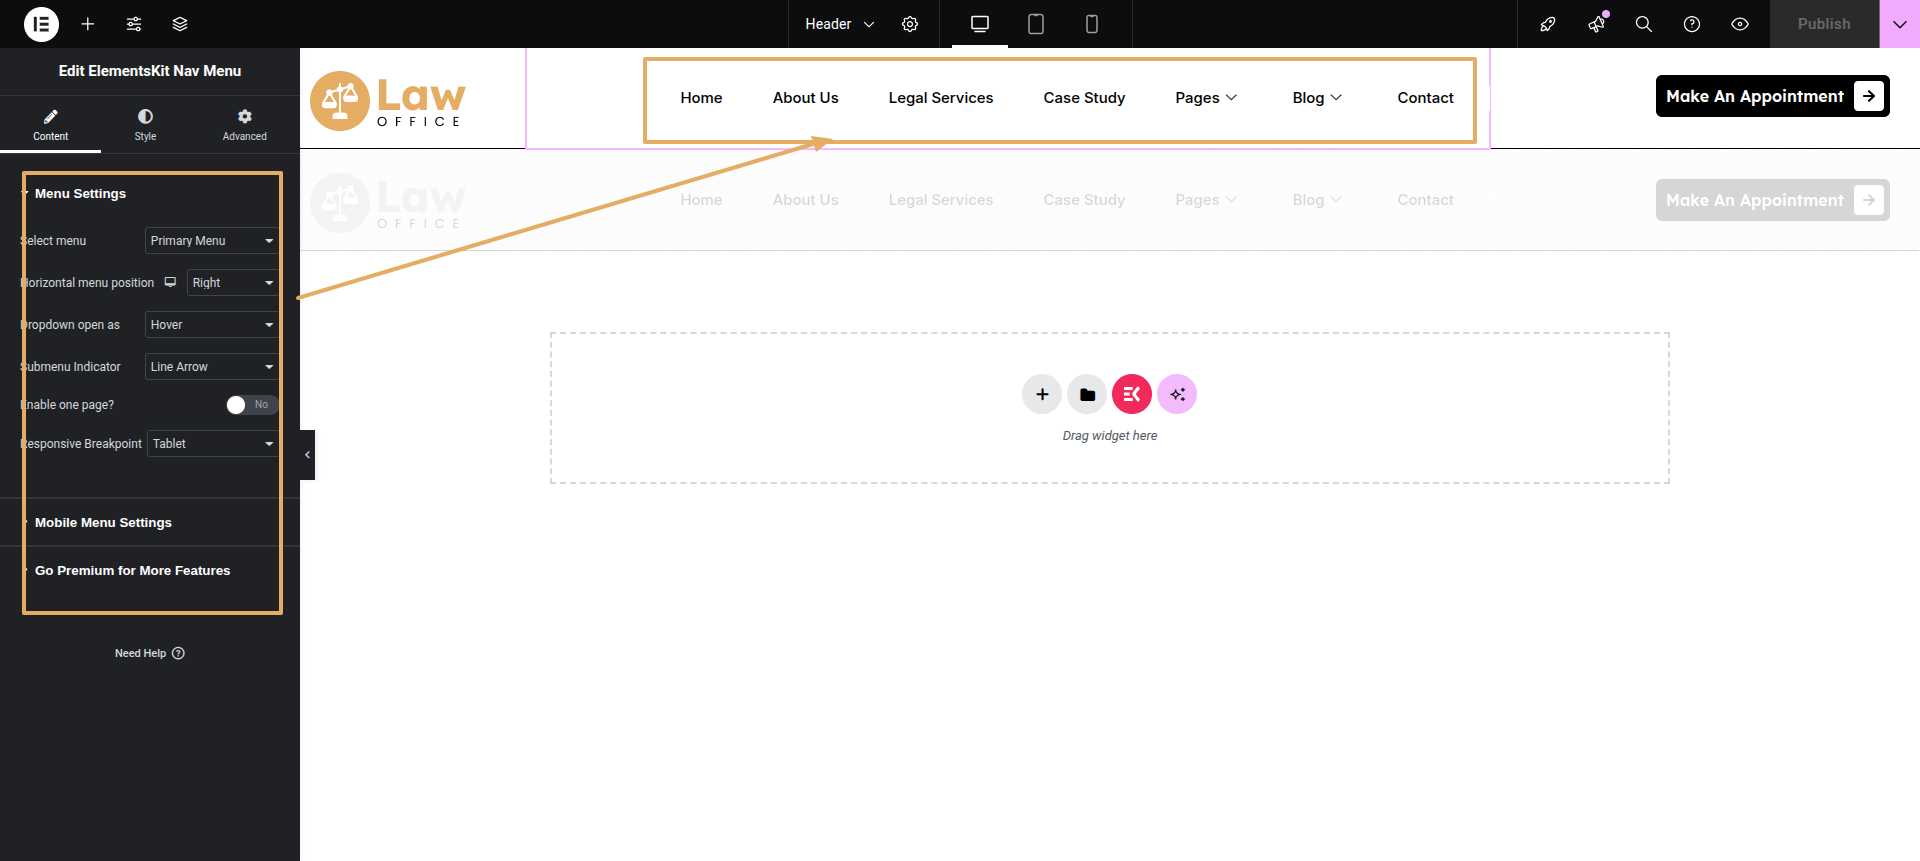
Final Progress See below for design insights.
Final Progress See below for design insights.
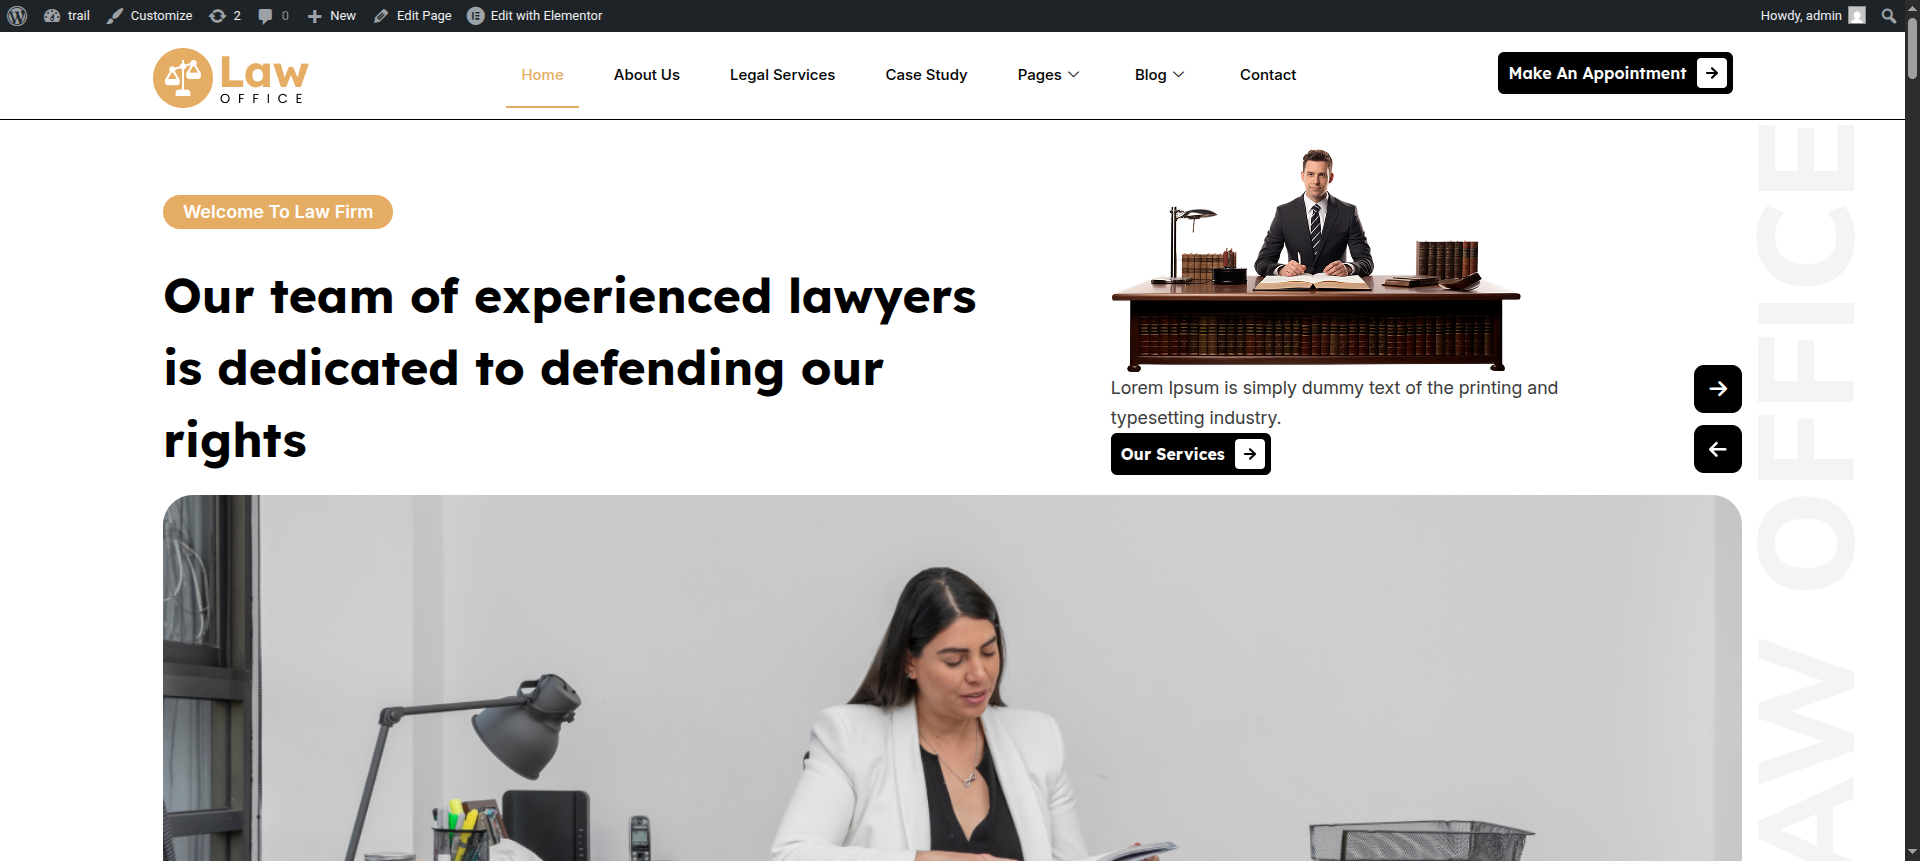
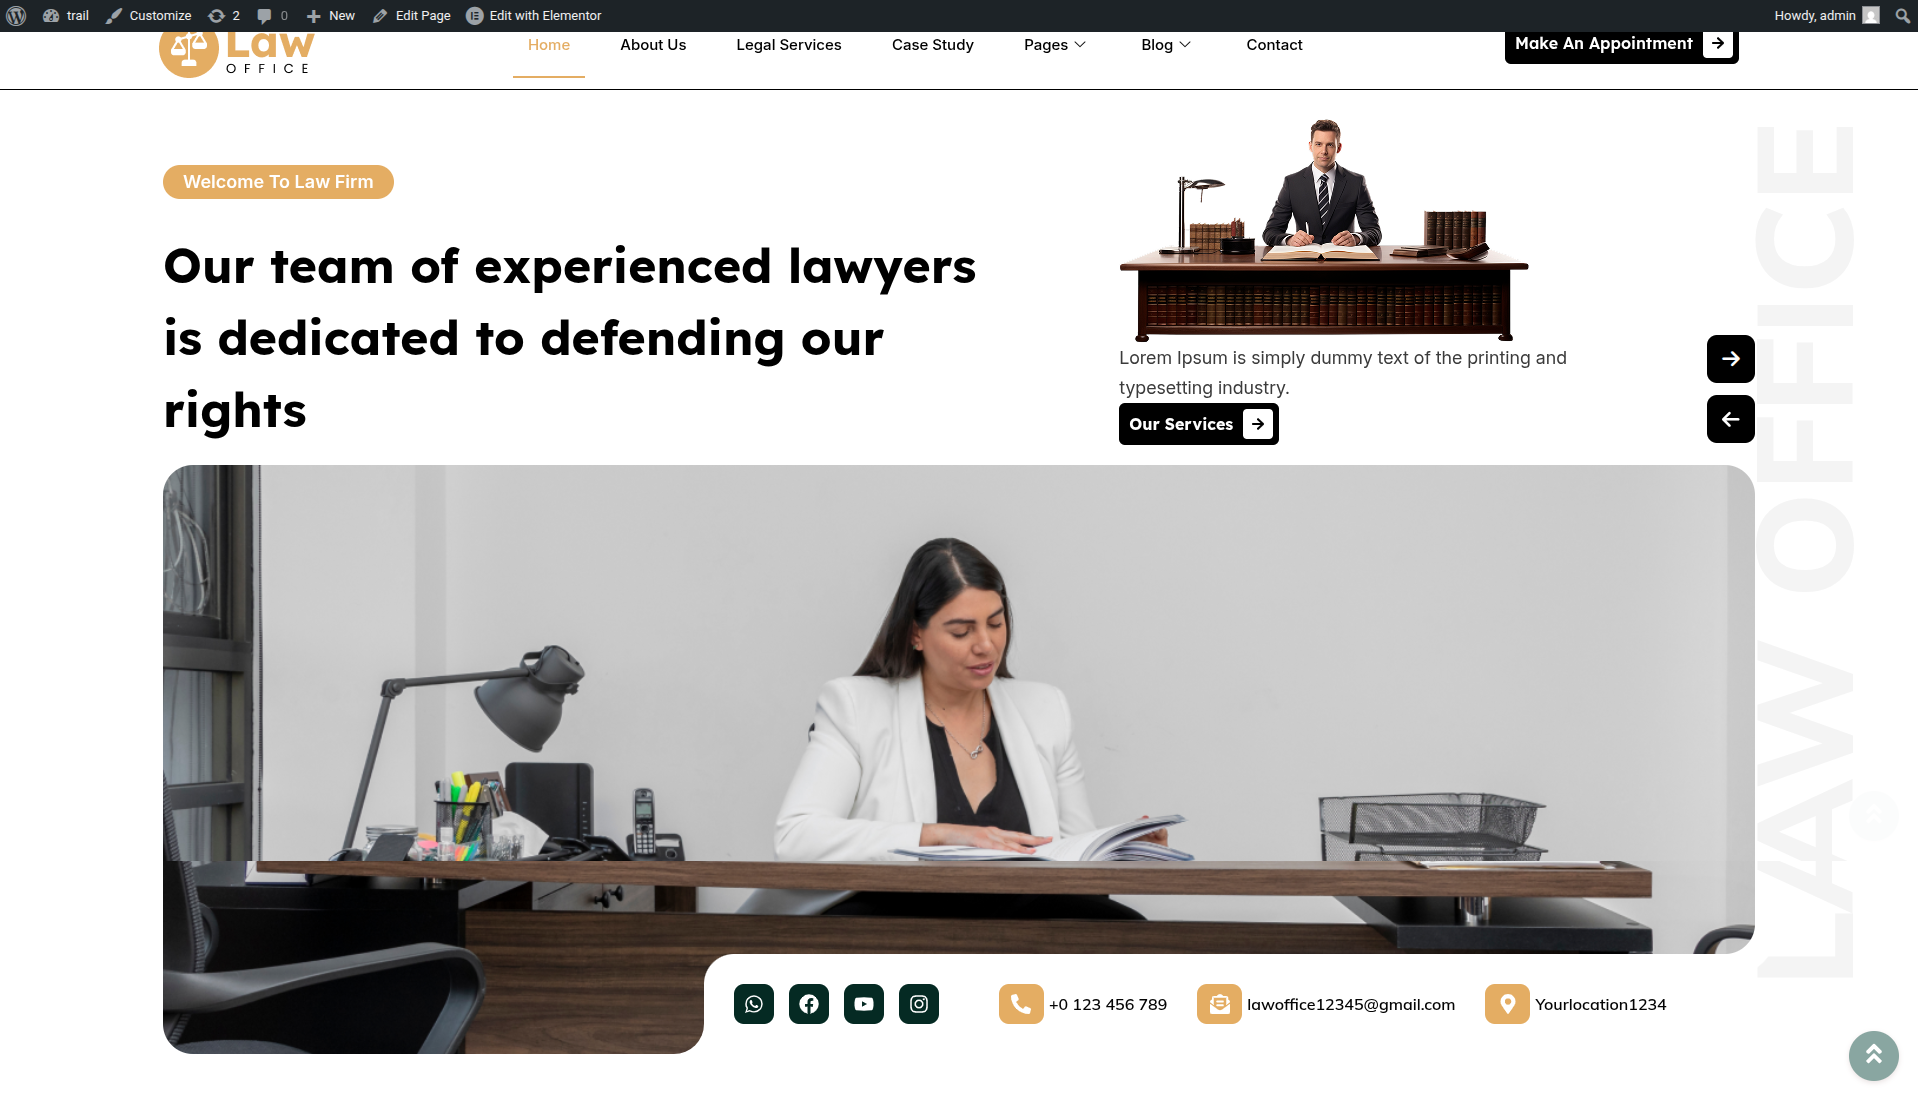
This section pertains to the Hero Section.
Initial Progress while hitting "page, edit with elementor" Discover "Prime-slider in widgts area" then "add images and content as shown in the screenshots"
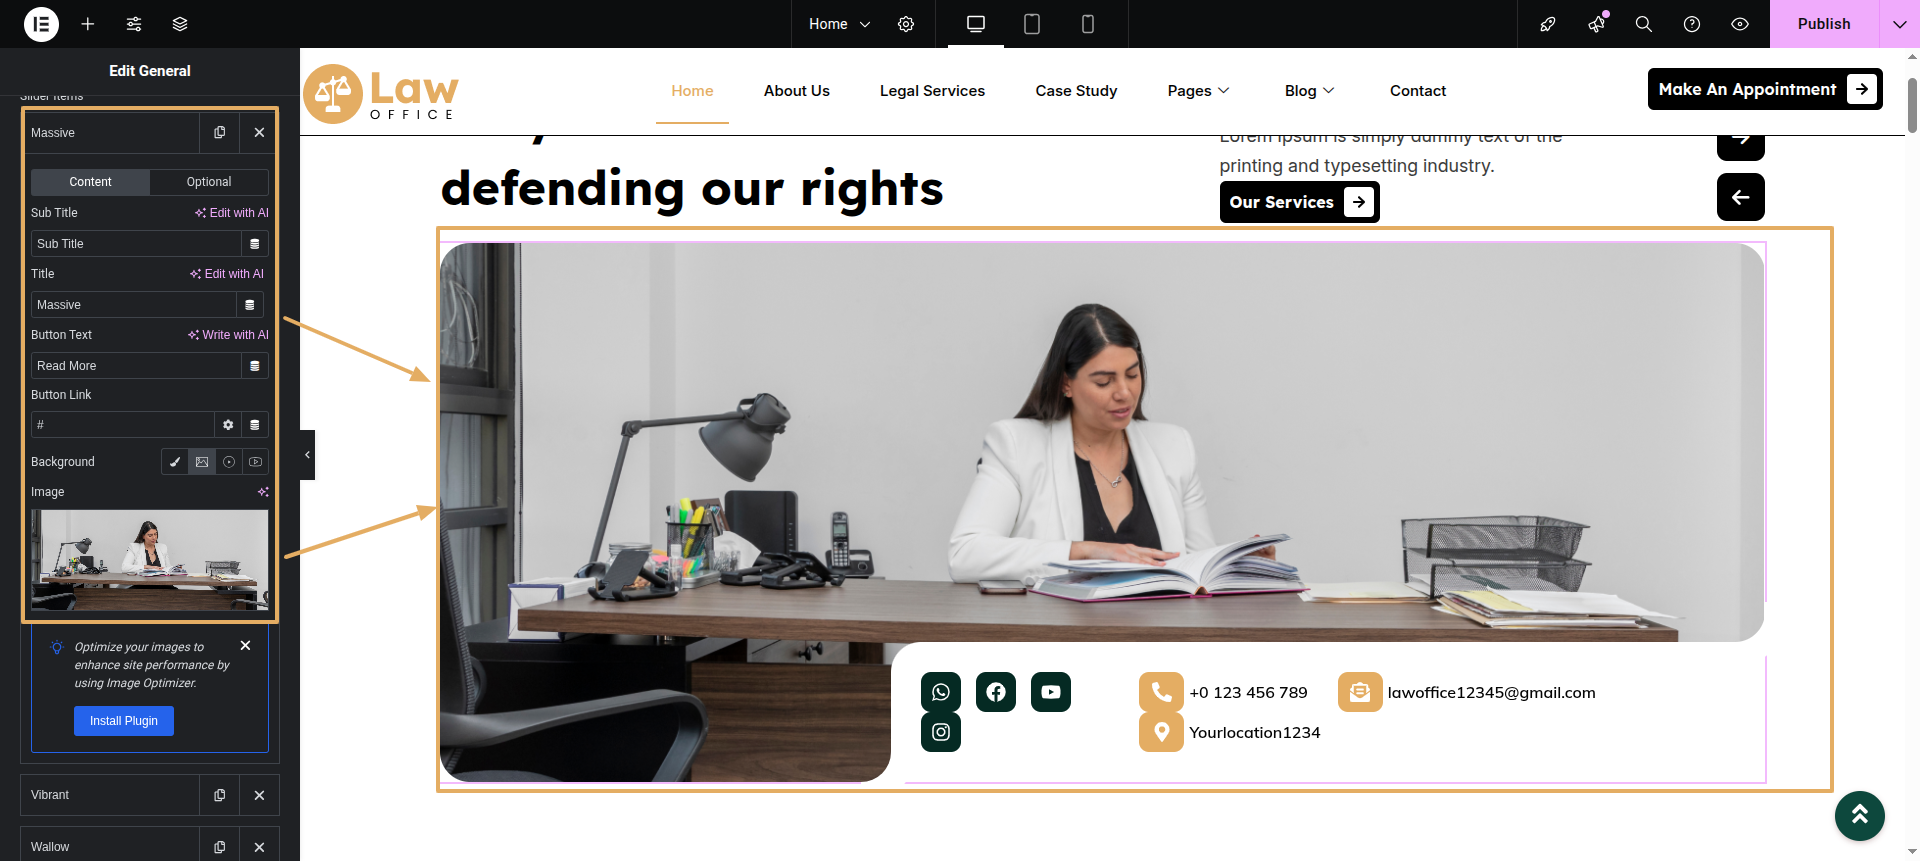
Icon box Add icon box widget from widget area and choose your desired icon to use.
Final Progress See below for design insights.
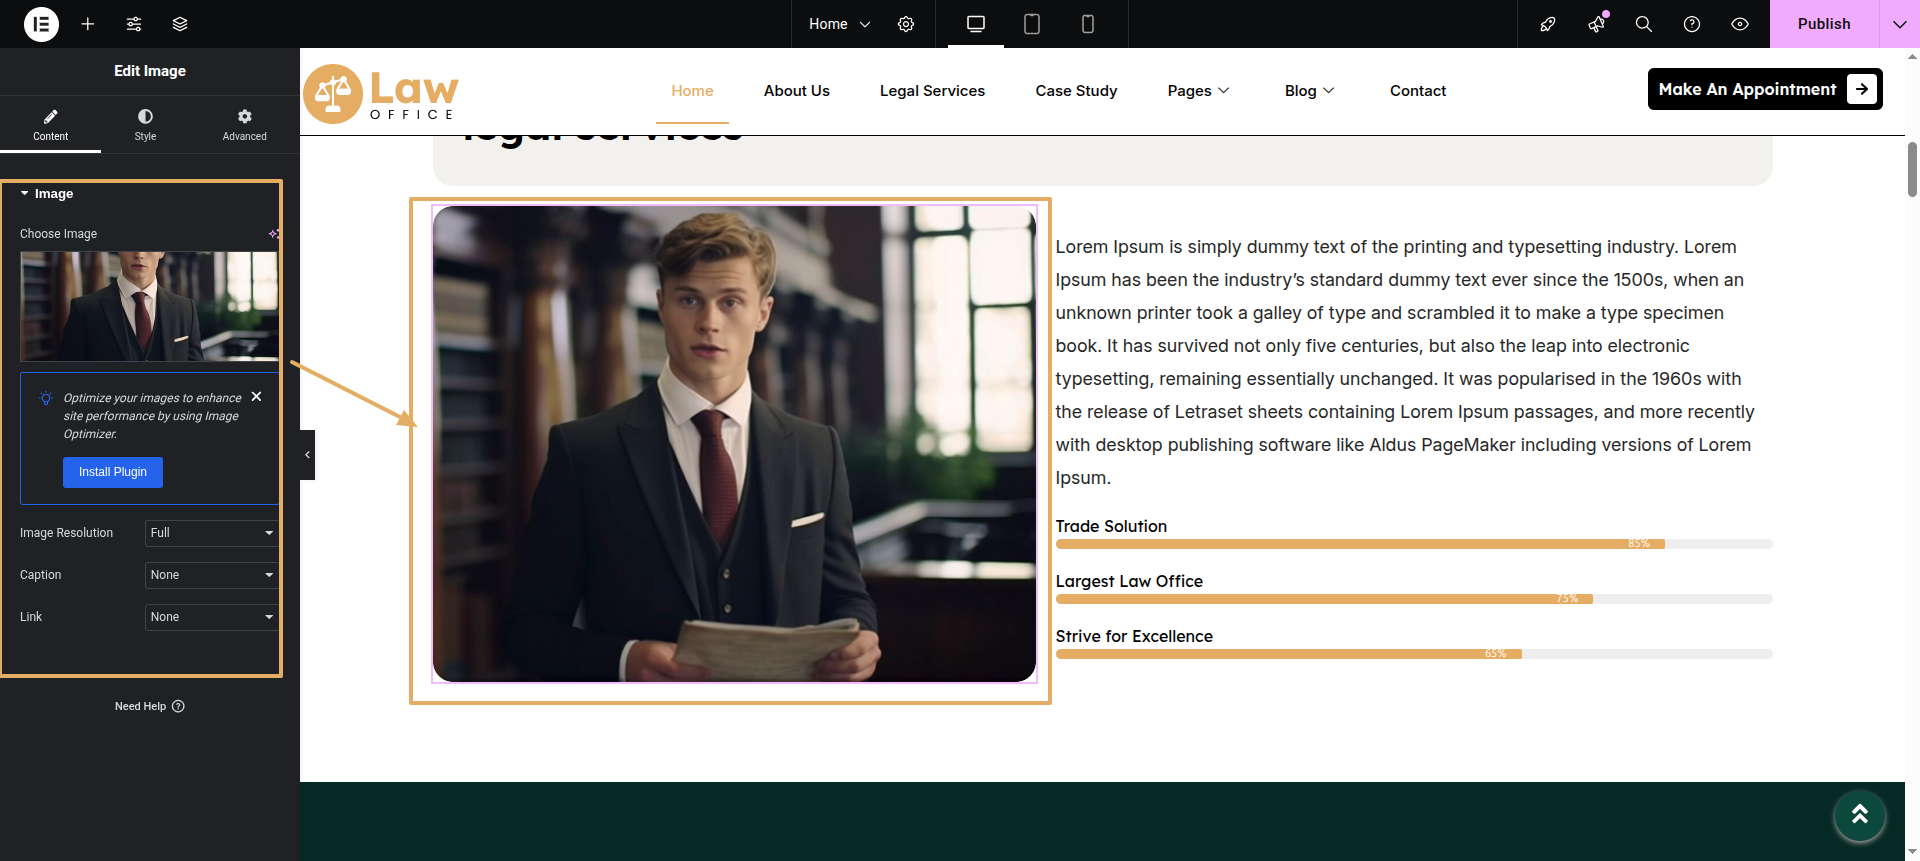
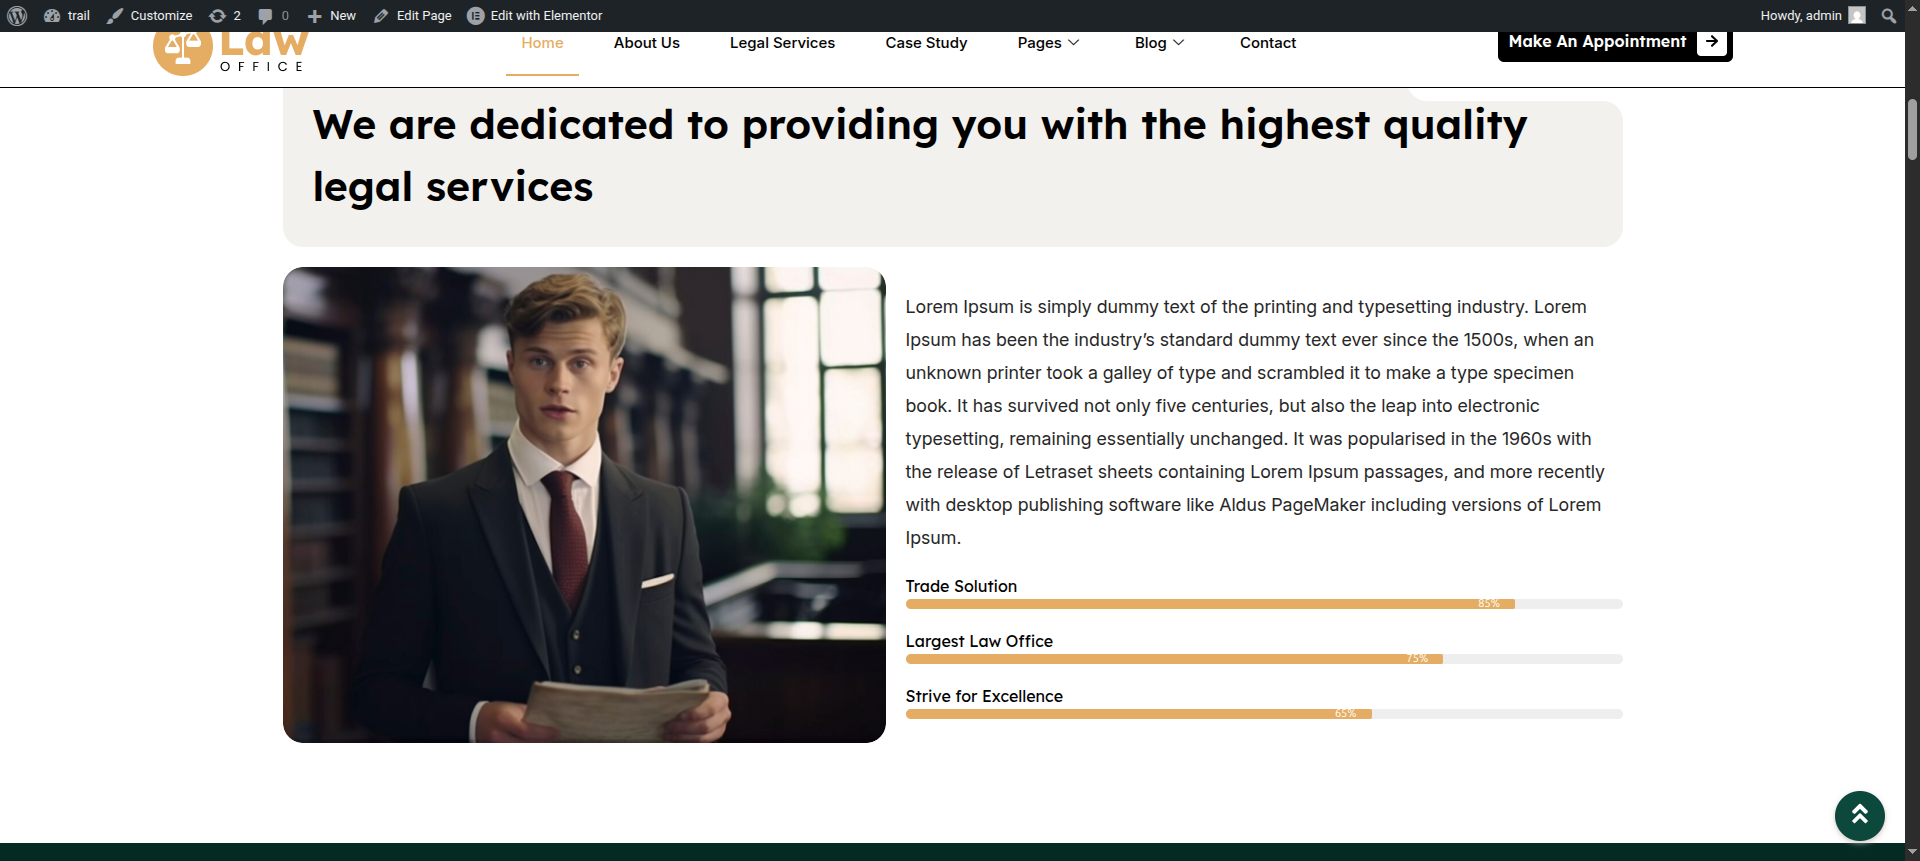
This section pertains to the About Us reference.
Initial Progress while hitting "Dashboard" Move forward "with image widget" and lastly "add image in it.
Text editor while hitting "Dashboard" Add your desired text using text editor widget." .
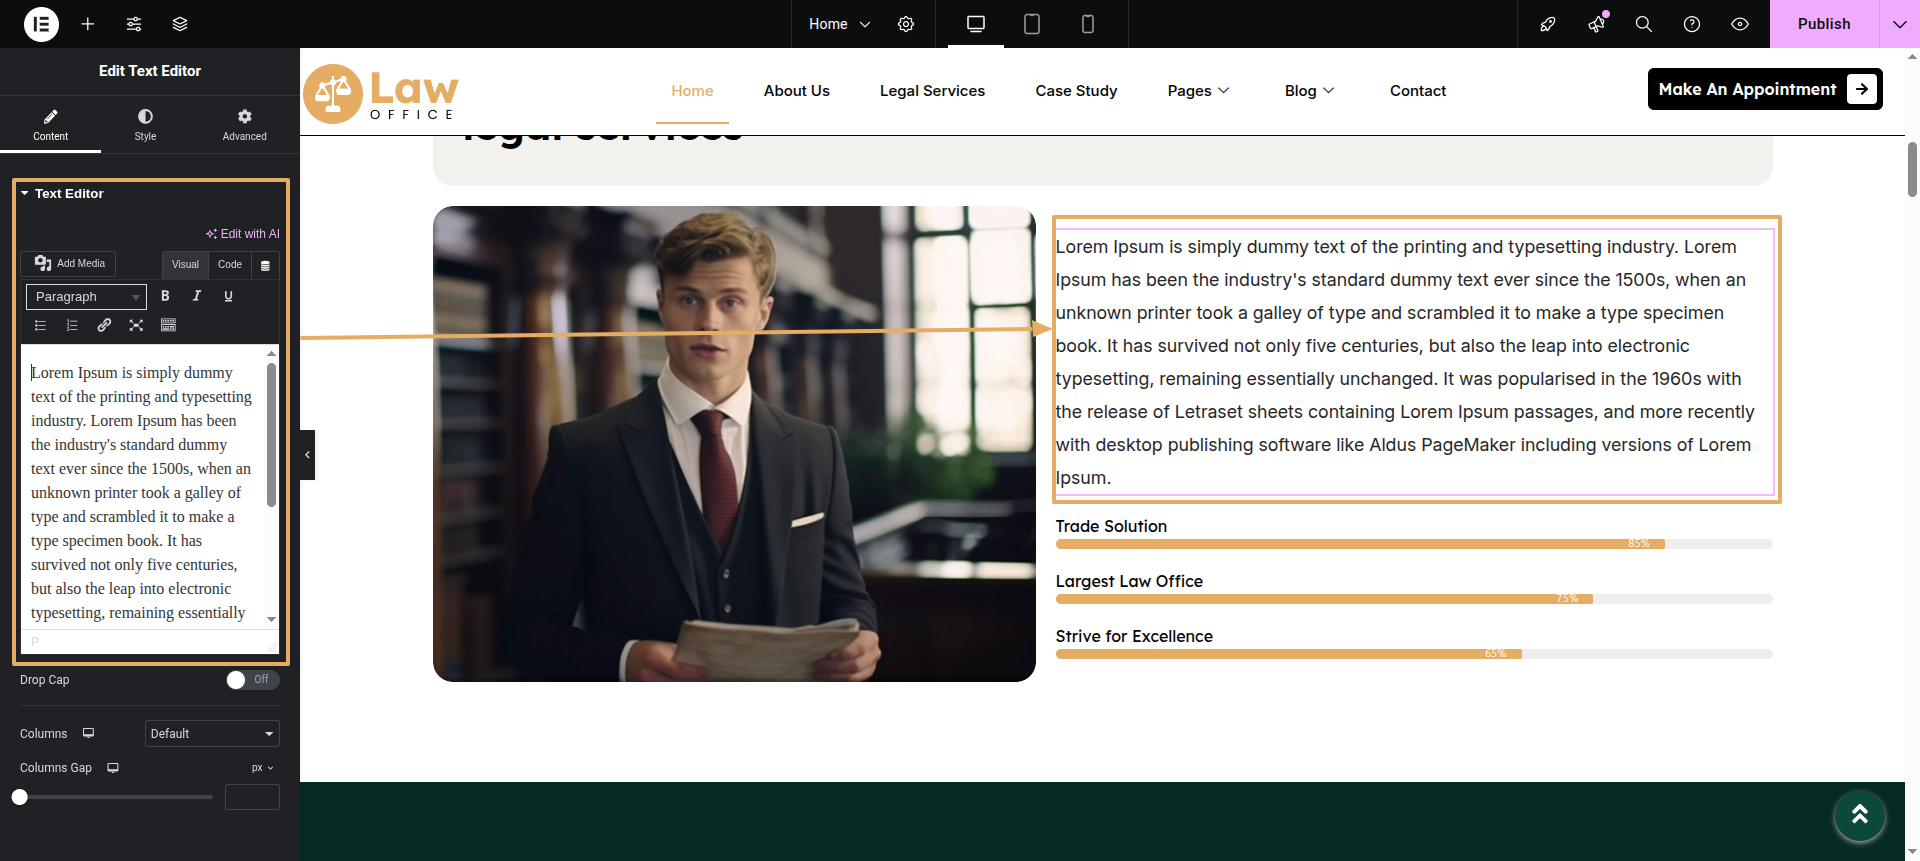
Progress Bar Add your percent about your work
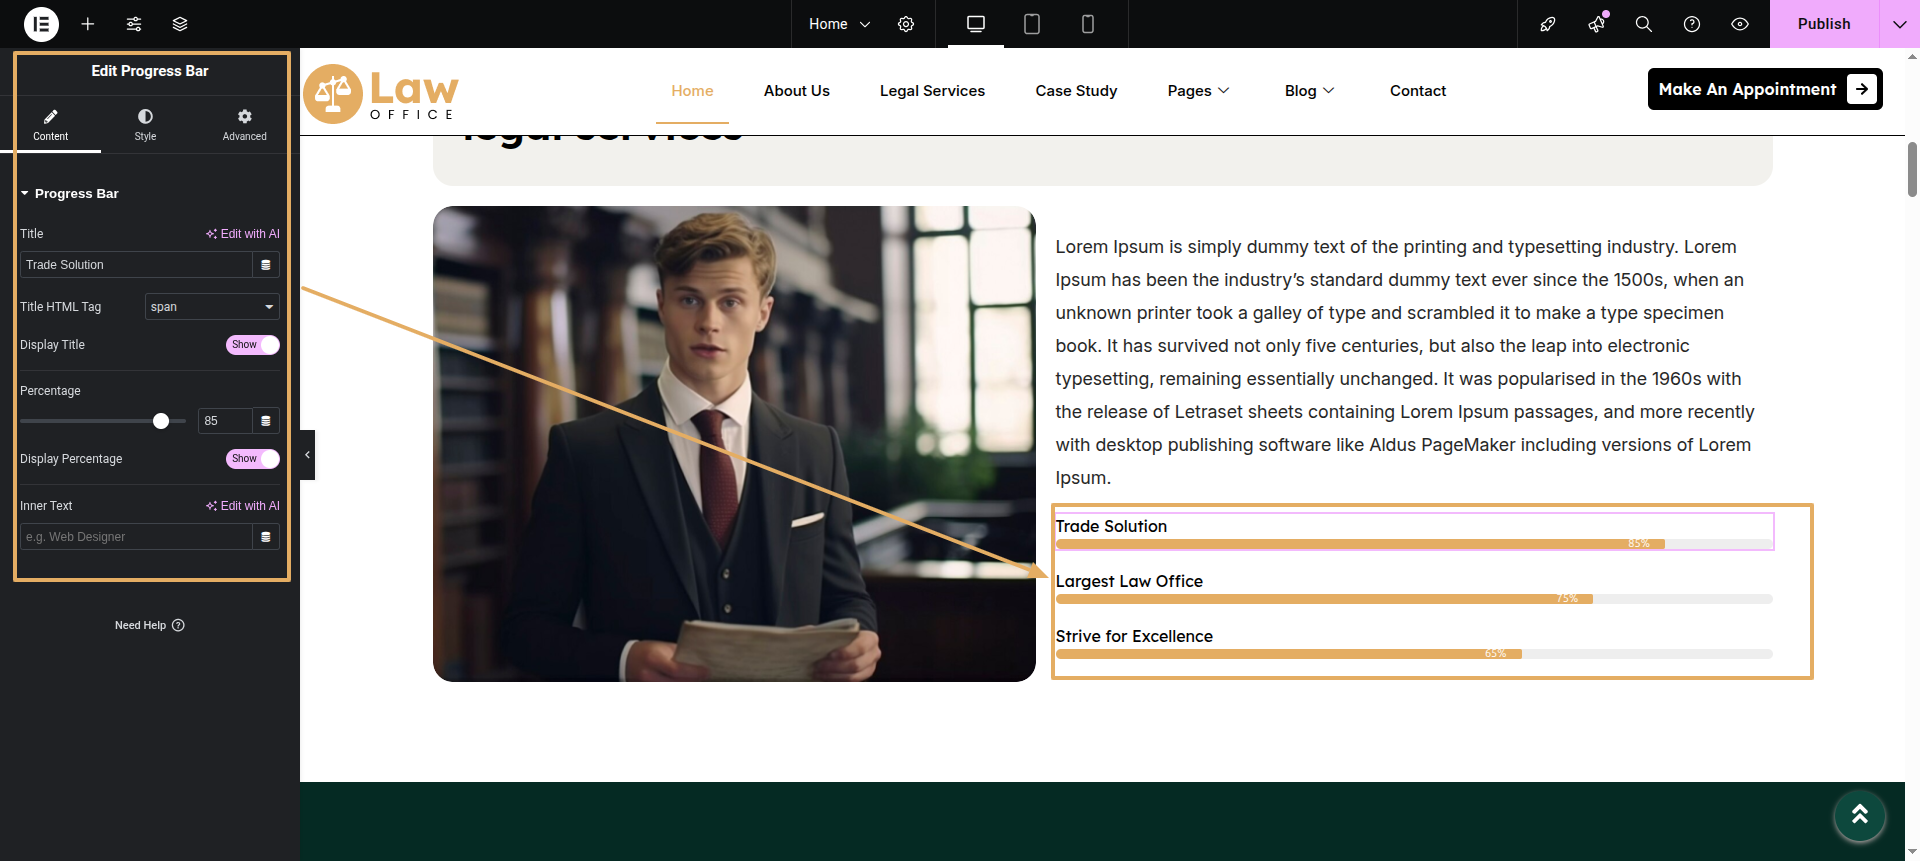
Final Progress See below for design insights.
This section pertains to the Services.
Initial Progress while hitting "Dashboard" Discover "Services" then "add new post" Move forward "add heading, content and featured"
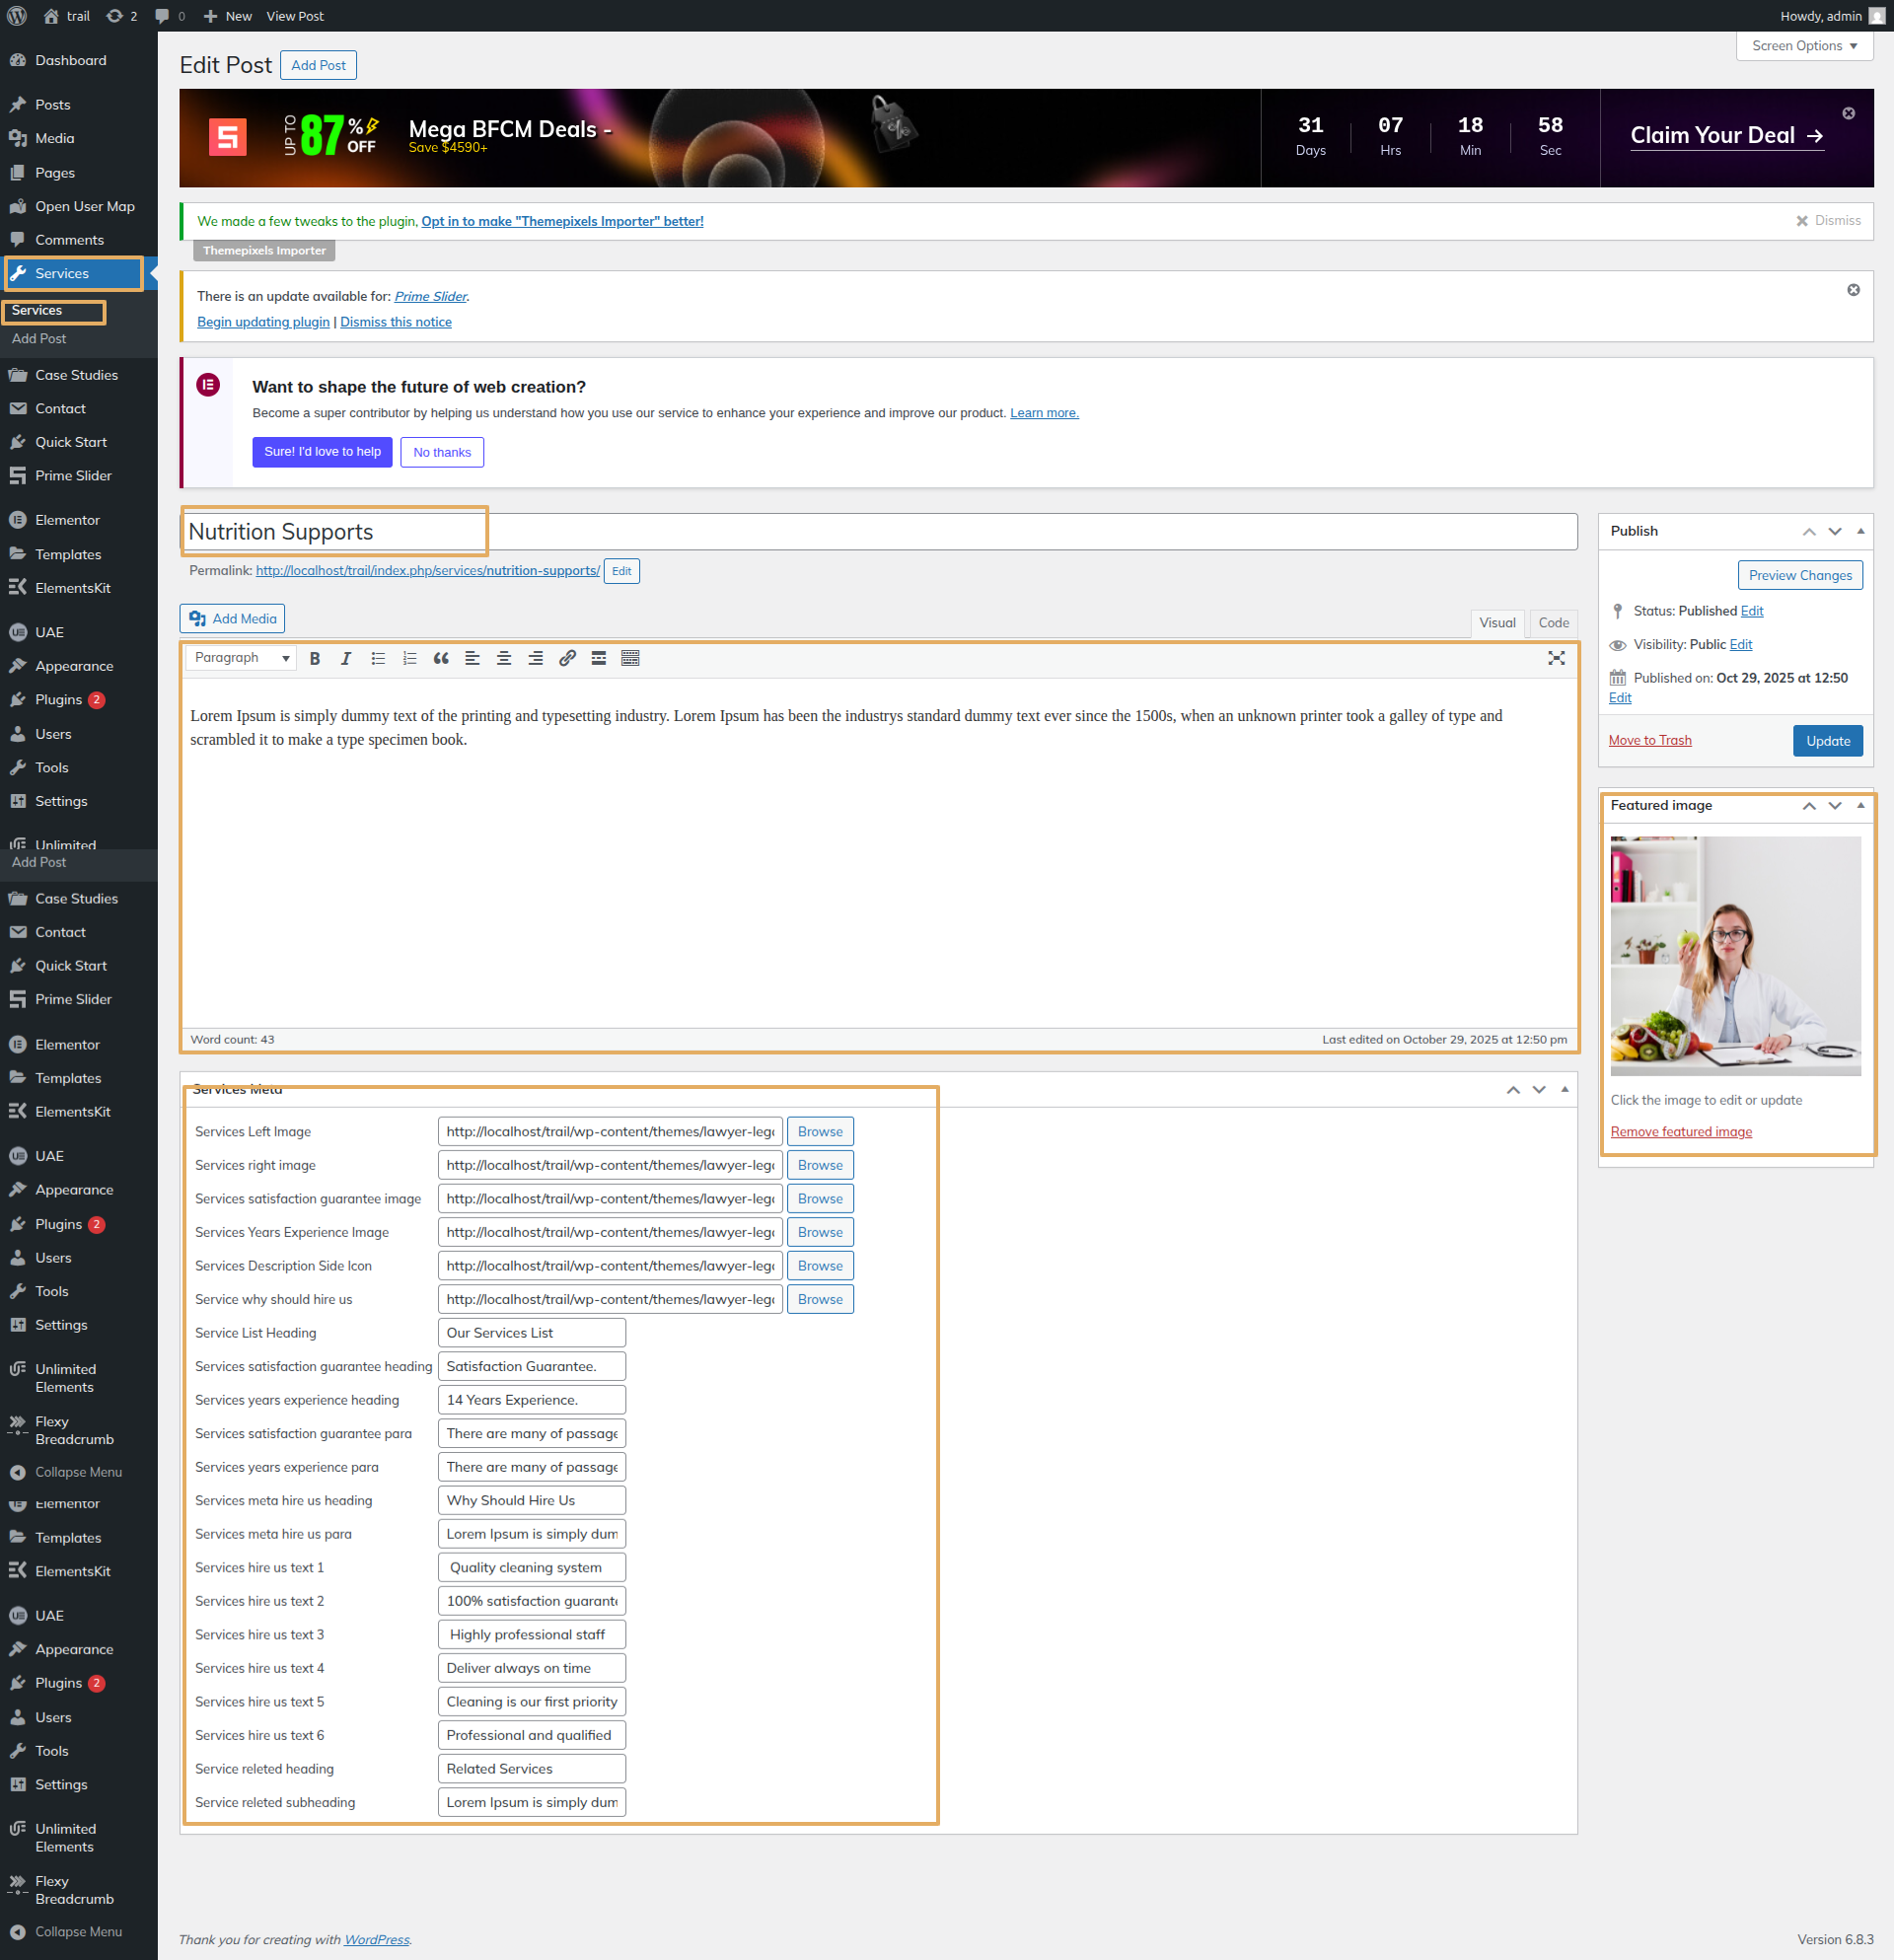
Post Widget After edit with elementor search for amox grid and in query part select services.
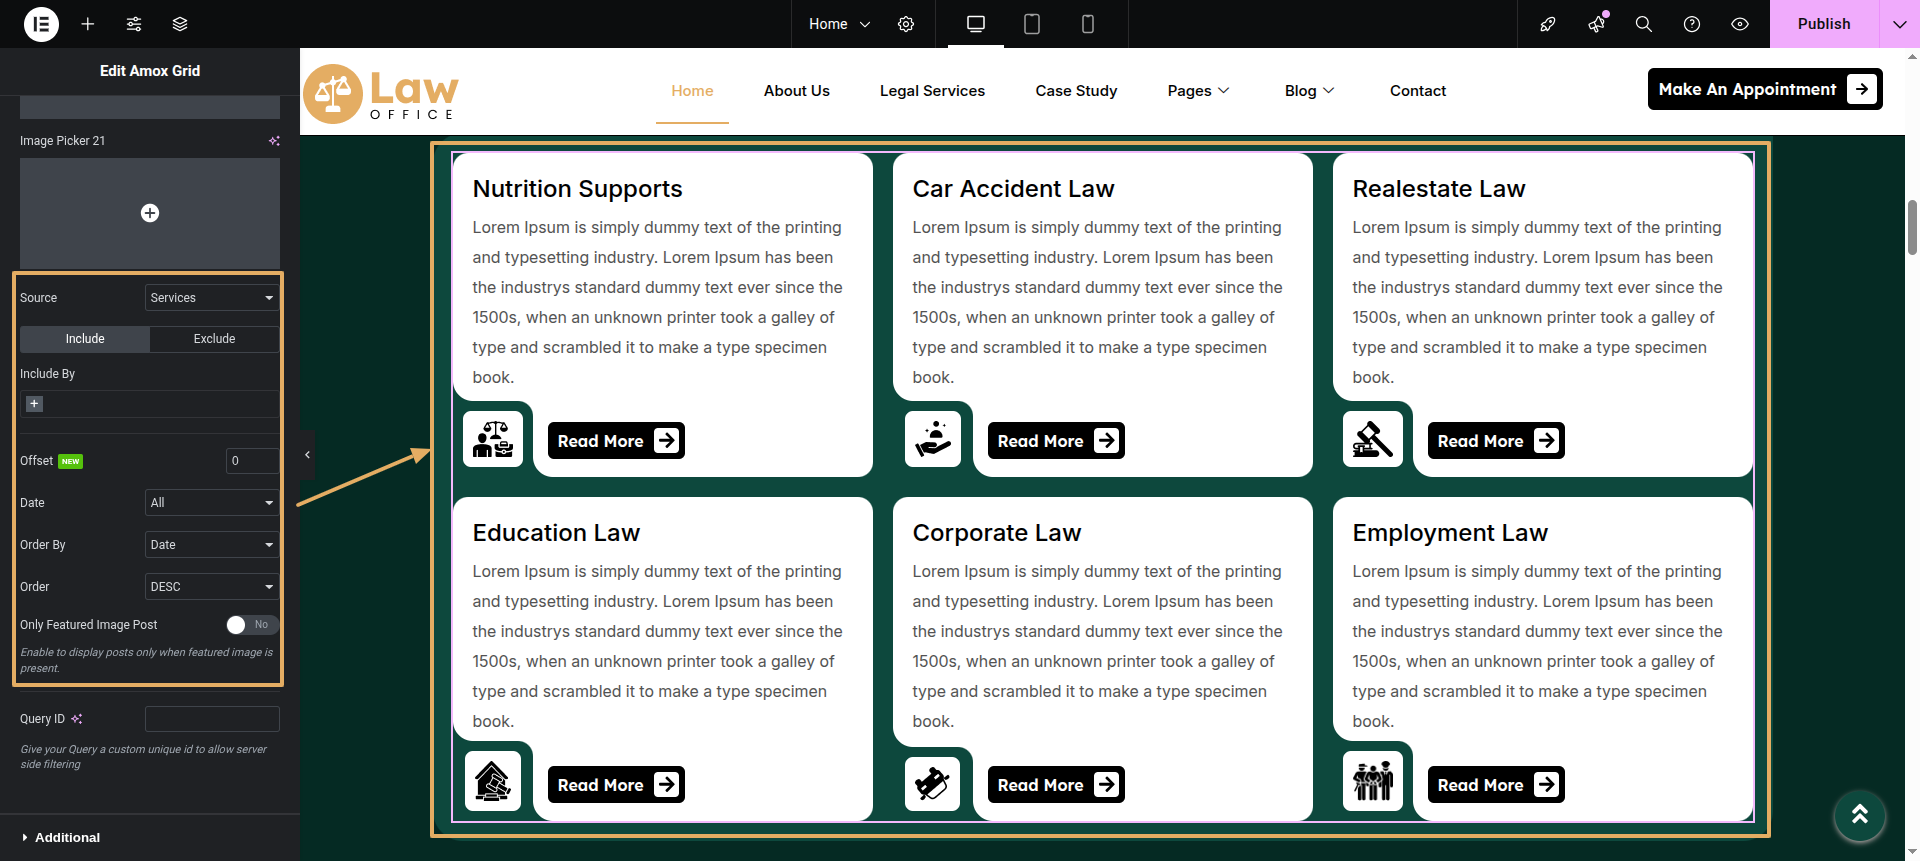
Final Progress See below for design insights.

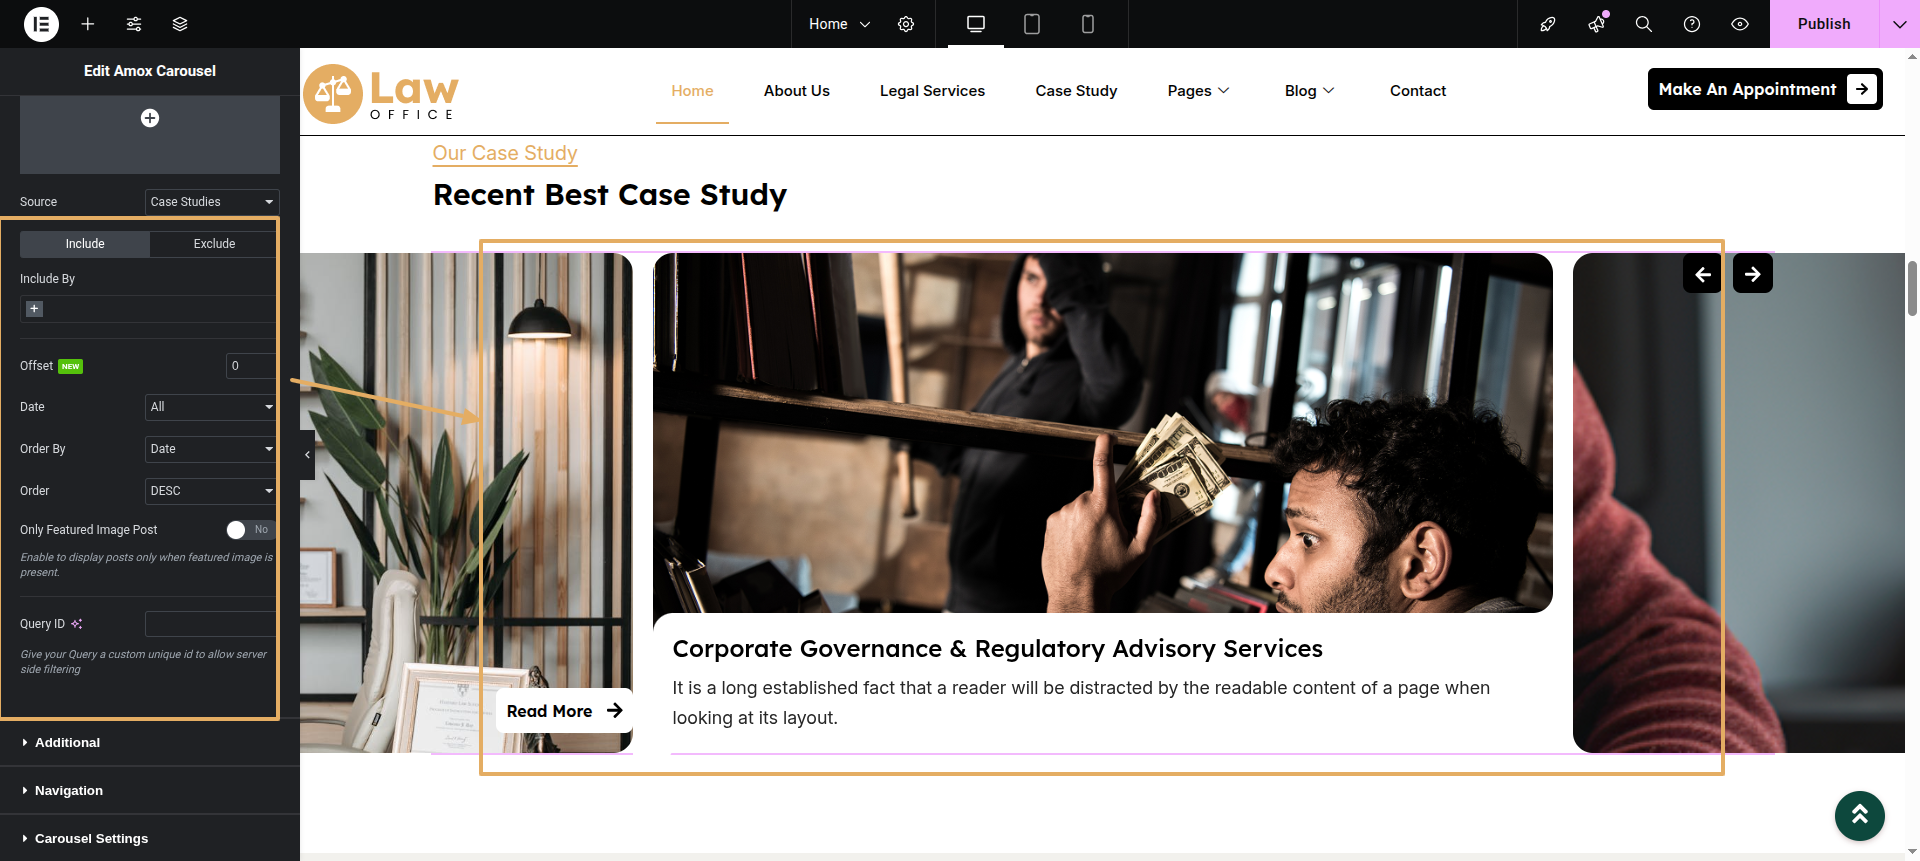
This section pertains to the Case studies Posttype.
Next Progress while hitting "Dashboard" Discover "Cas studies" then "add new post Move forward "add heading, content and featured".
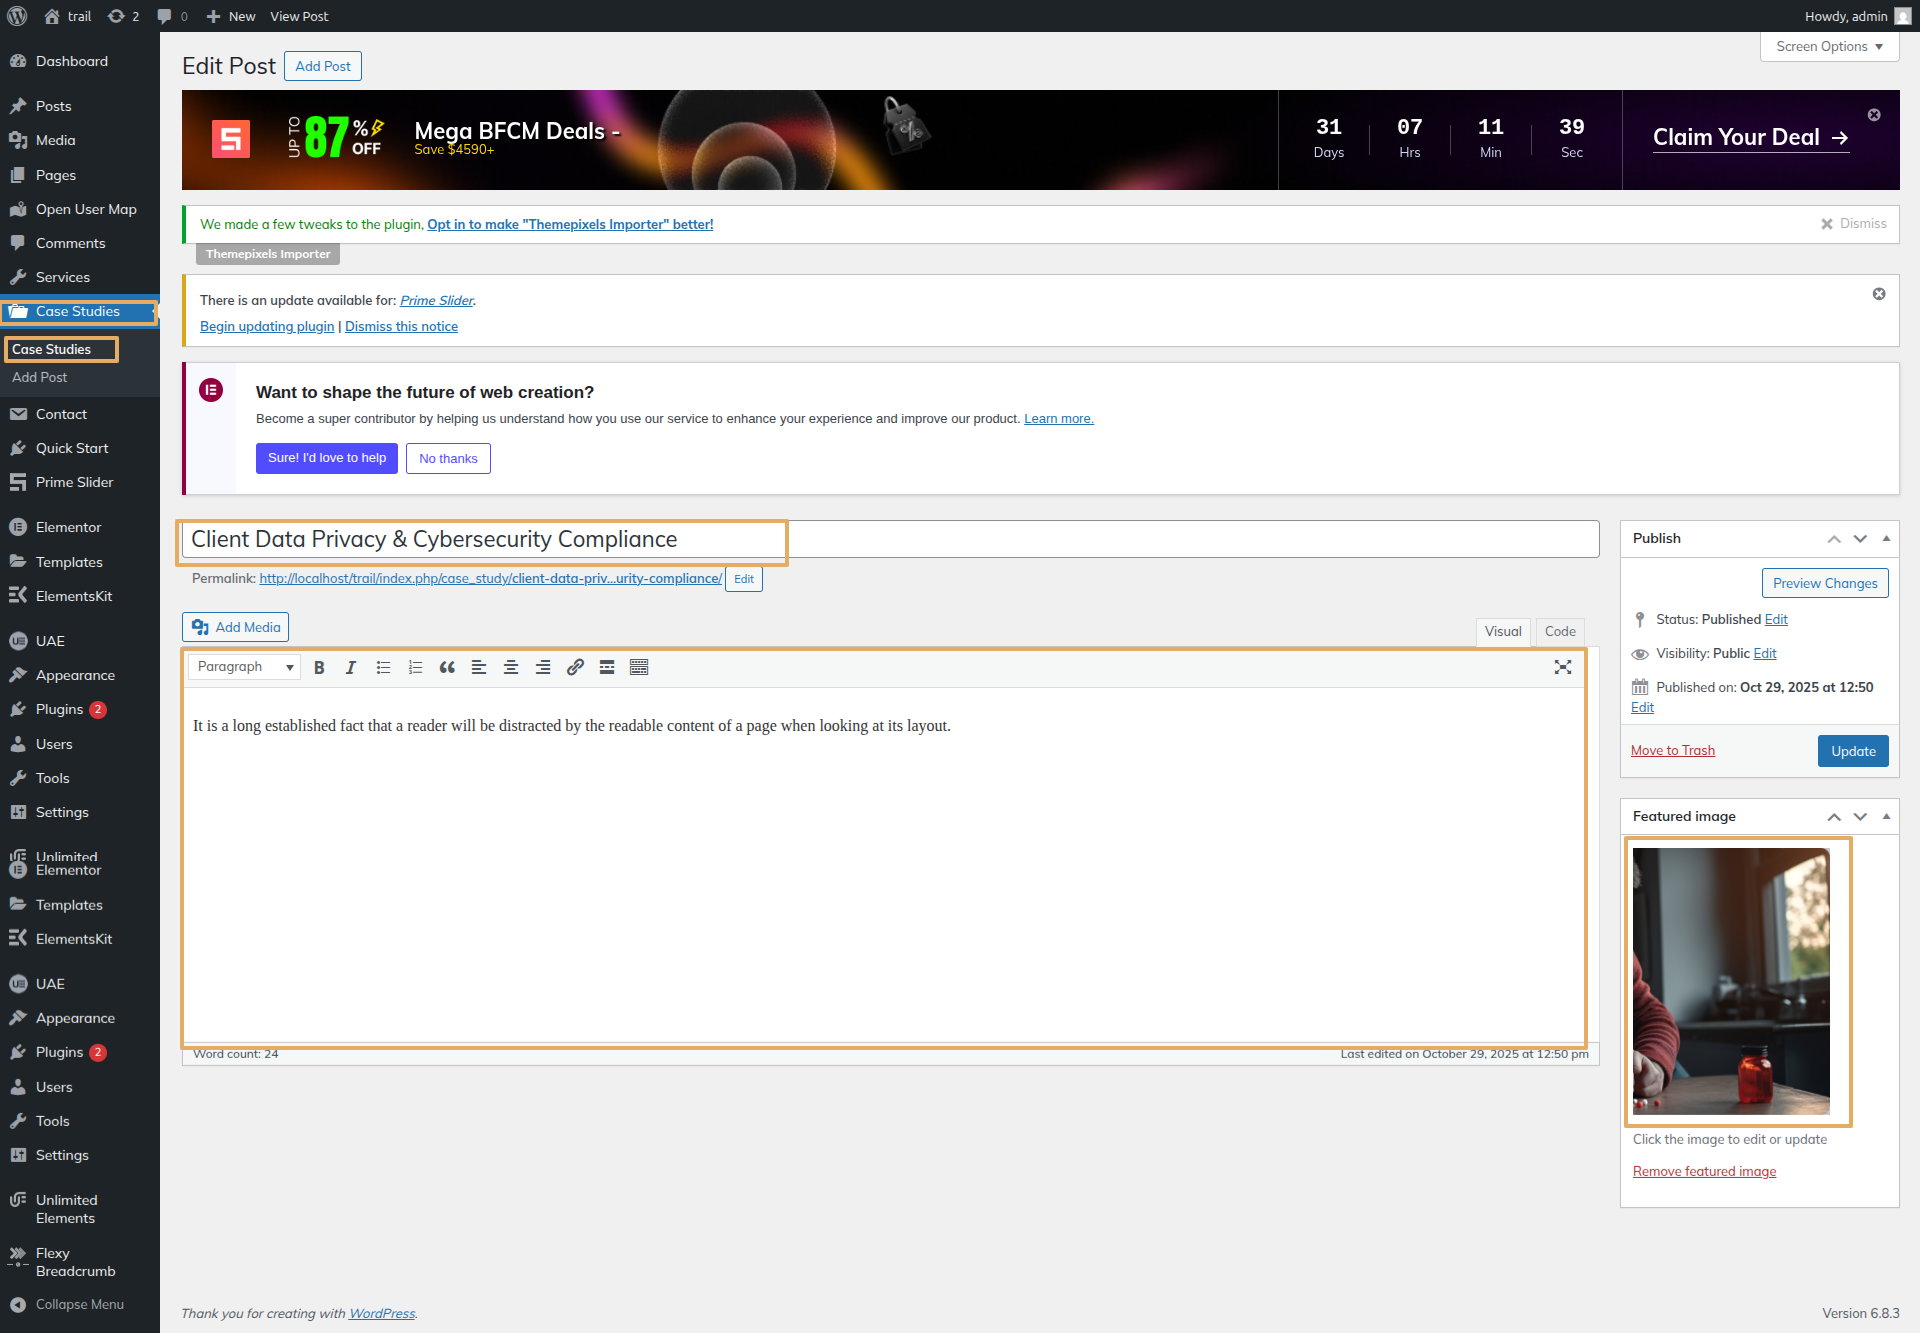
Post widget After edit with elementor search for amox grid and in query part select cas studies.
Final Progress See below for design insights.
This section pertains to the Our Process
Initial Progress while hitting "edit page with elementor" Discover "Heading" then "add content in it" .
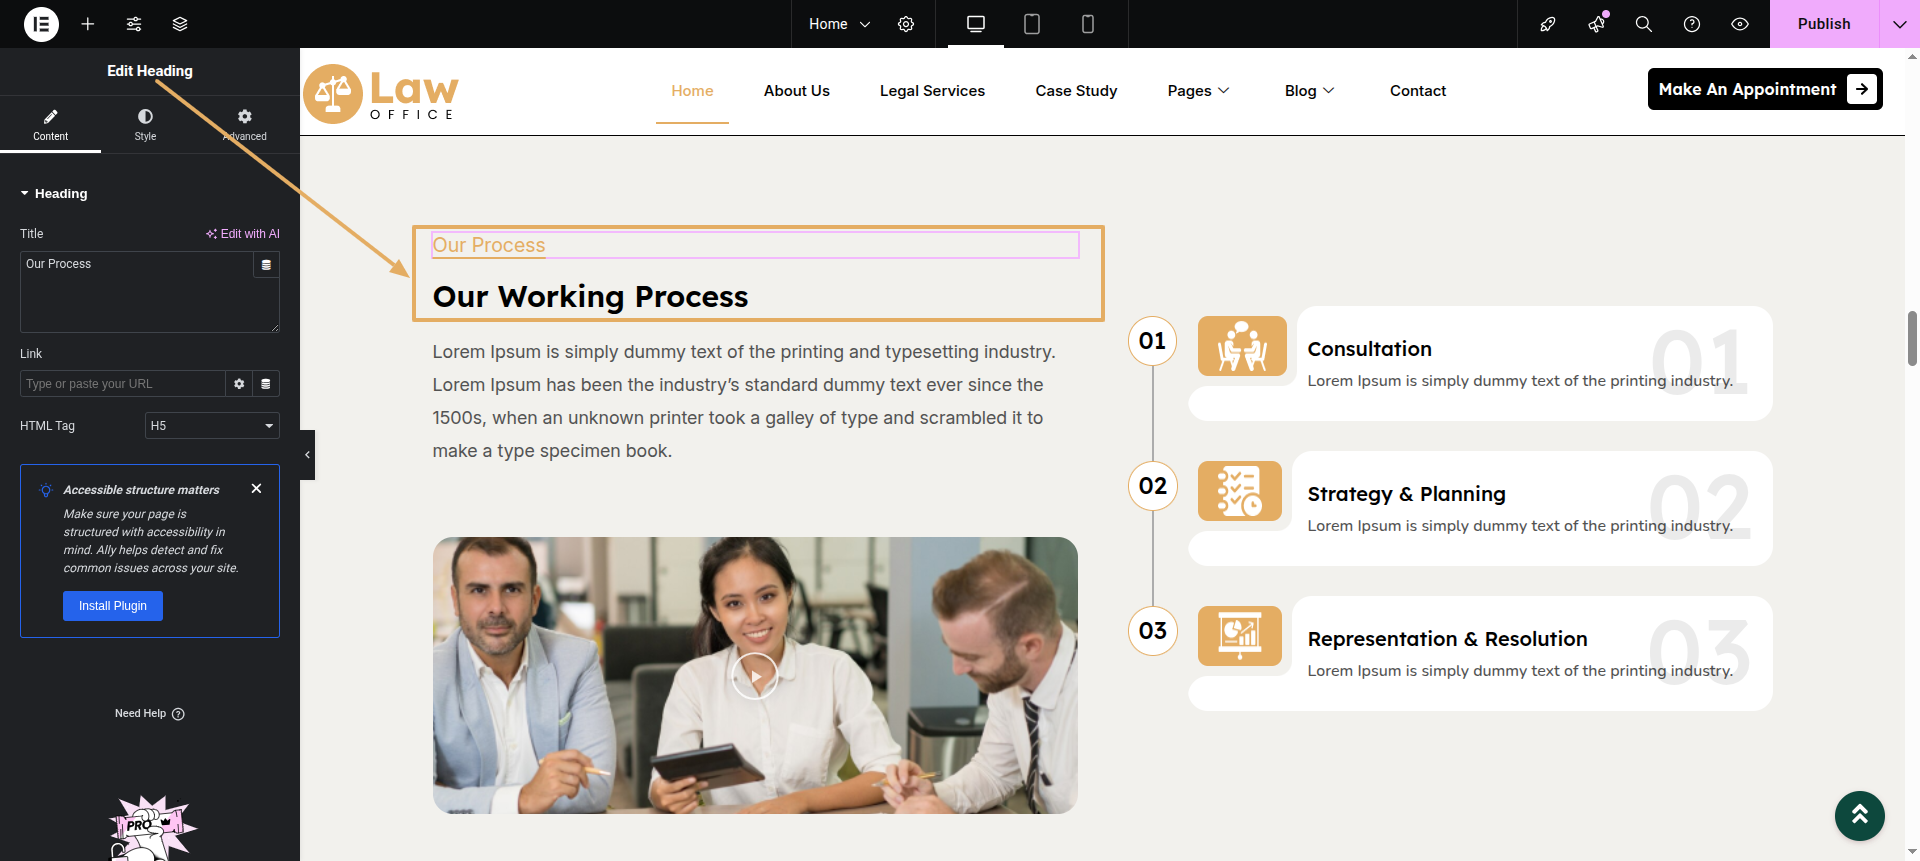
Text editor Add text content in it
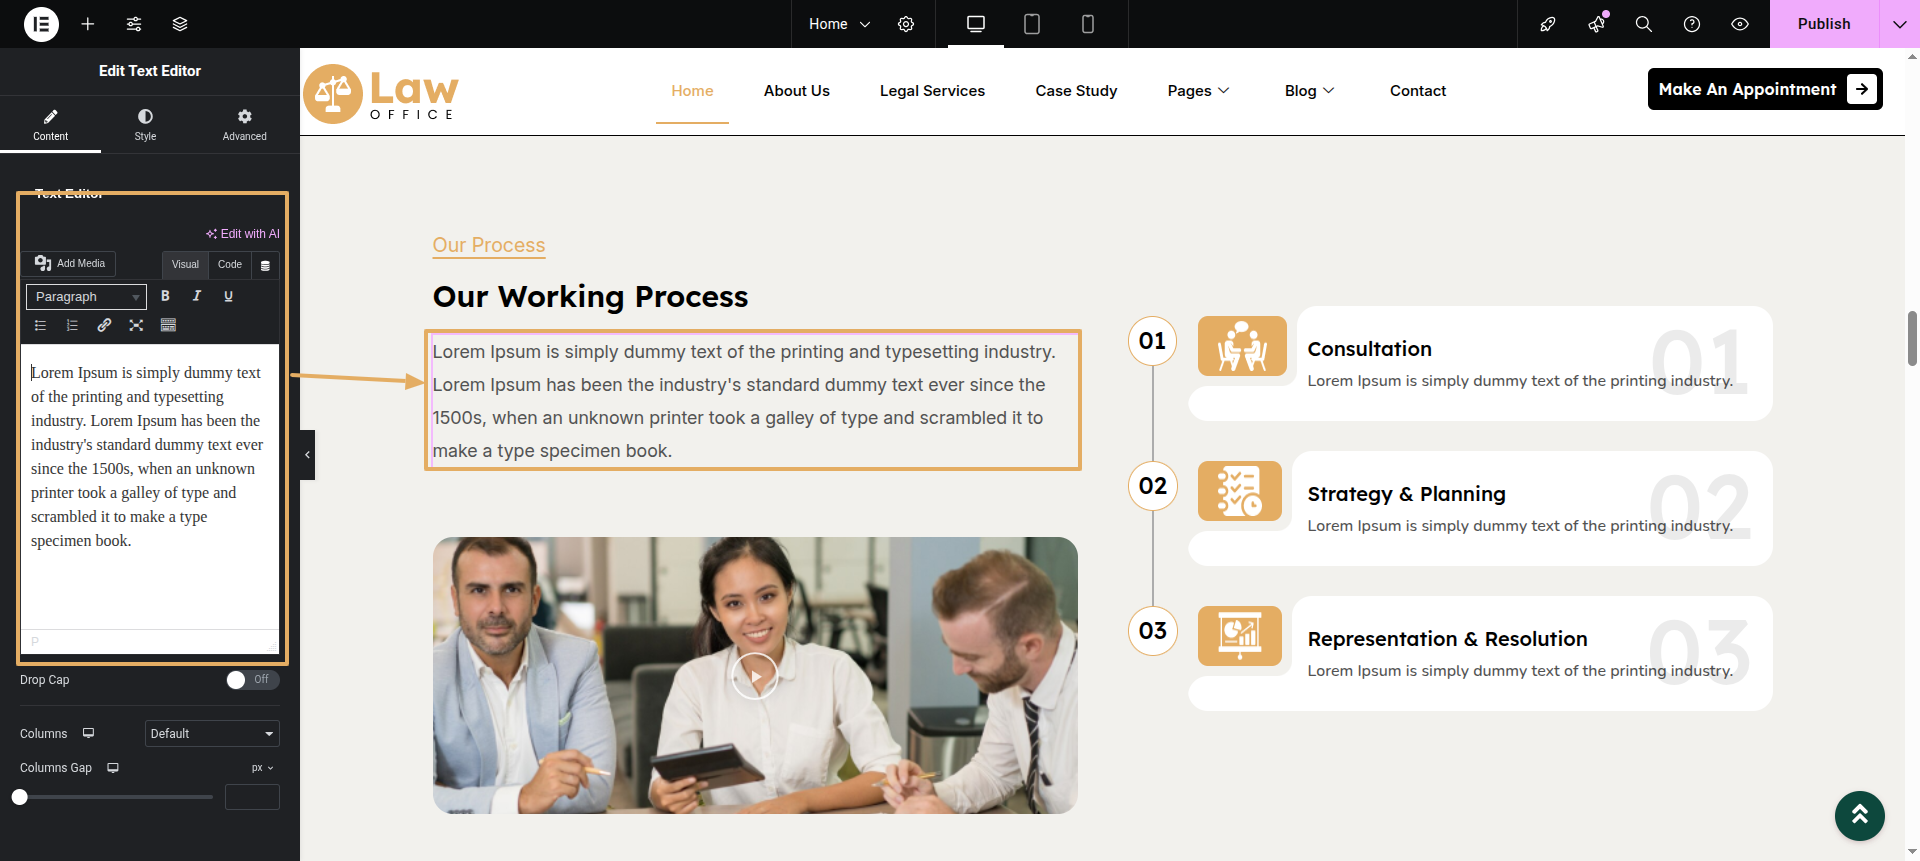
Video Add video widget, then in it place your video link and you can add image overlay if you want to change the thumbnail
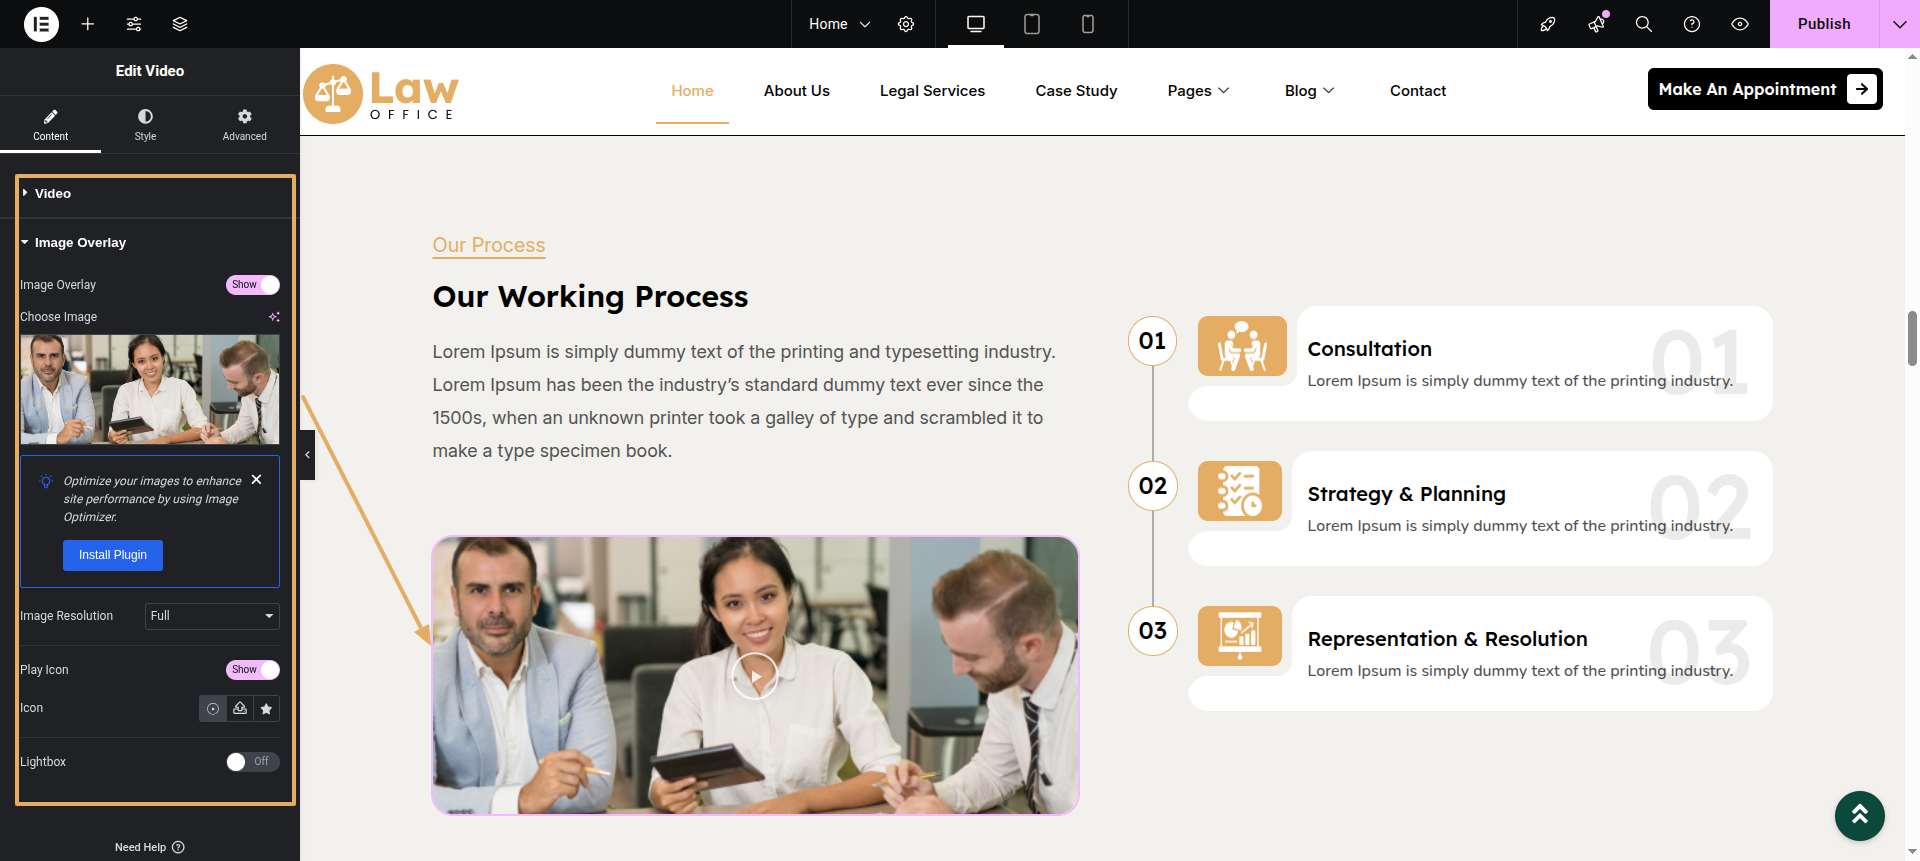
Image widget This is the simple image widget
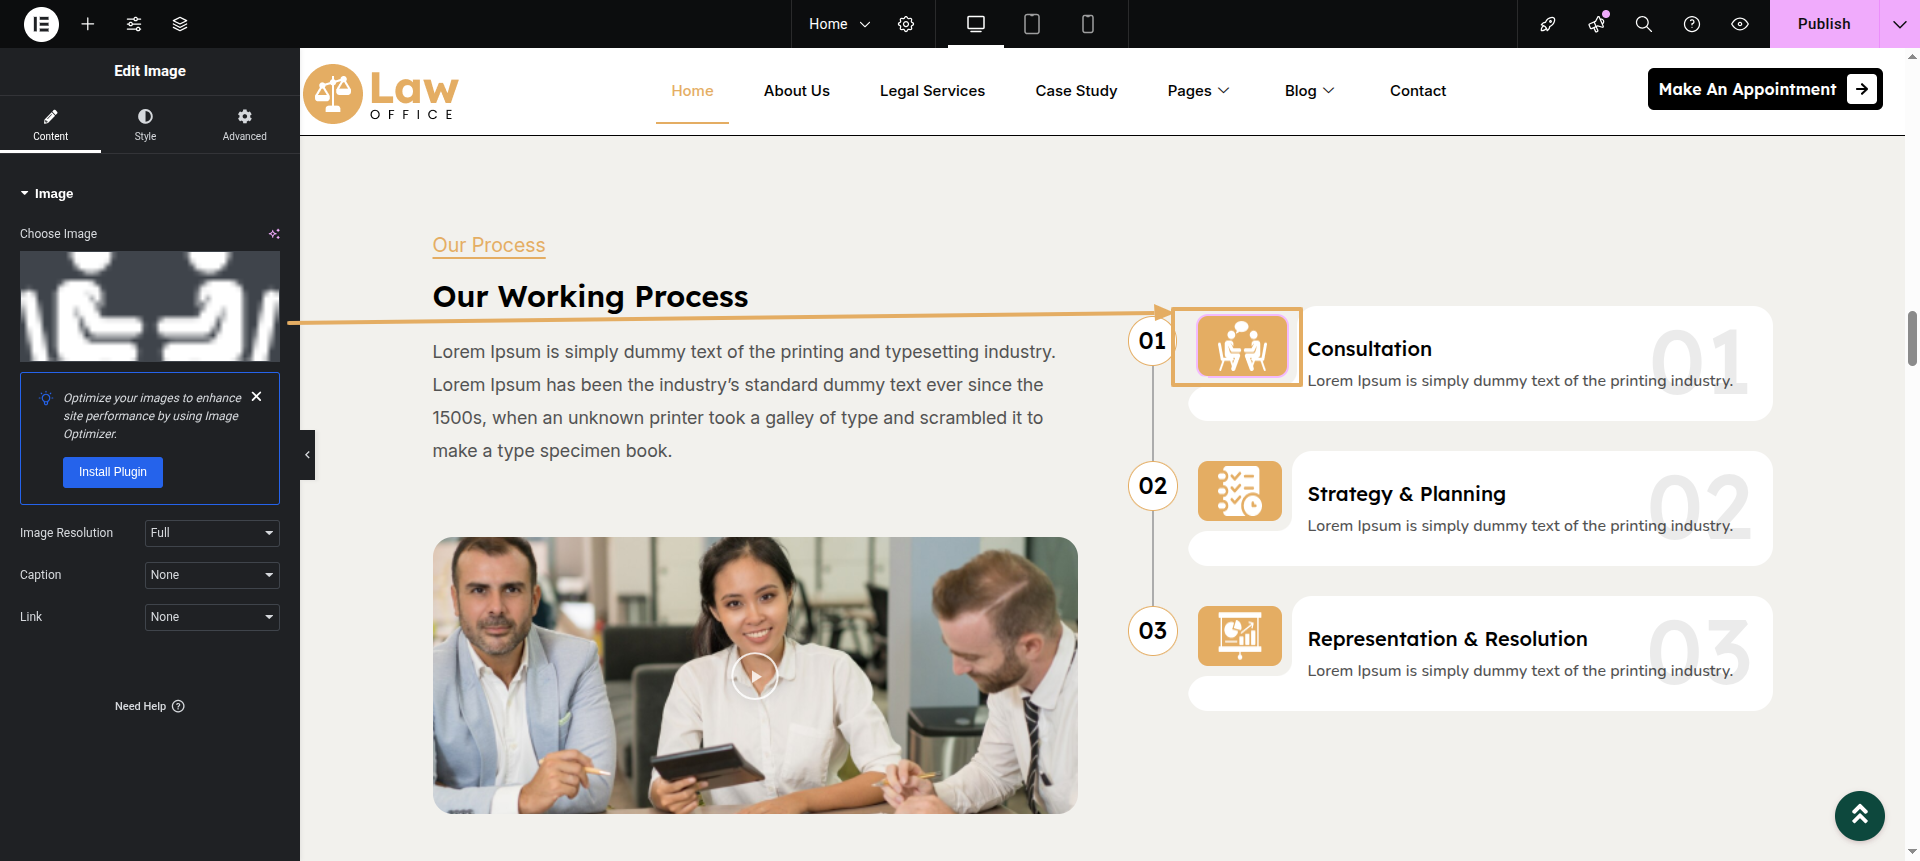
Text Heading This is the simple text heading

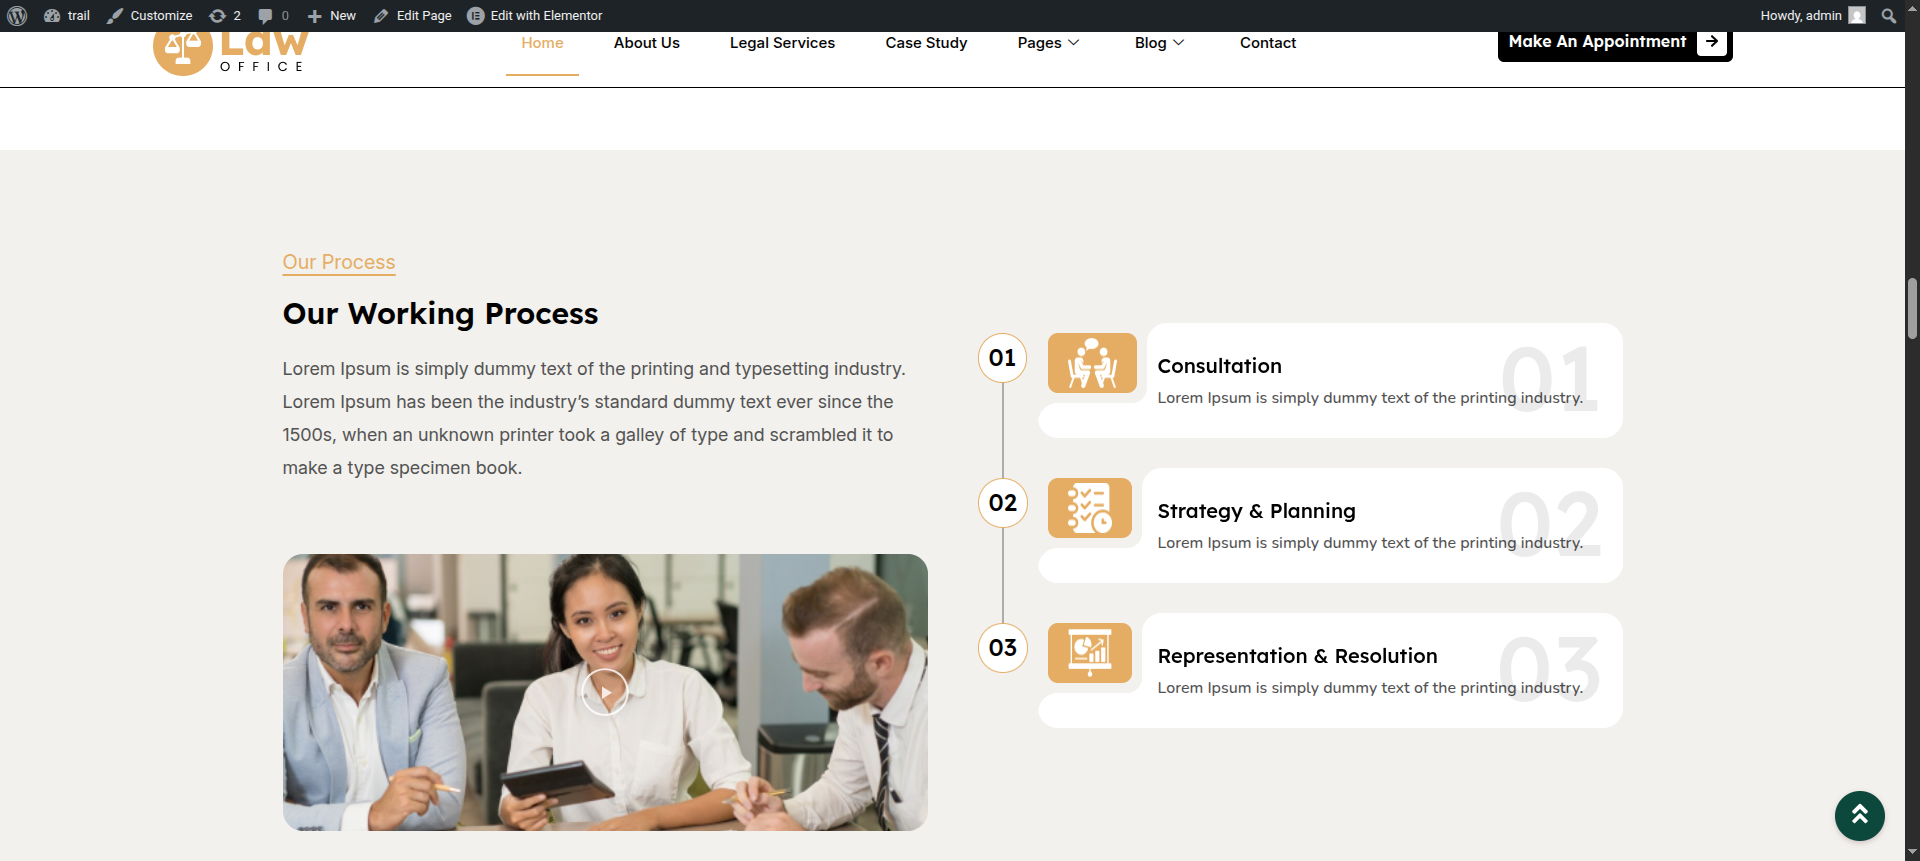
Final Progress See below for design insights.
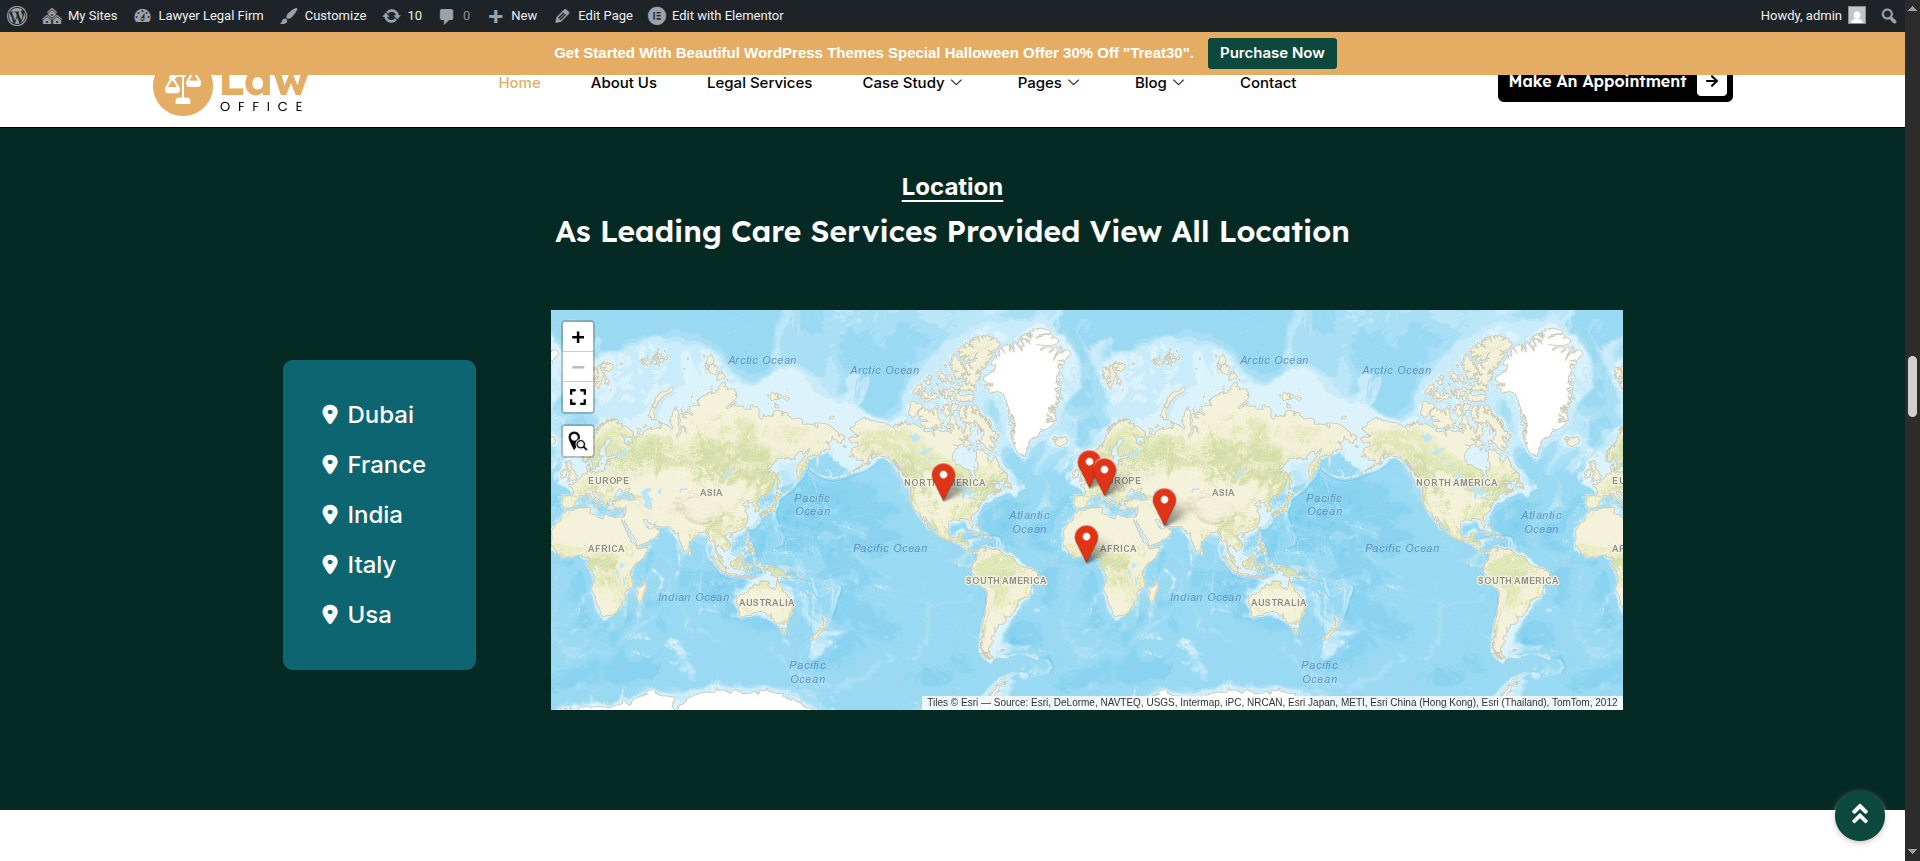
This section pertains to the Location & Portfolio.
Initial Progress this is the simple image widget" .
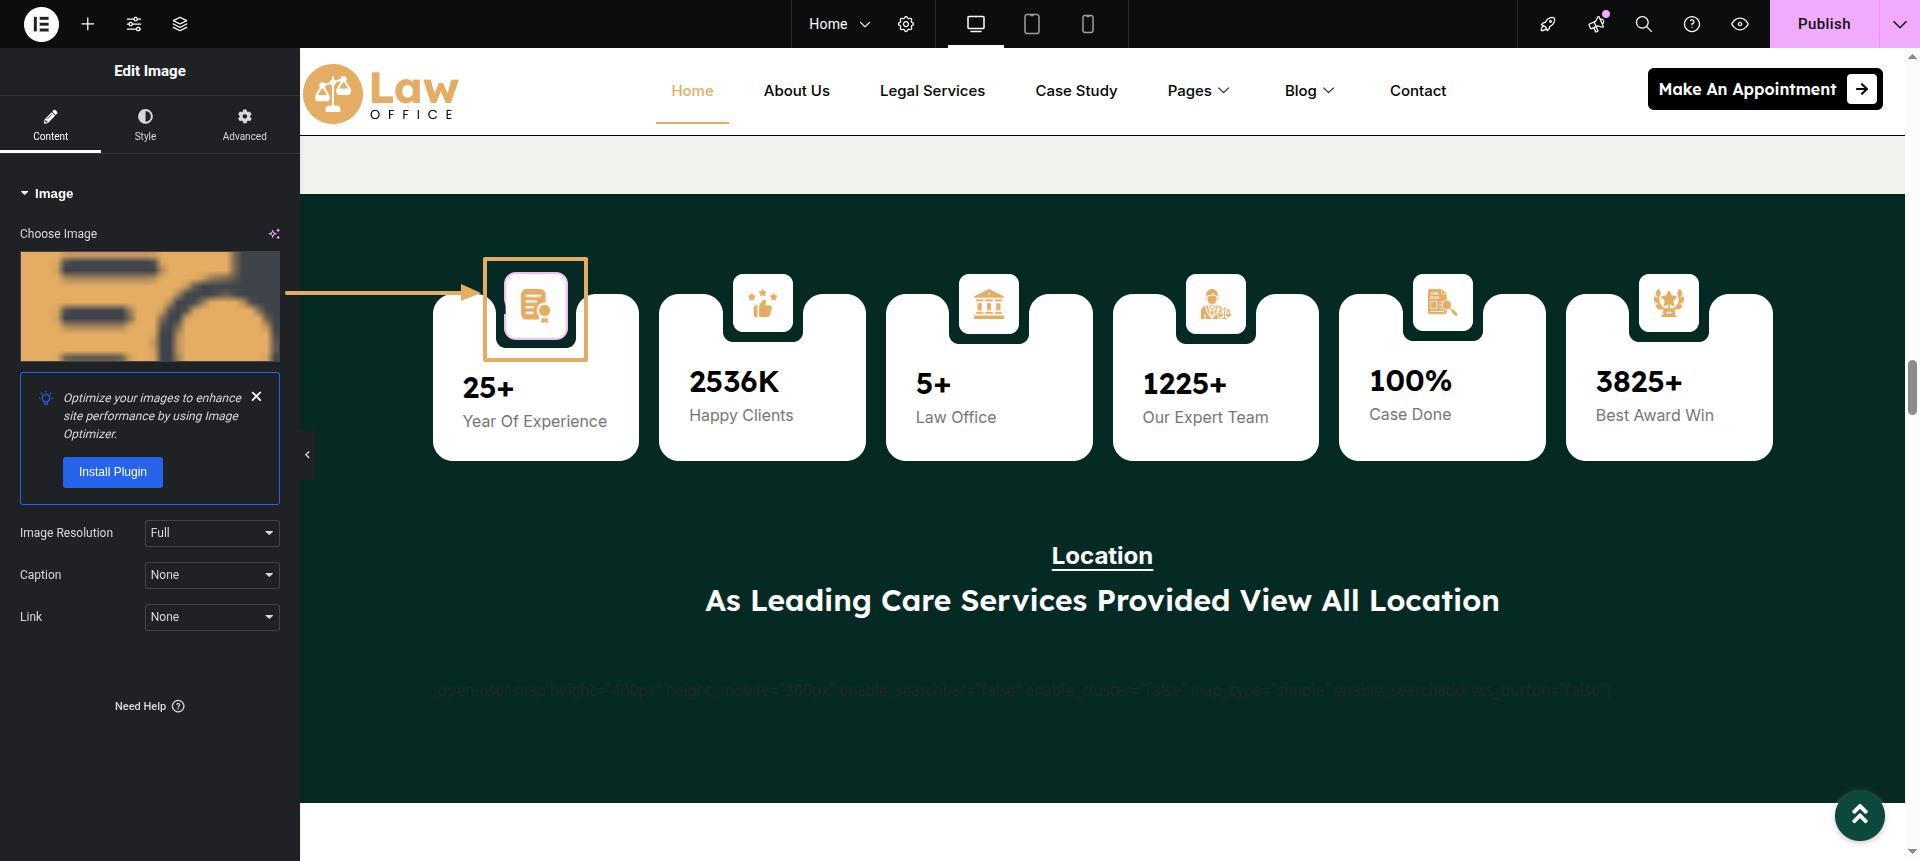
Counter add counter widget from widgets section" then add your counter value and text heading.
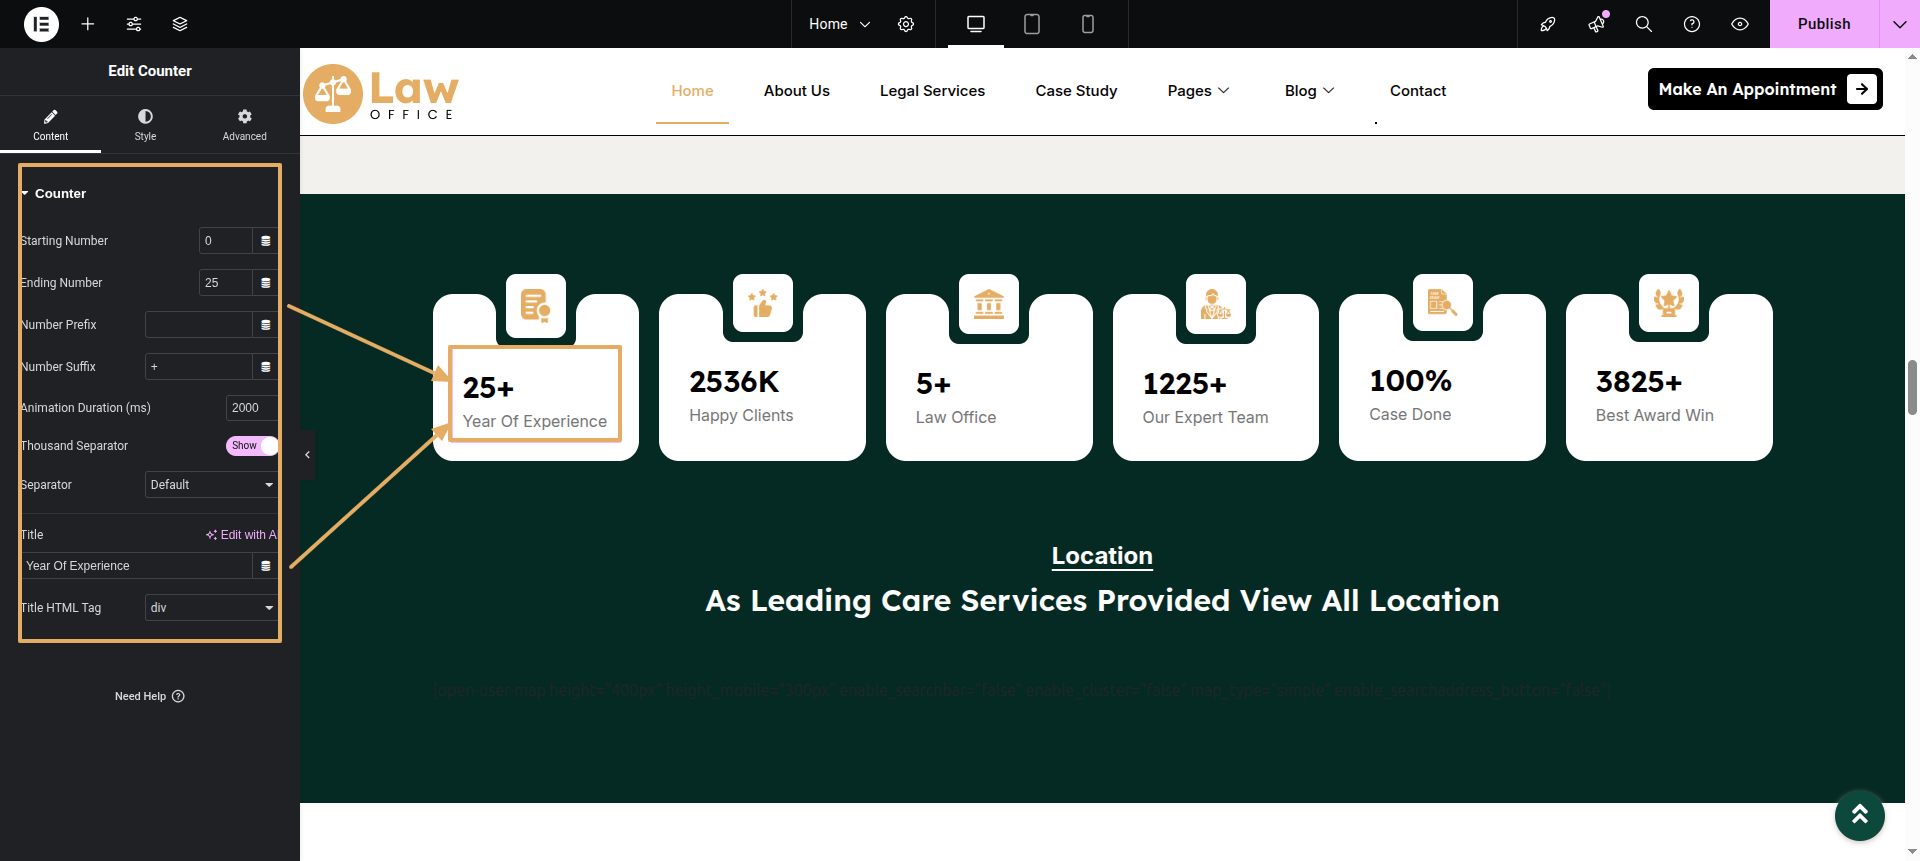
Open user map Install "Open user map" plugin and set your desired locations in regions tab in backend, also enable sidebar .
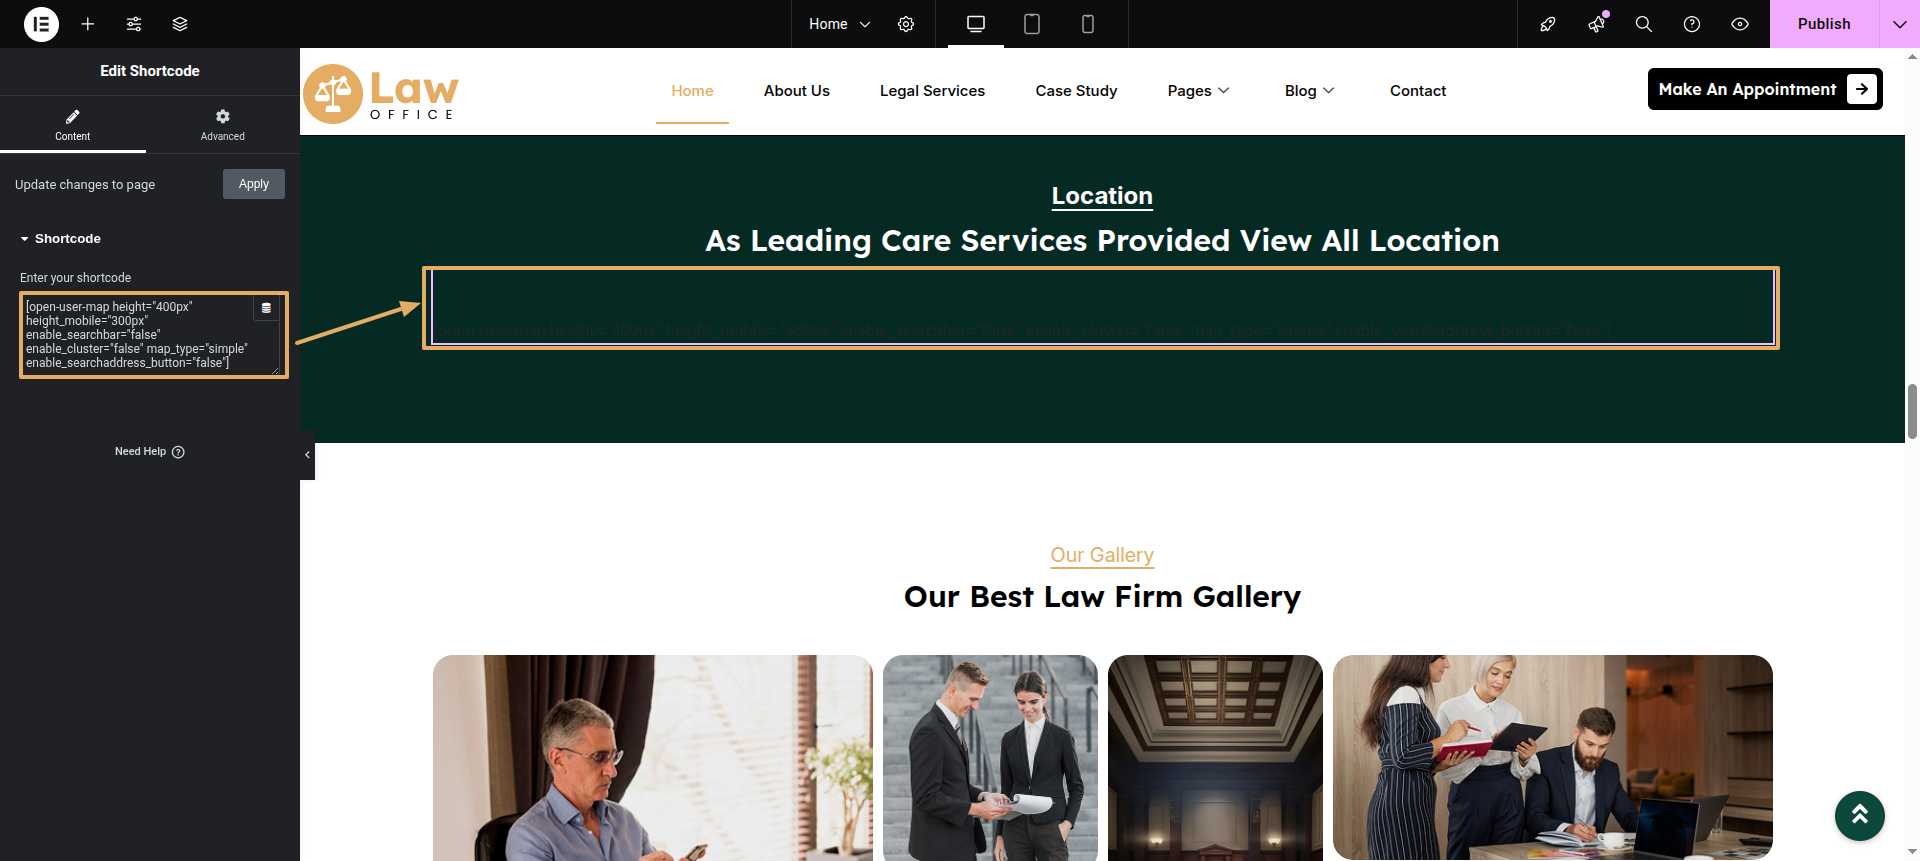
Final Progress See below for design insights.
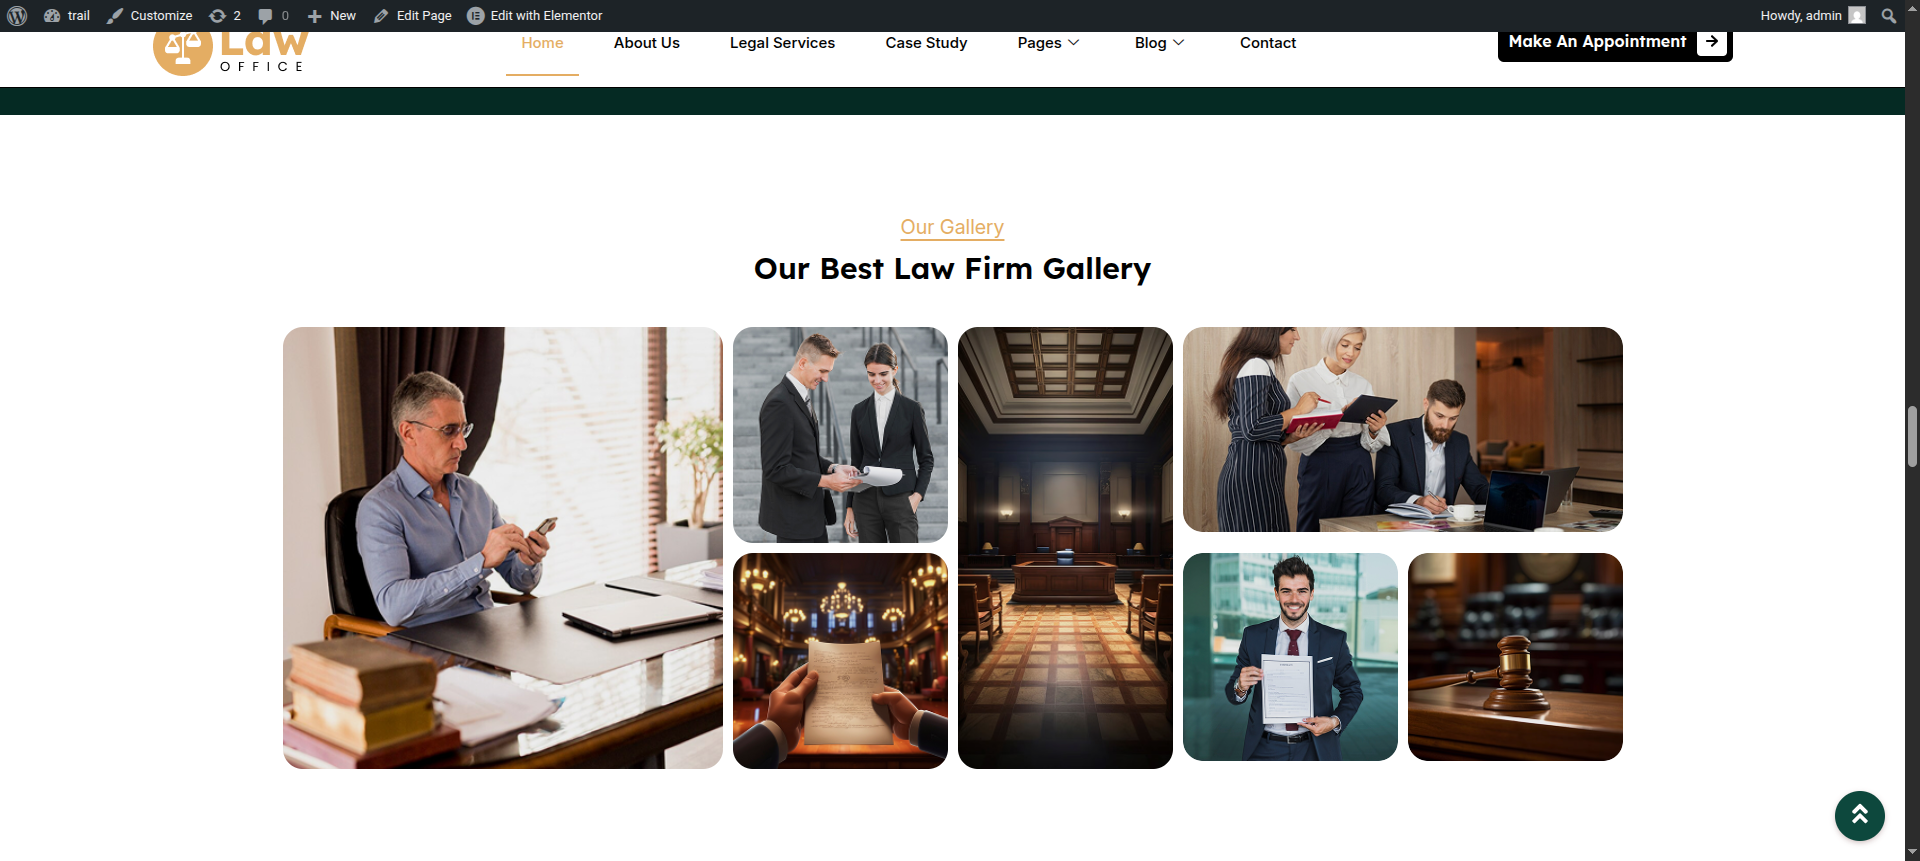
This section pertains to the Gallery.
Initial Progress while hitting "edit page with elementor" Discover "image gallery in widgets" then "add images according to your gallery" .
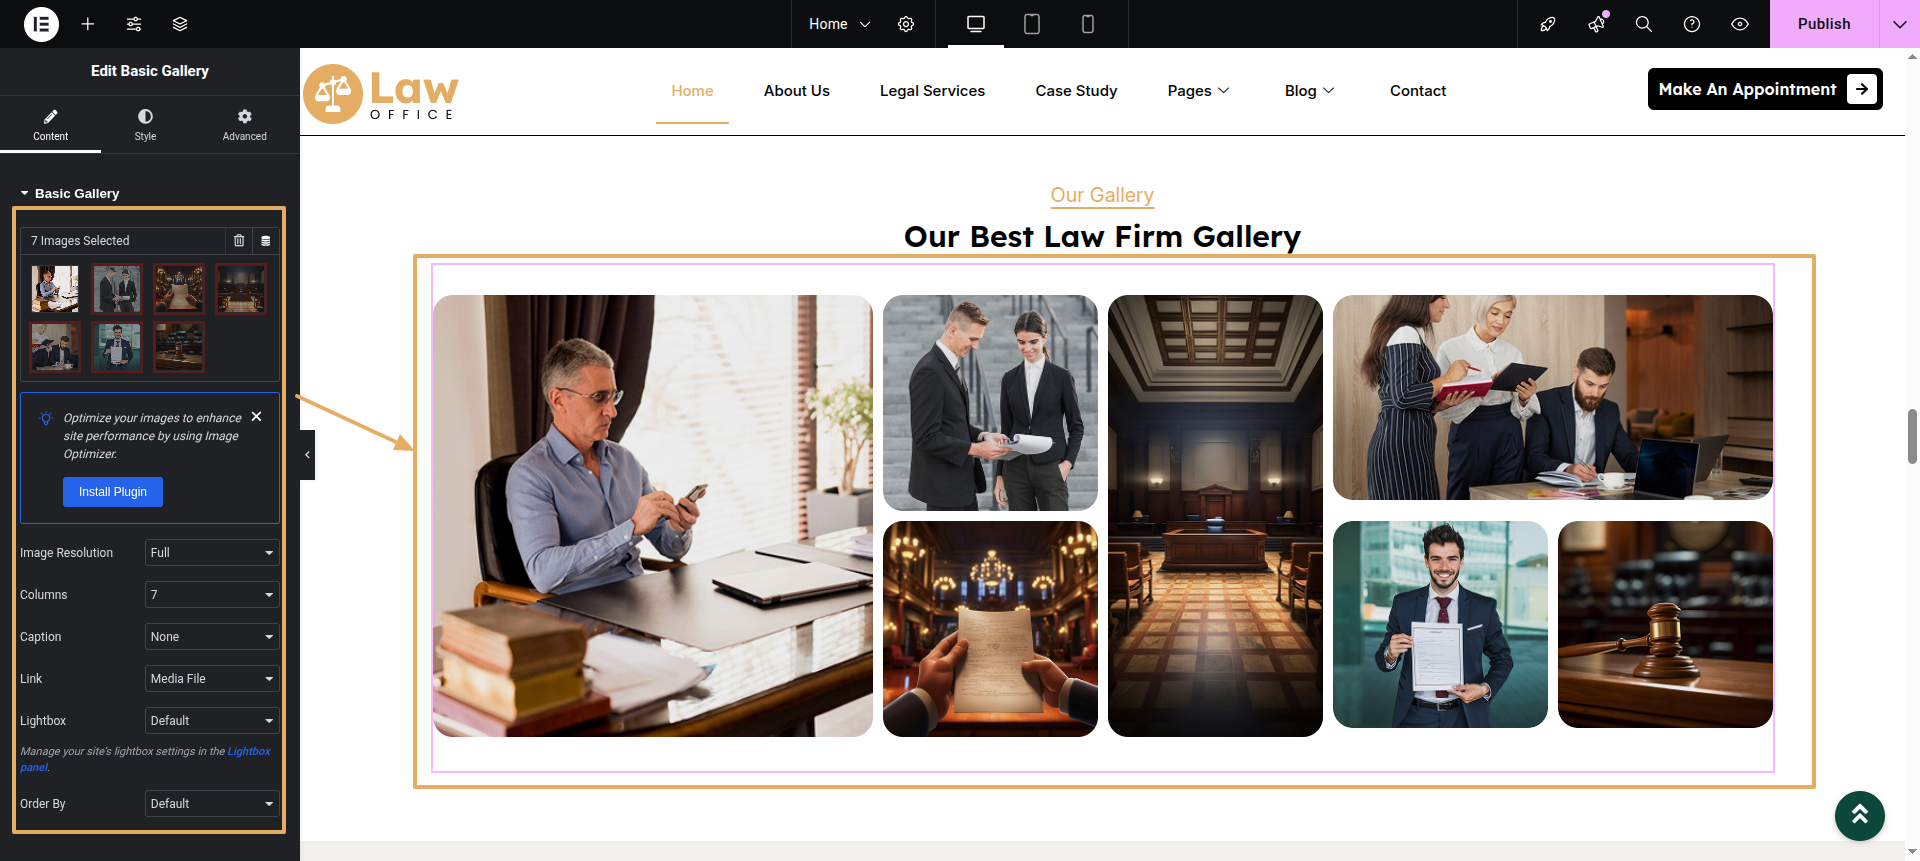
Final Progress See below for design insights.
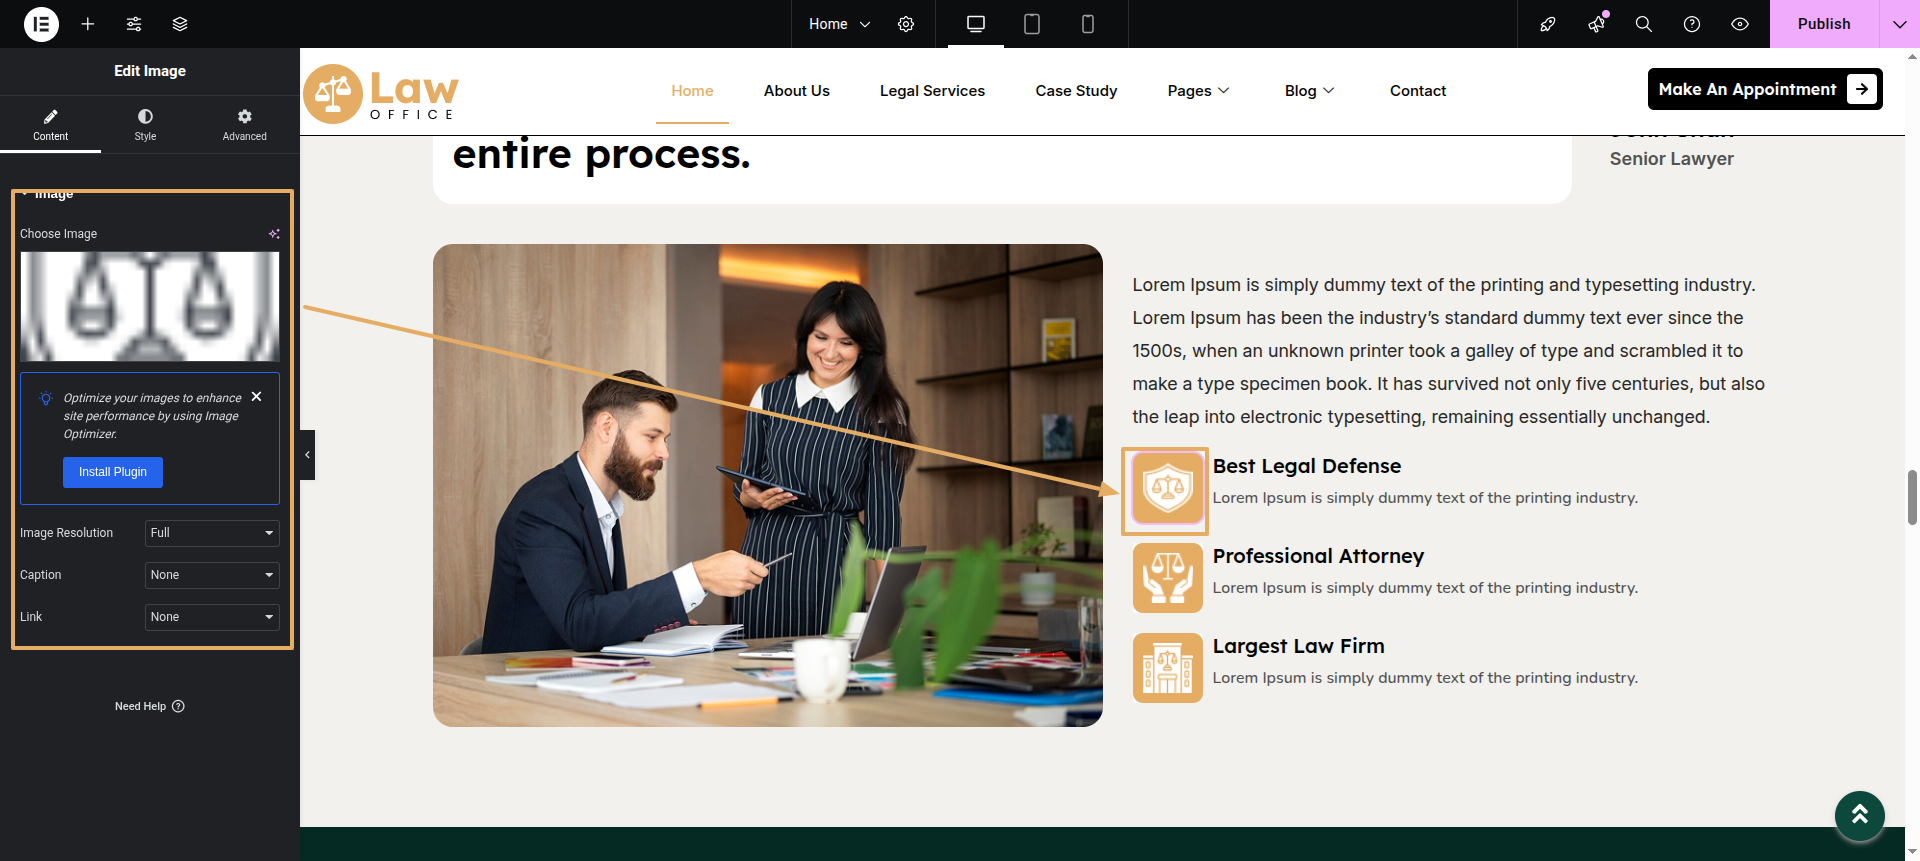
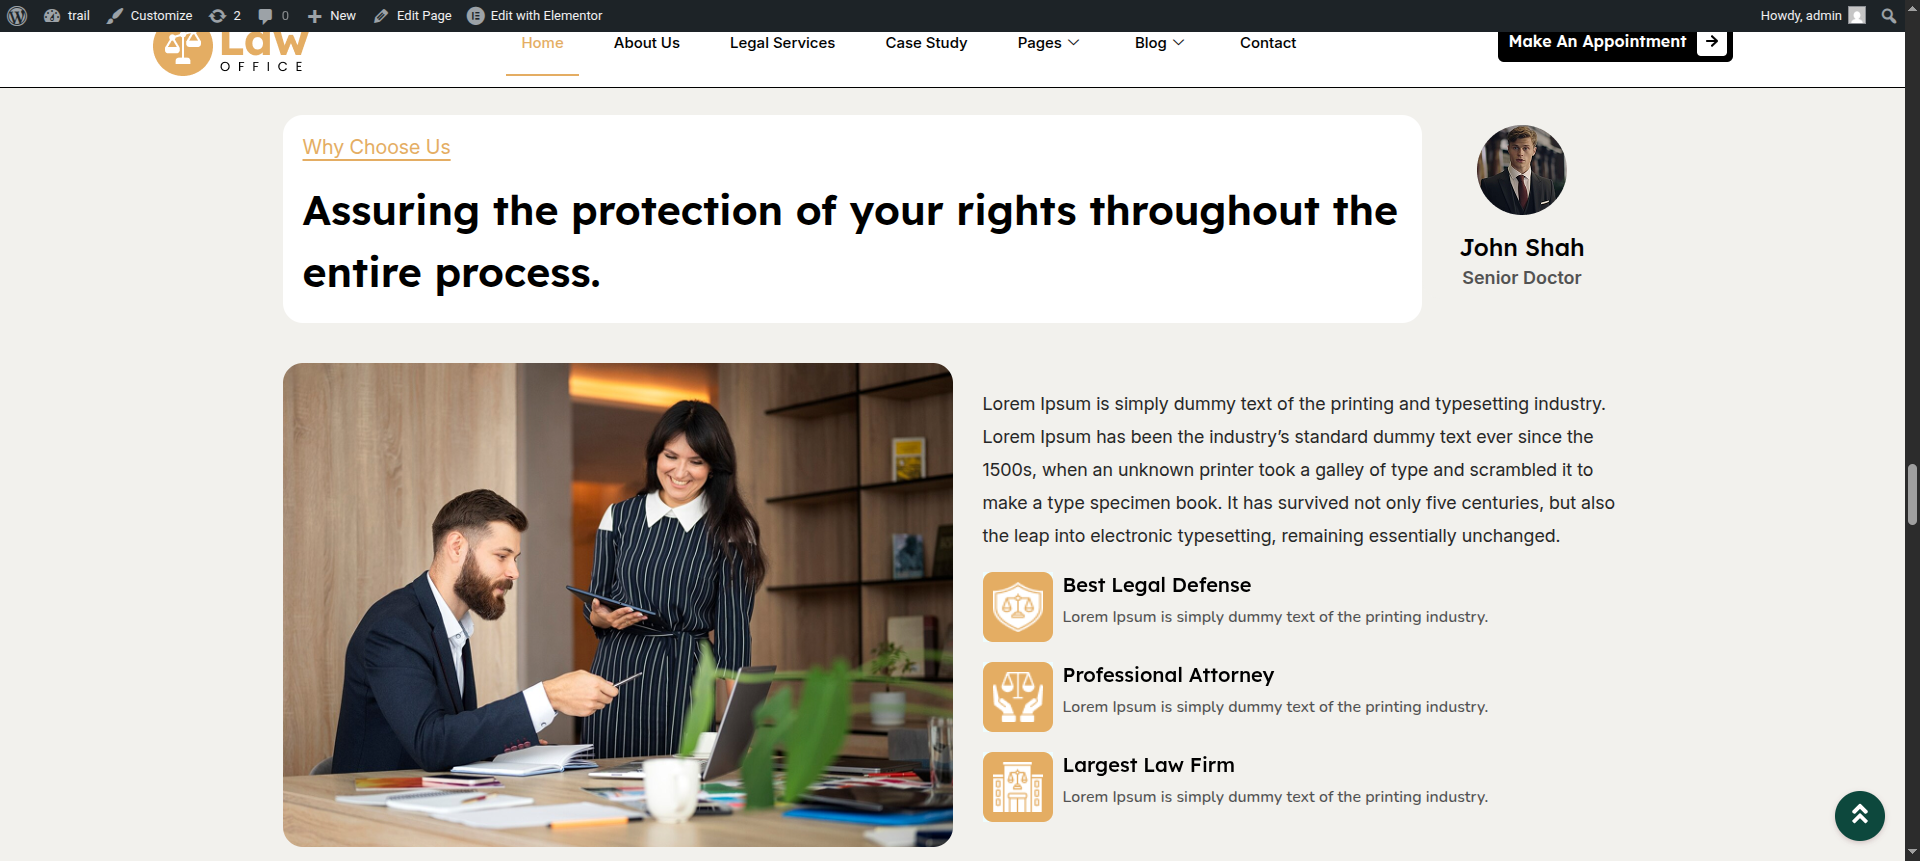
This section pertains to the Why choose us.
Initial Progress add image box from widgets" add image using image box then "add title" and lastly add text .
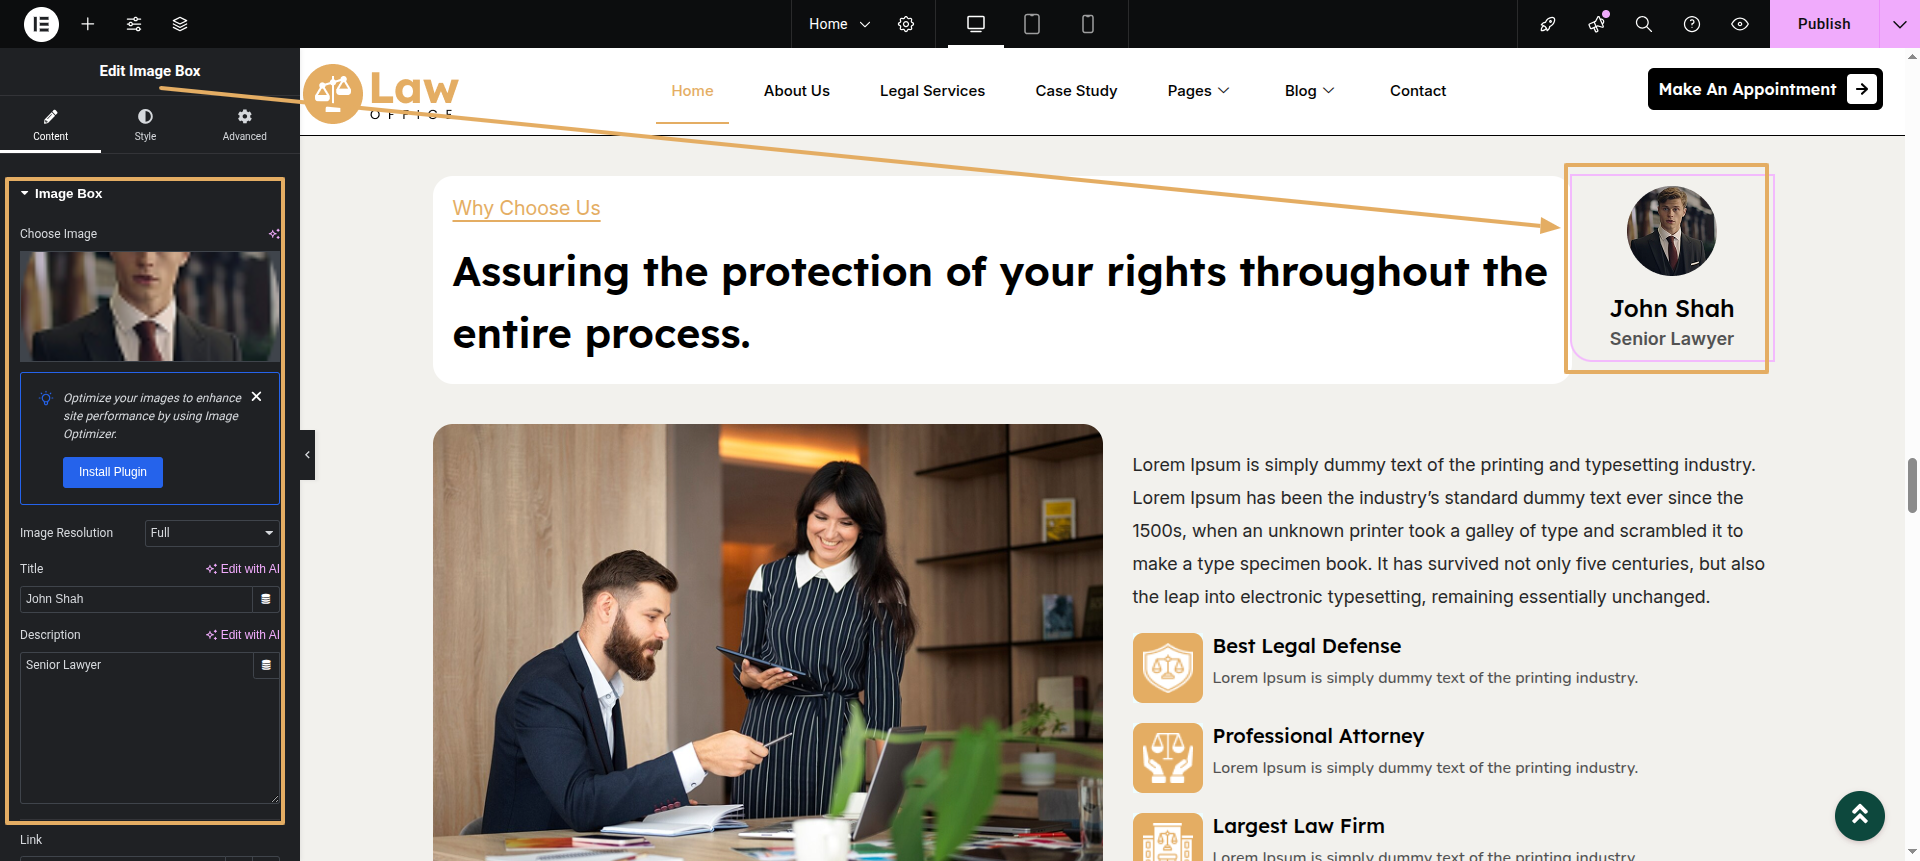
Simple Image Its a simple image widget.
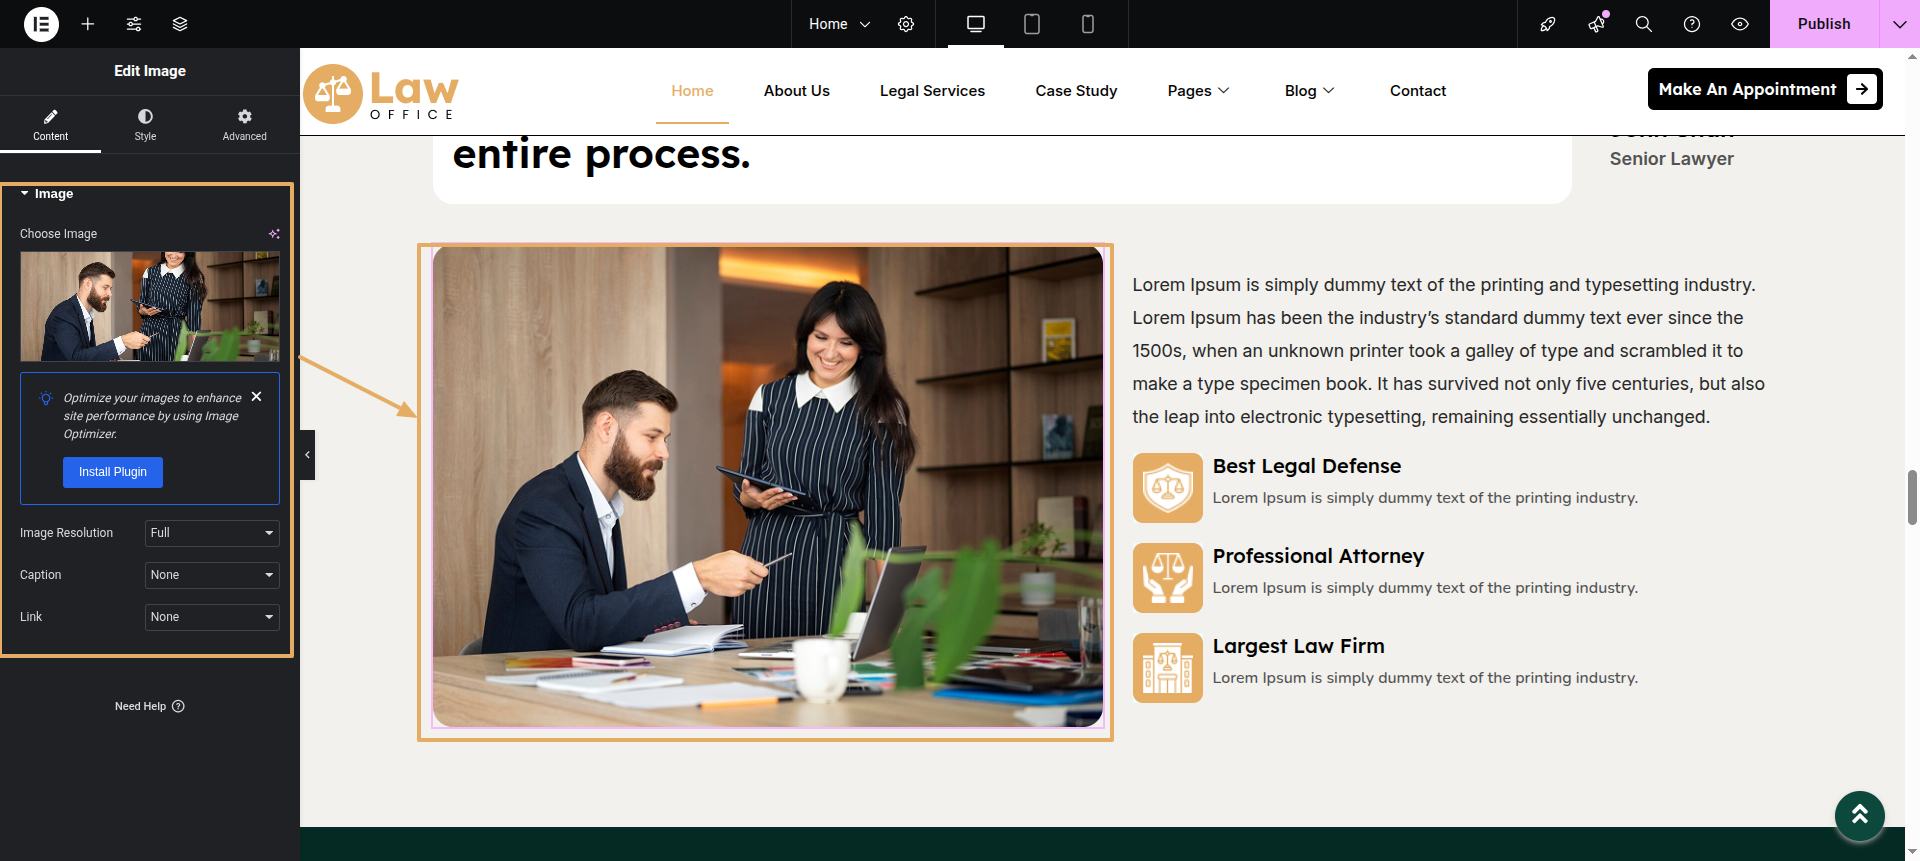
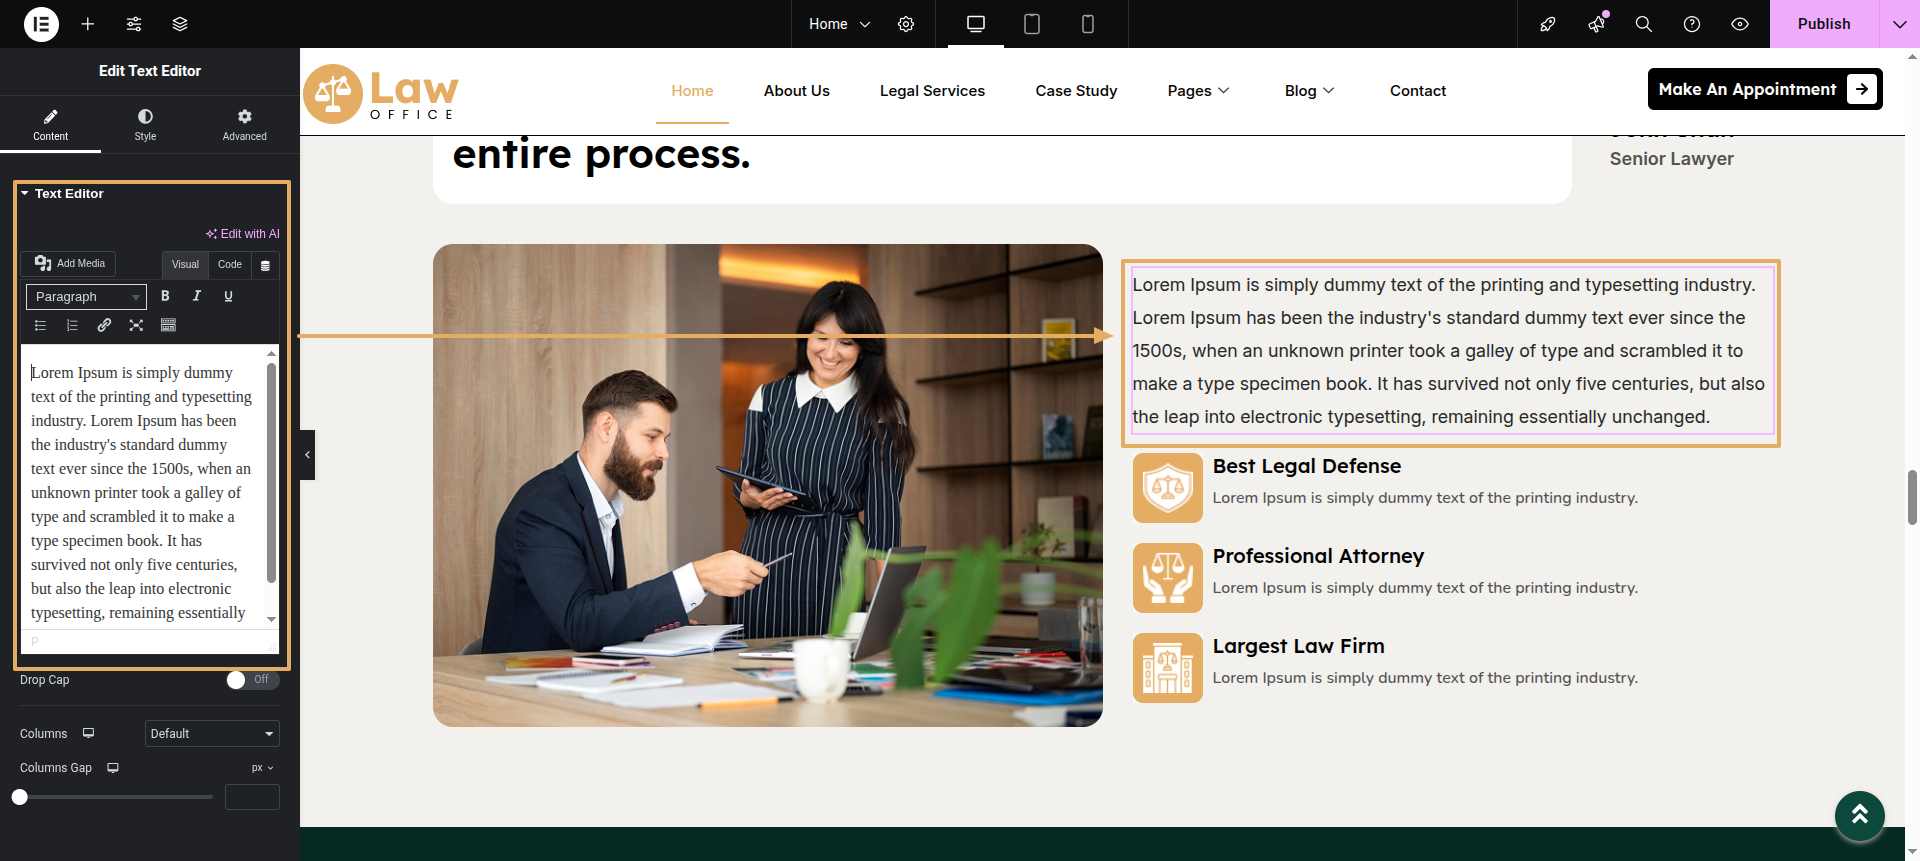
Text Editor Its a text editor widget add your desired text.
Simple Image Its a simple image wdiget add your image in it.
Final Progress See below for design insights.
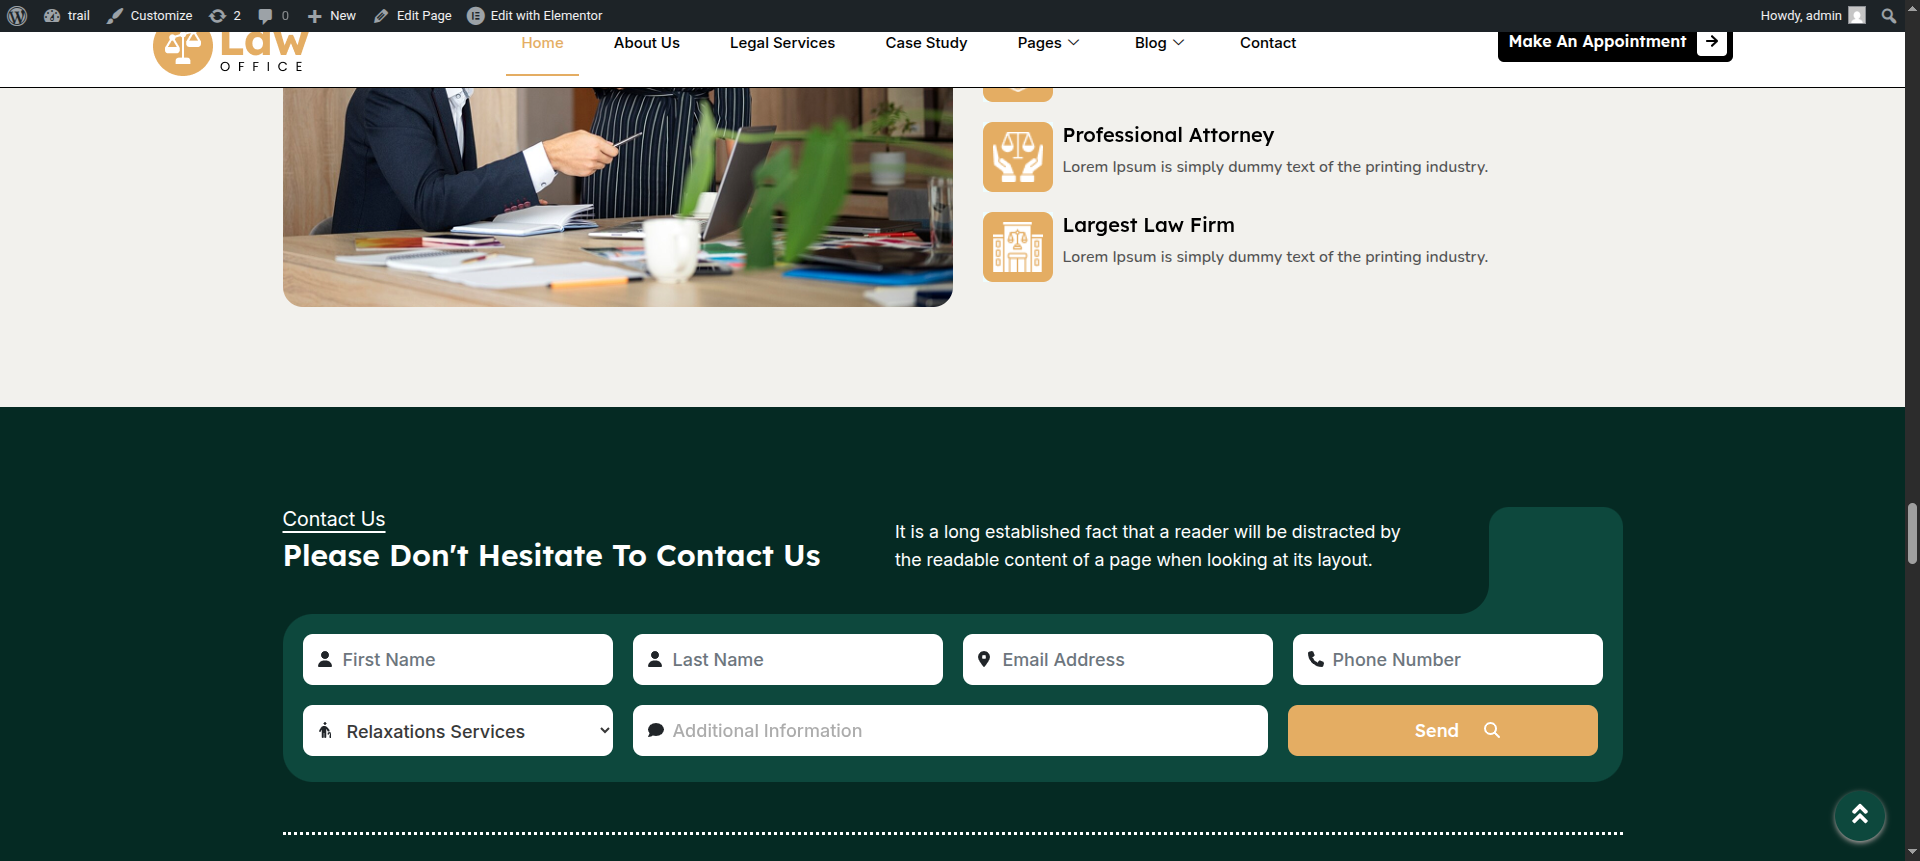
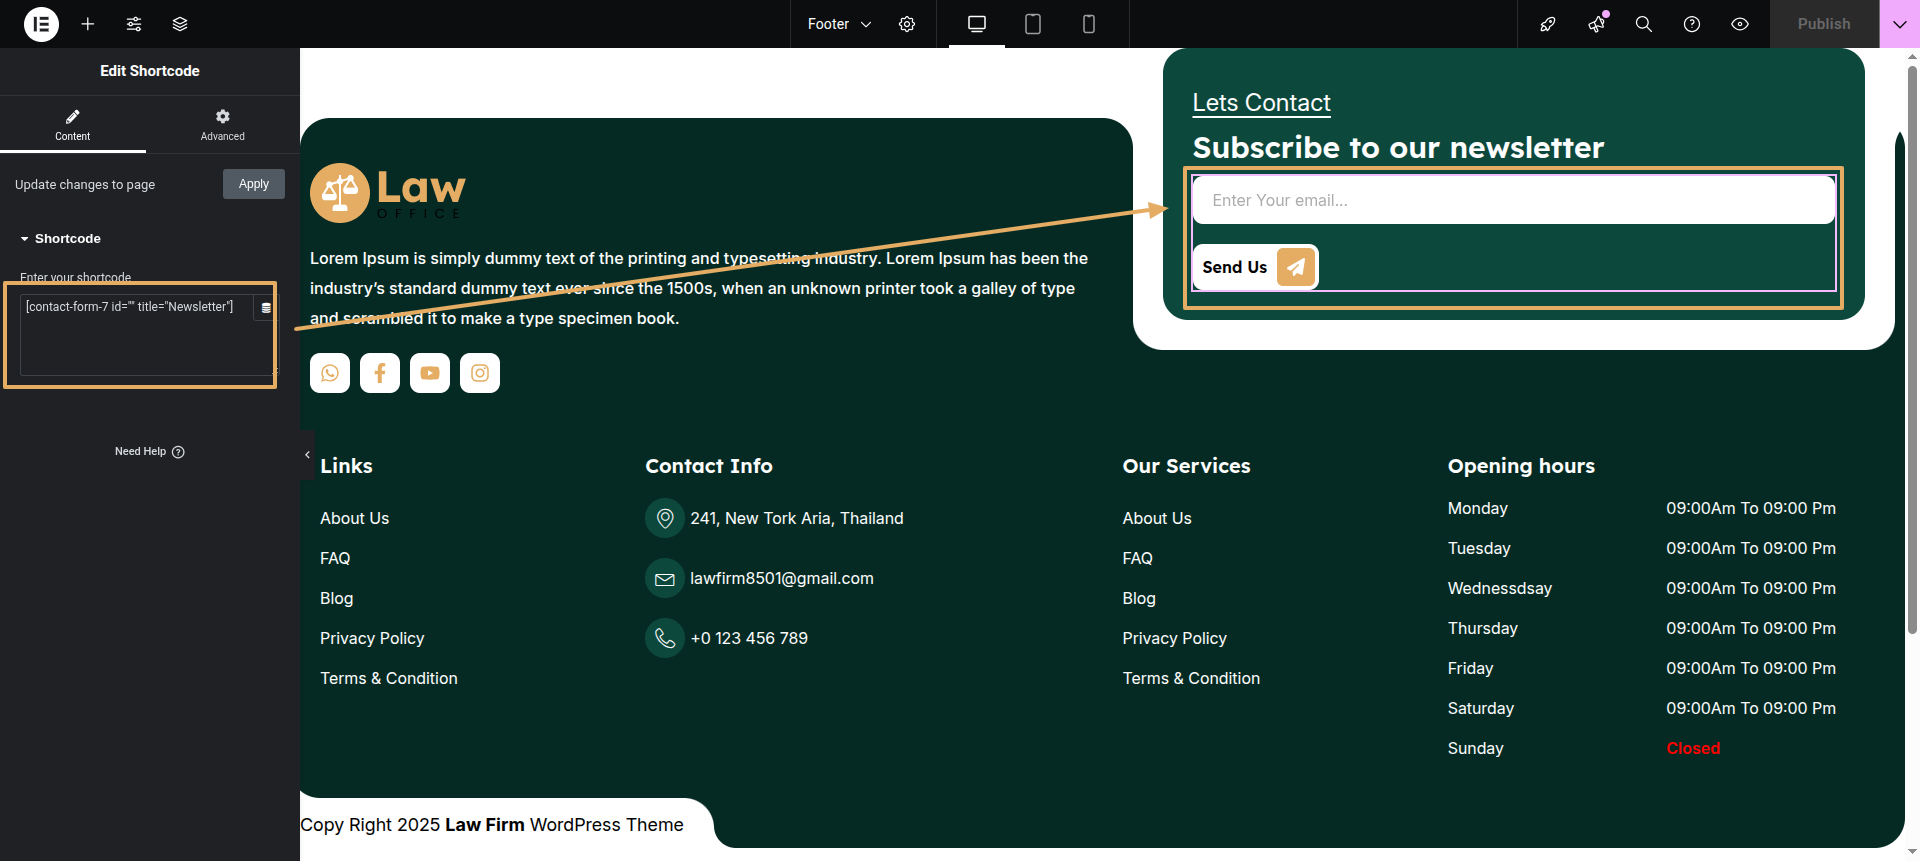
This section pertains to the Newsletter reference.
Initial Progress while hitting "Dashboard" Discover "Contact" previous tapping "Published" .
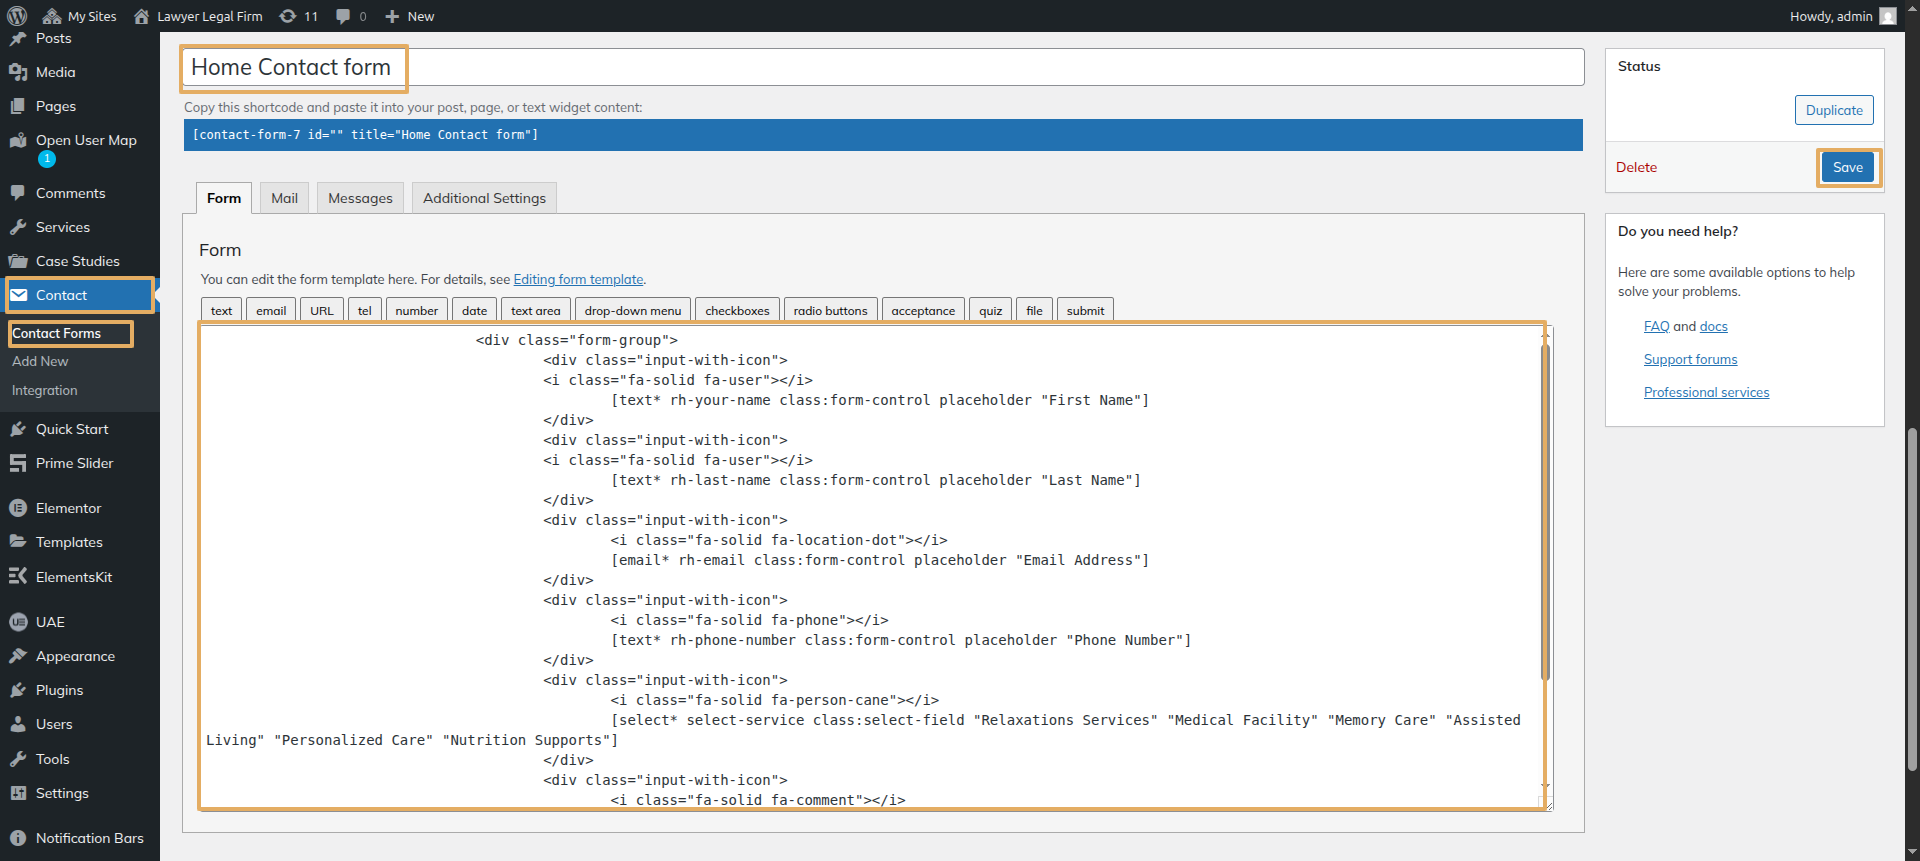
Next Progress while hitting "edit with elementor" Discover "shortcode" widget then add "contact form shortcode" to fetch the form .
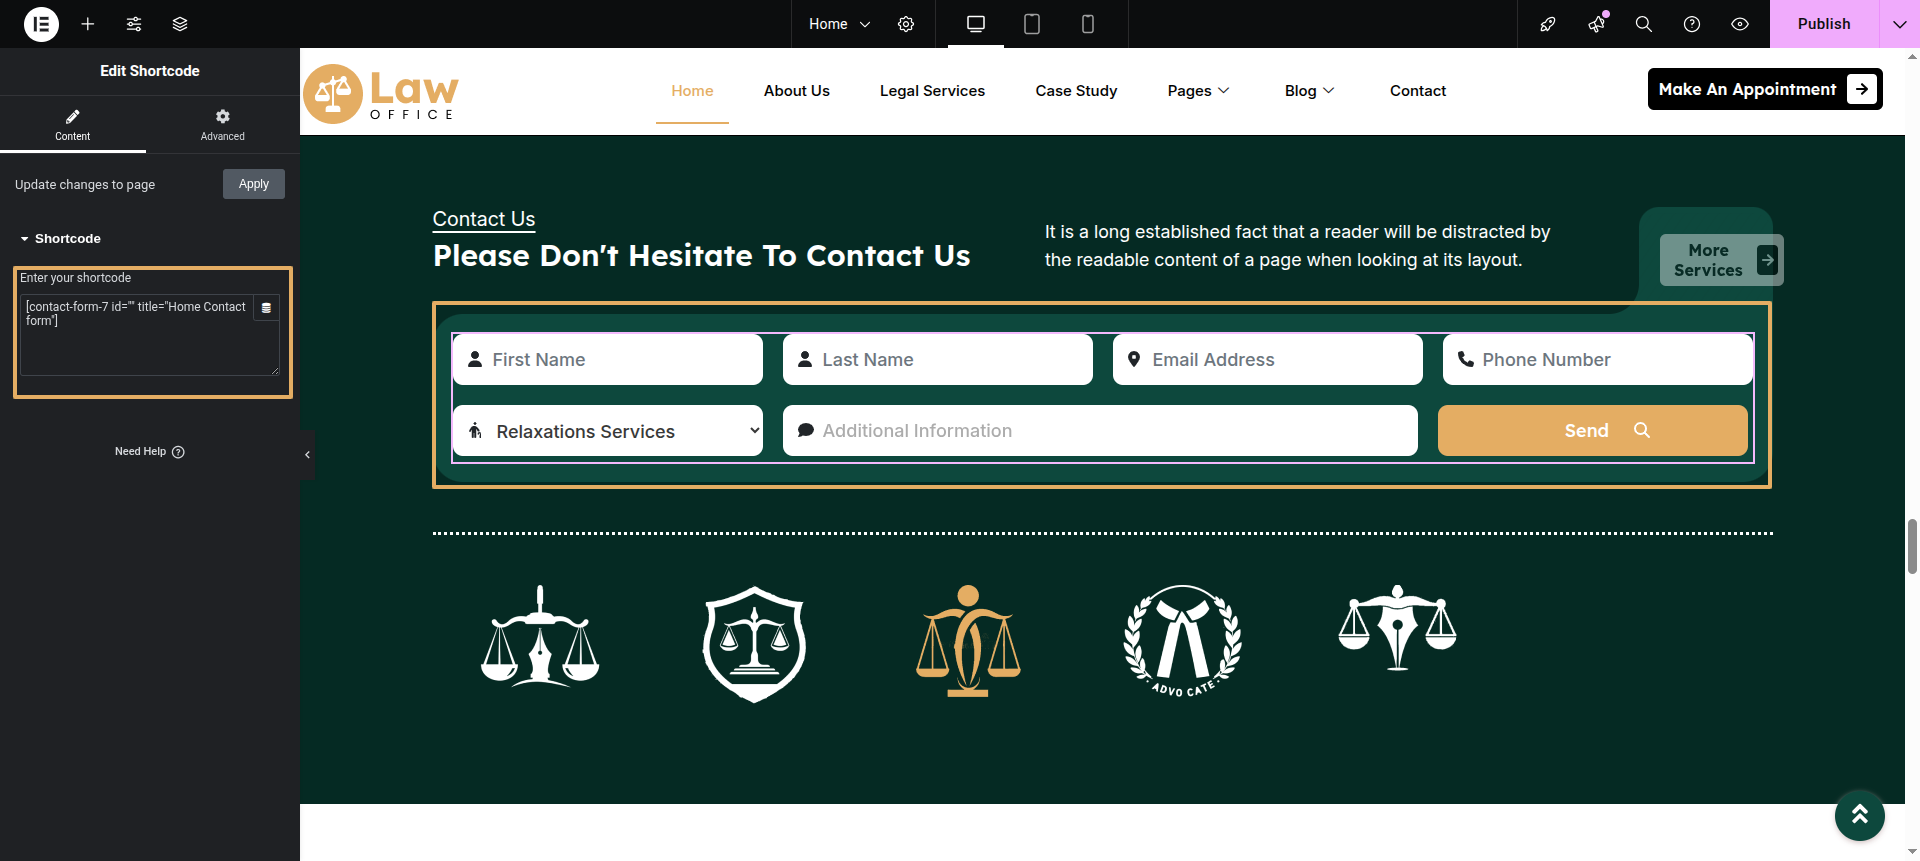
Final Progress See below for design insights.
This section pertains to the Partners.
Initial Progress while hitting "edit with elementor" Discover "image gallery" then add "partners image" in your gallery. .
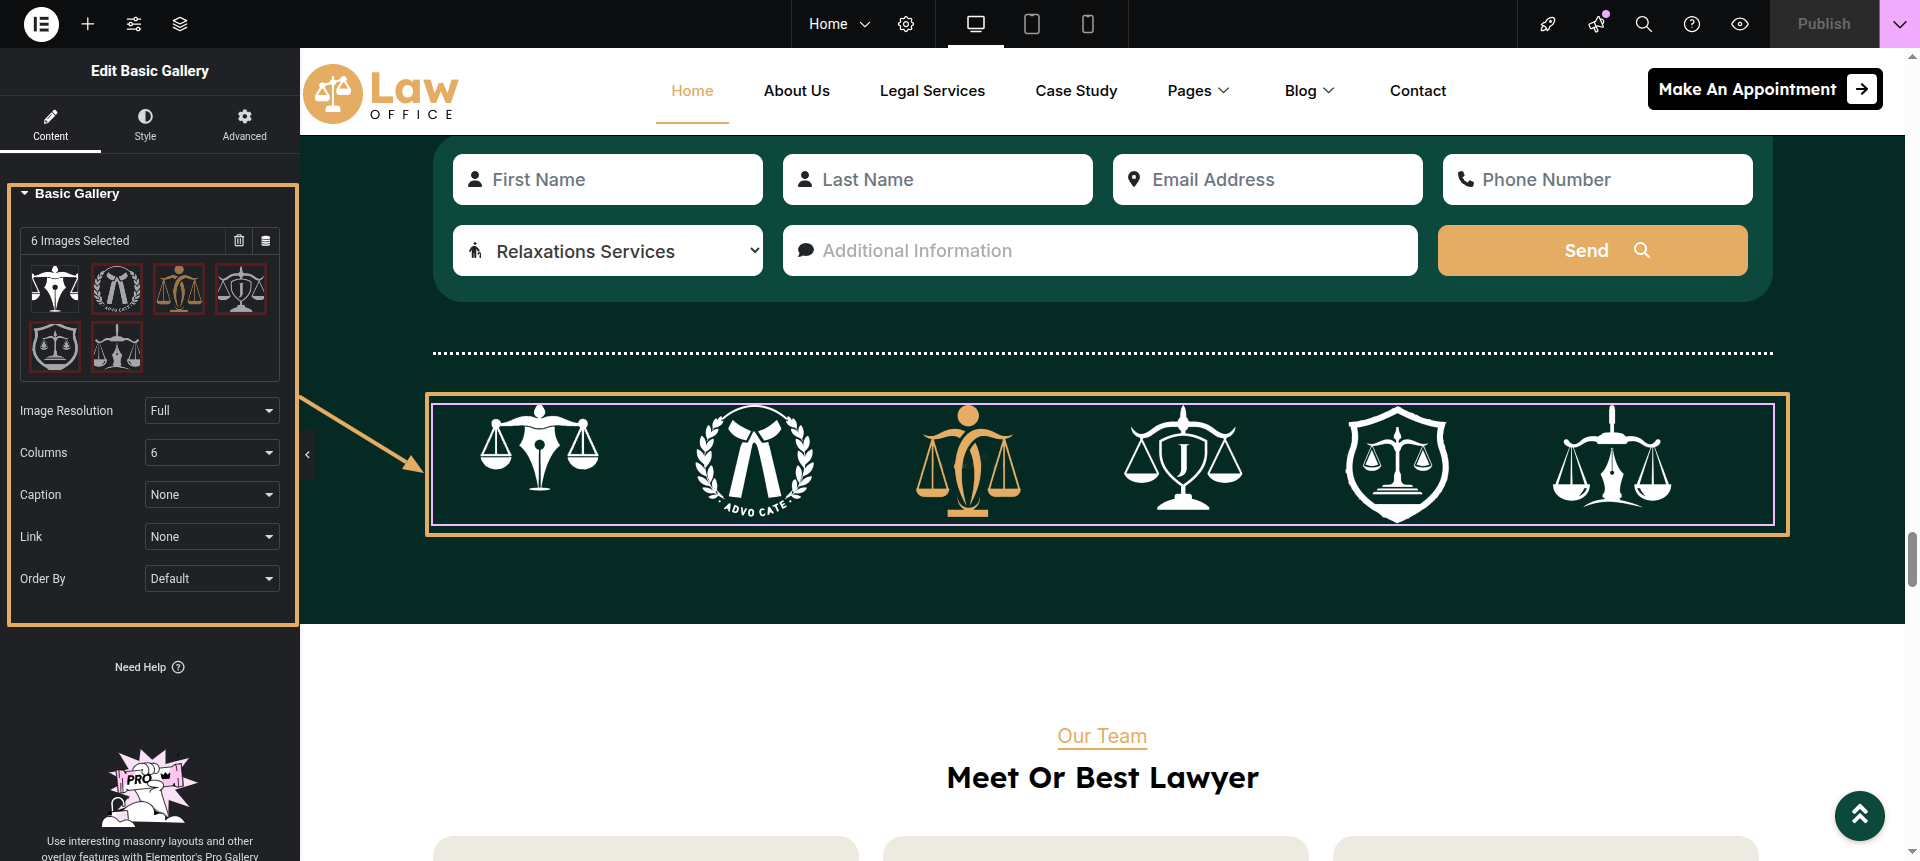
Final Progress See below for design insights.
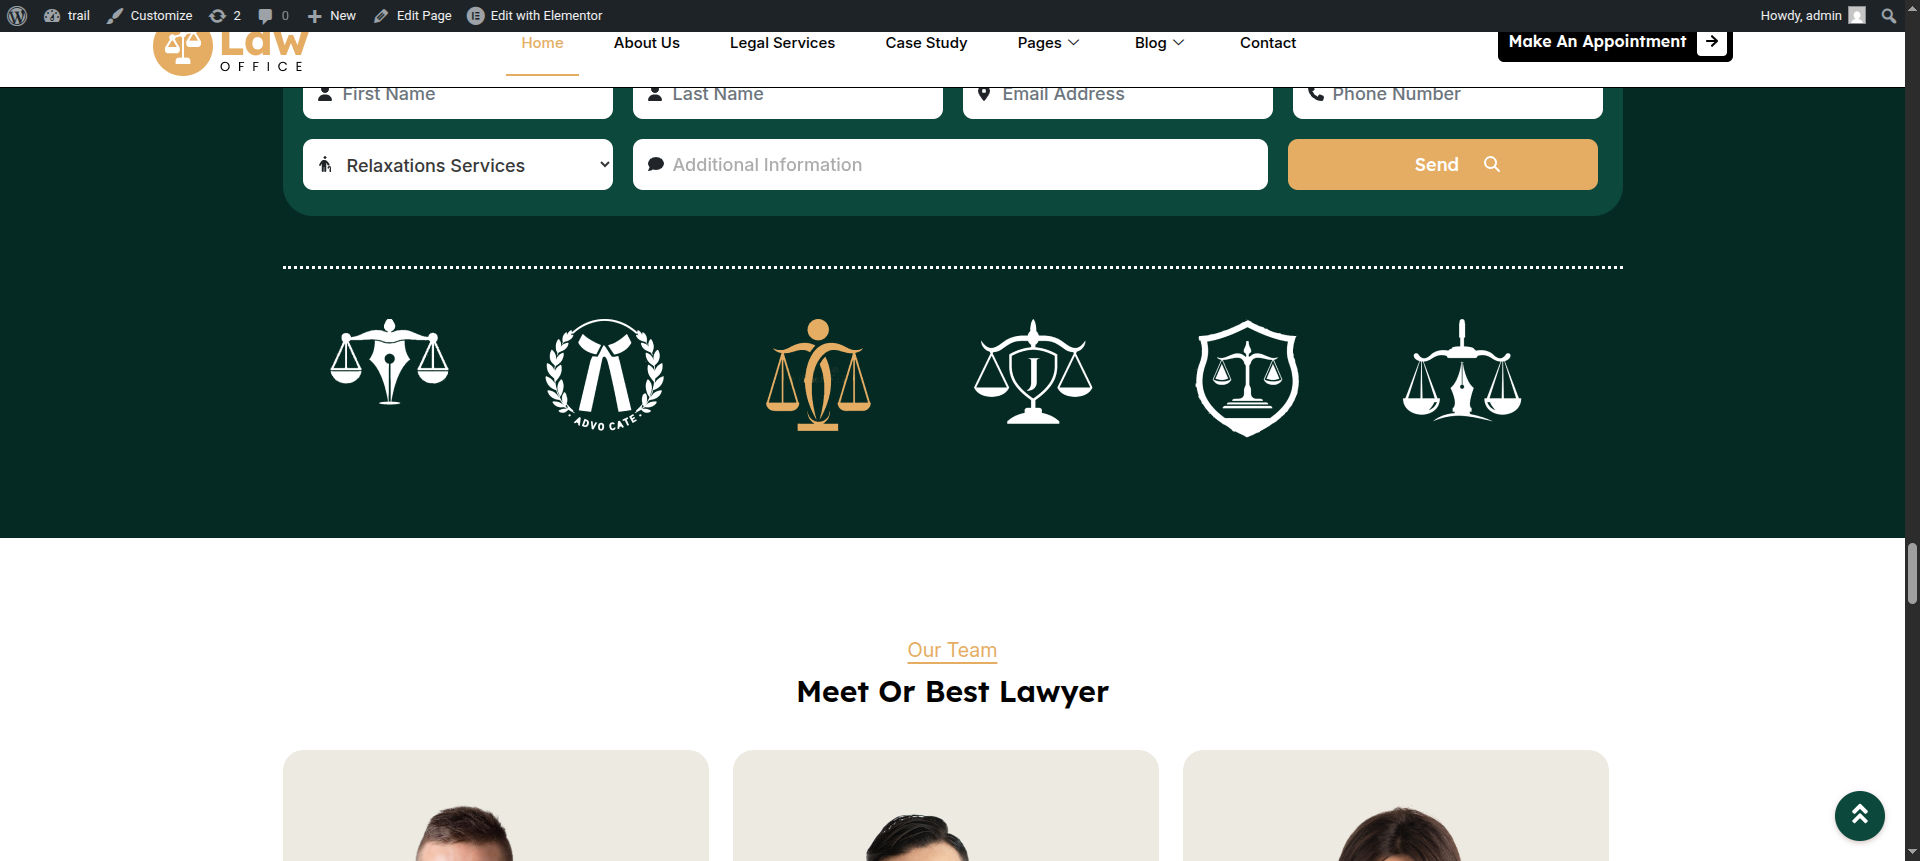
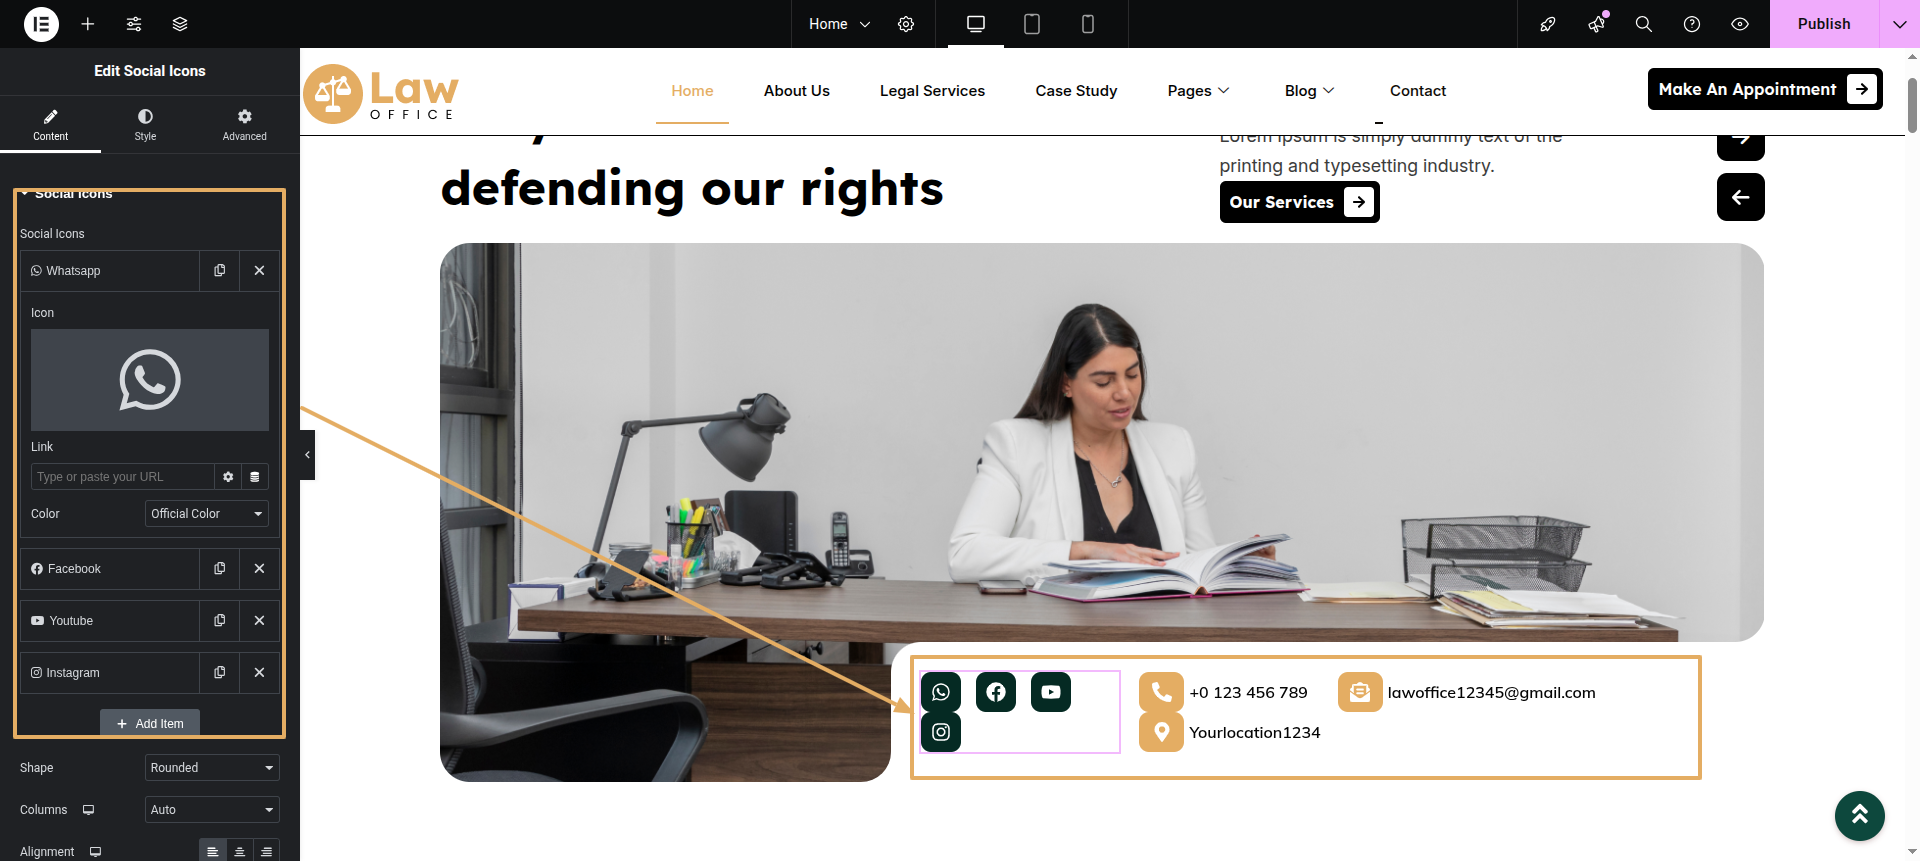
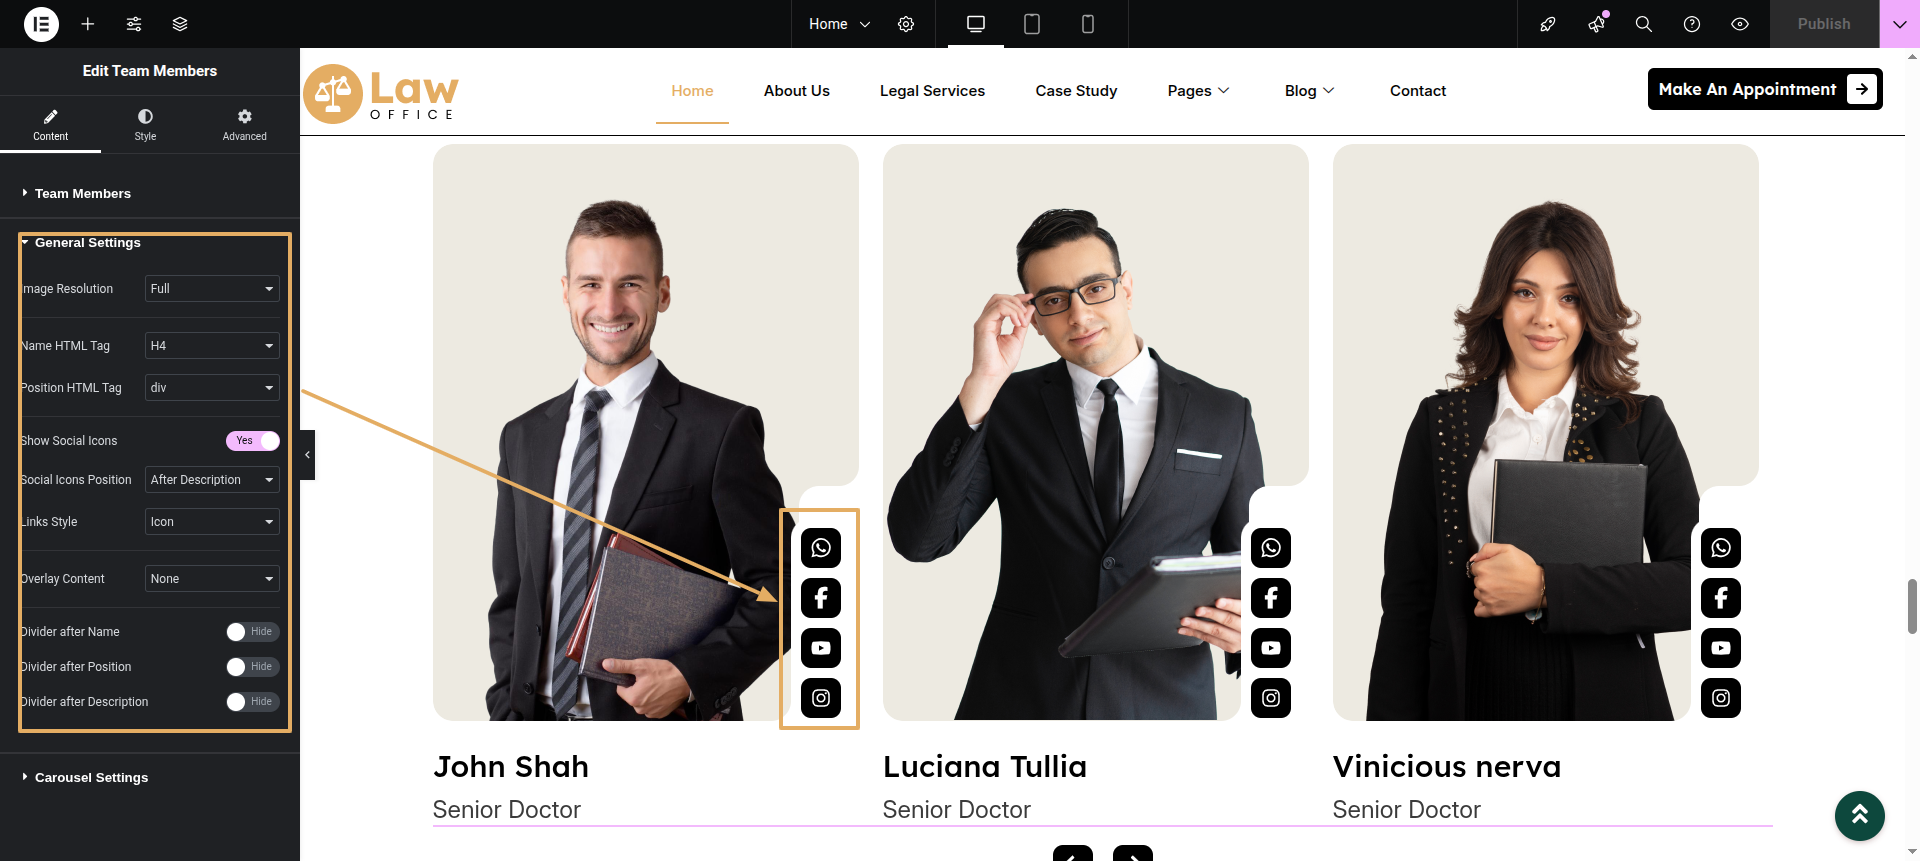
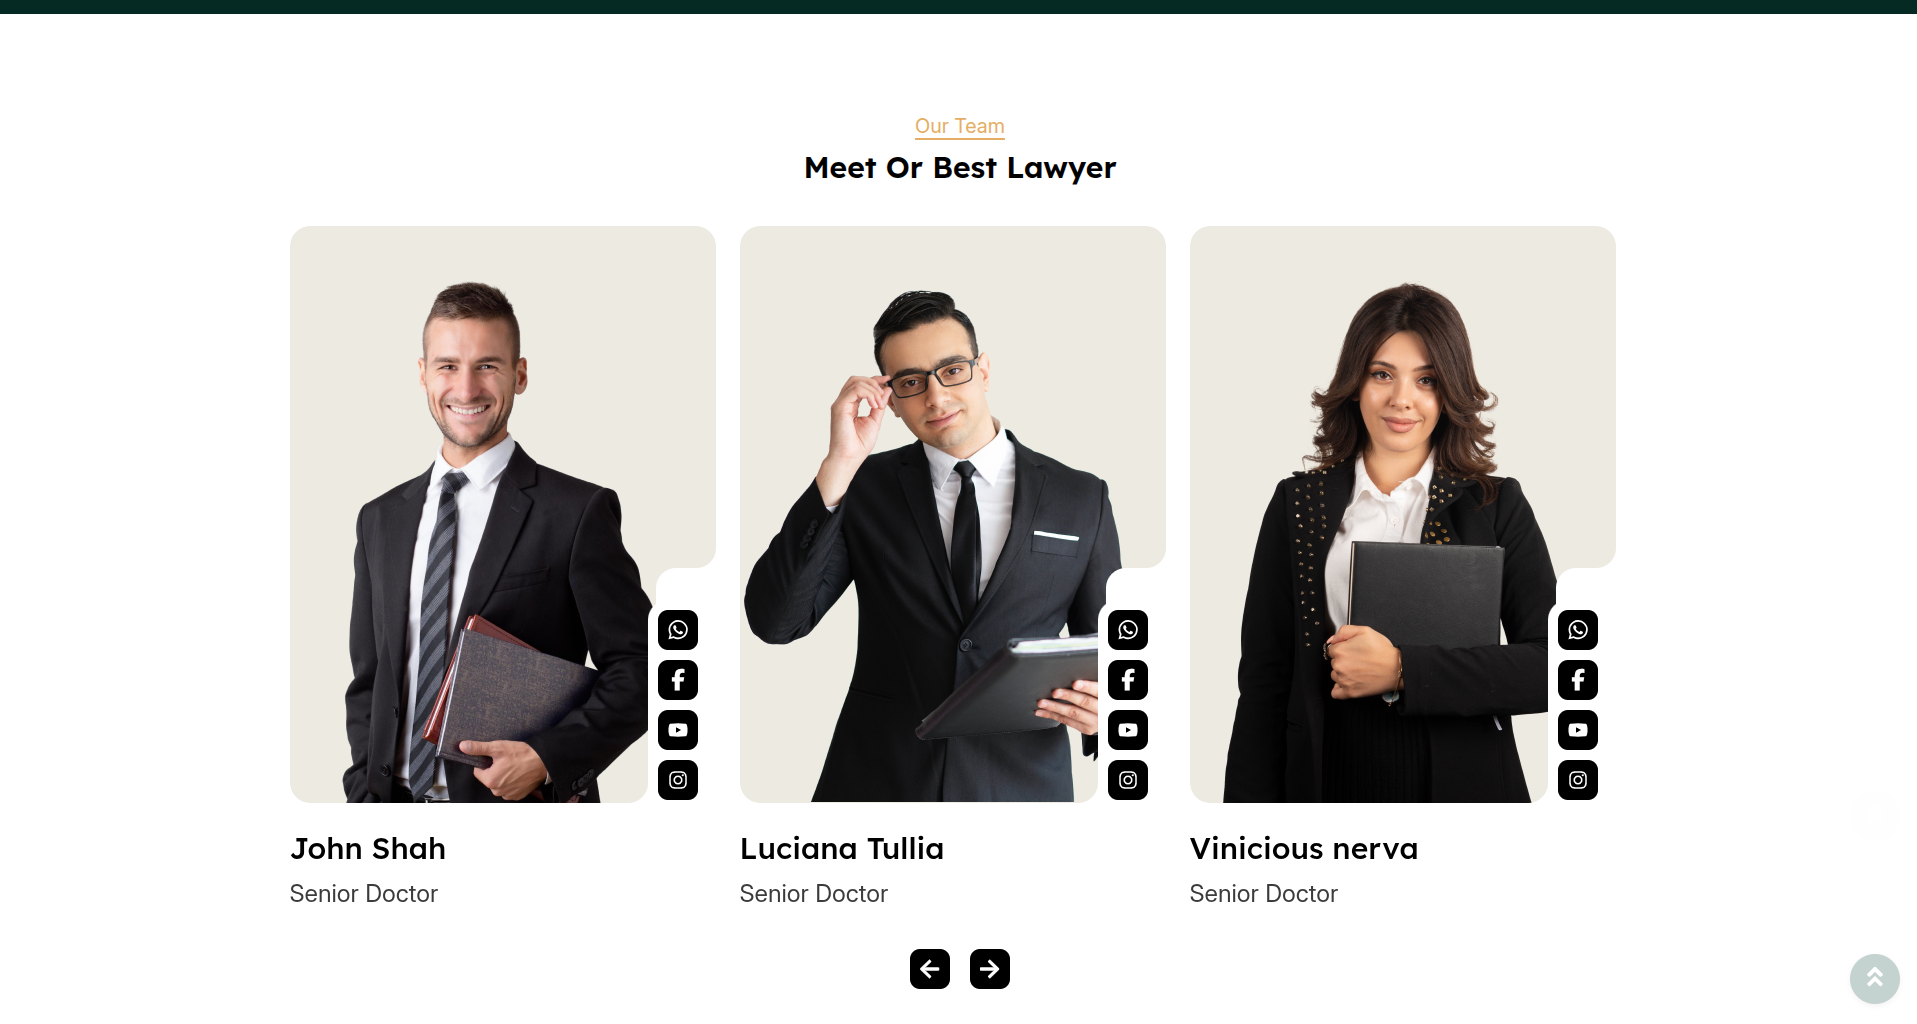
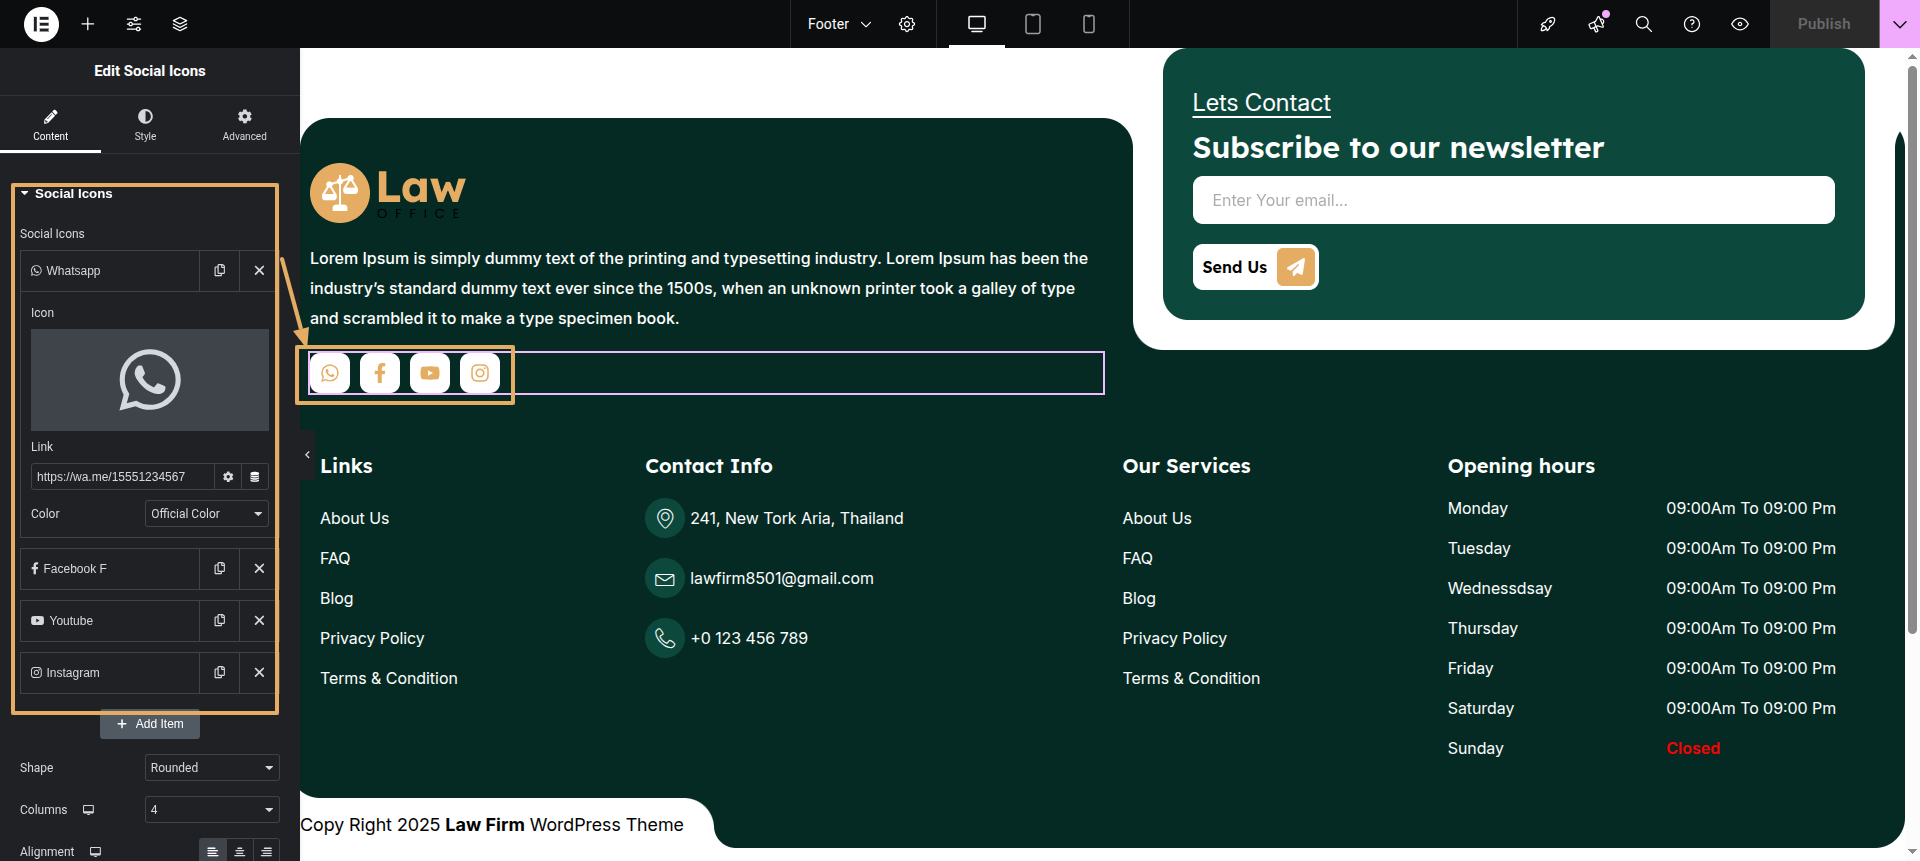
This section pertains to the Teams.
Initial Progress while hitting "edit with elementor" Discover "Team members" widget then add "Name and designation" Move forward "to add member image".
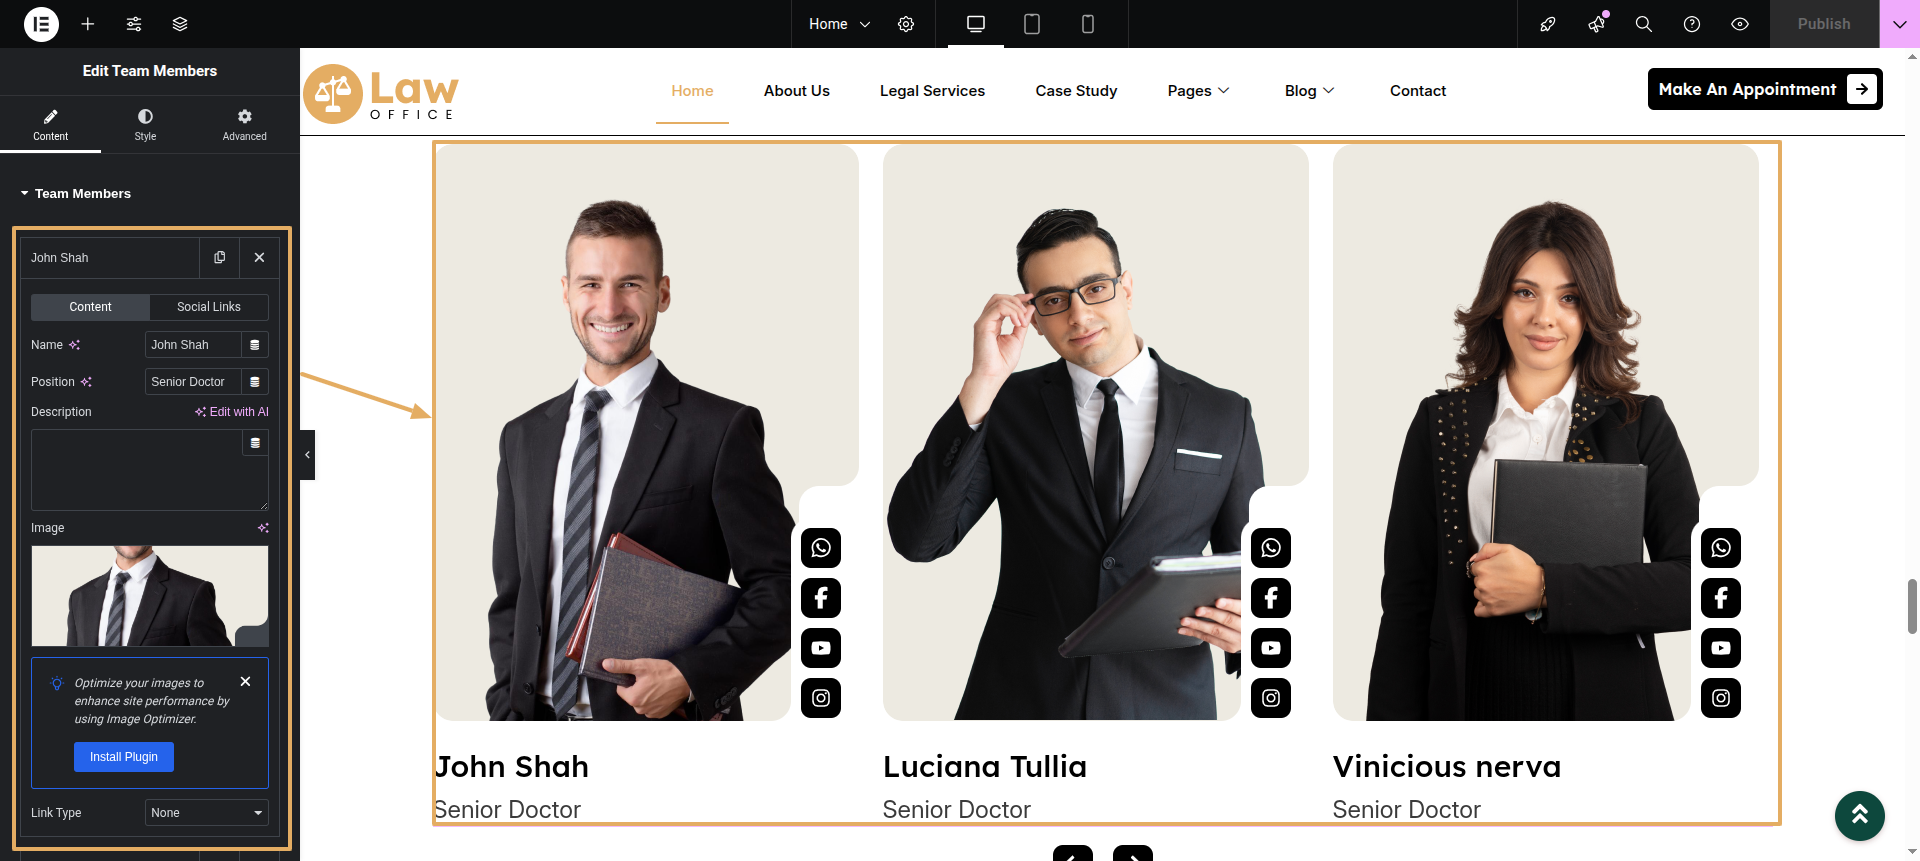
Social Icons Enable social icons from "Team member" widget.
Final Progress See below for design insights.
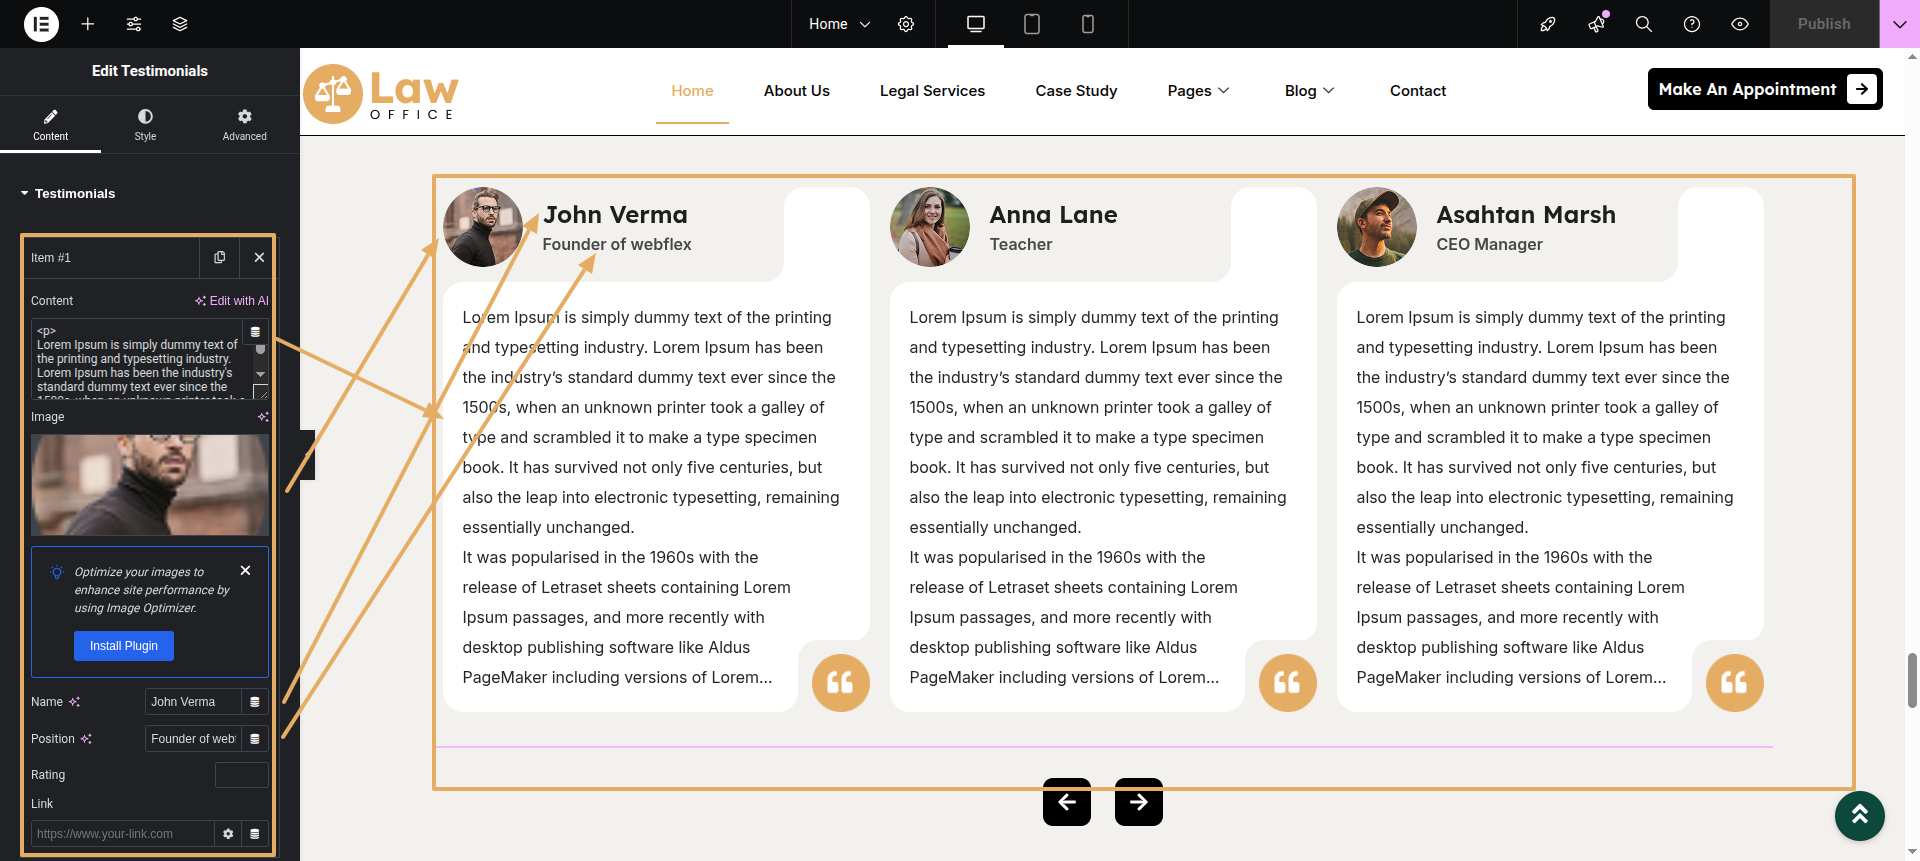
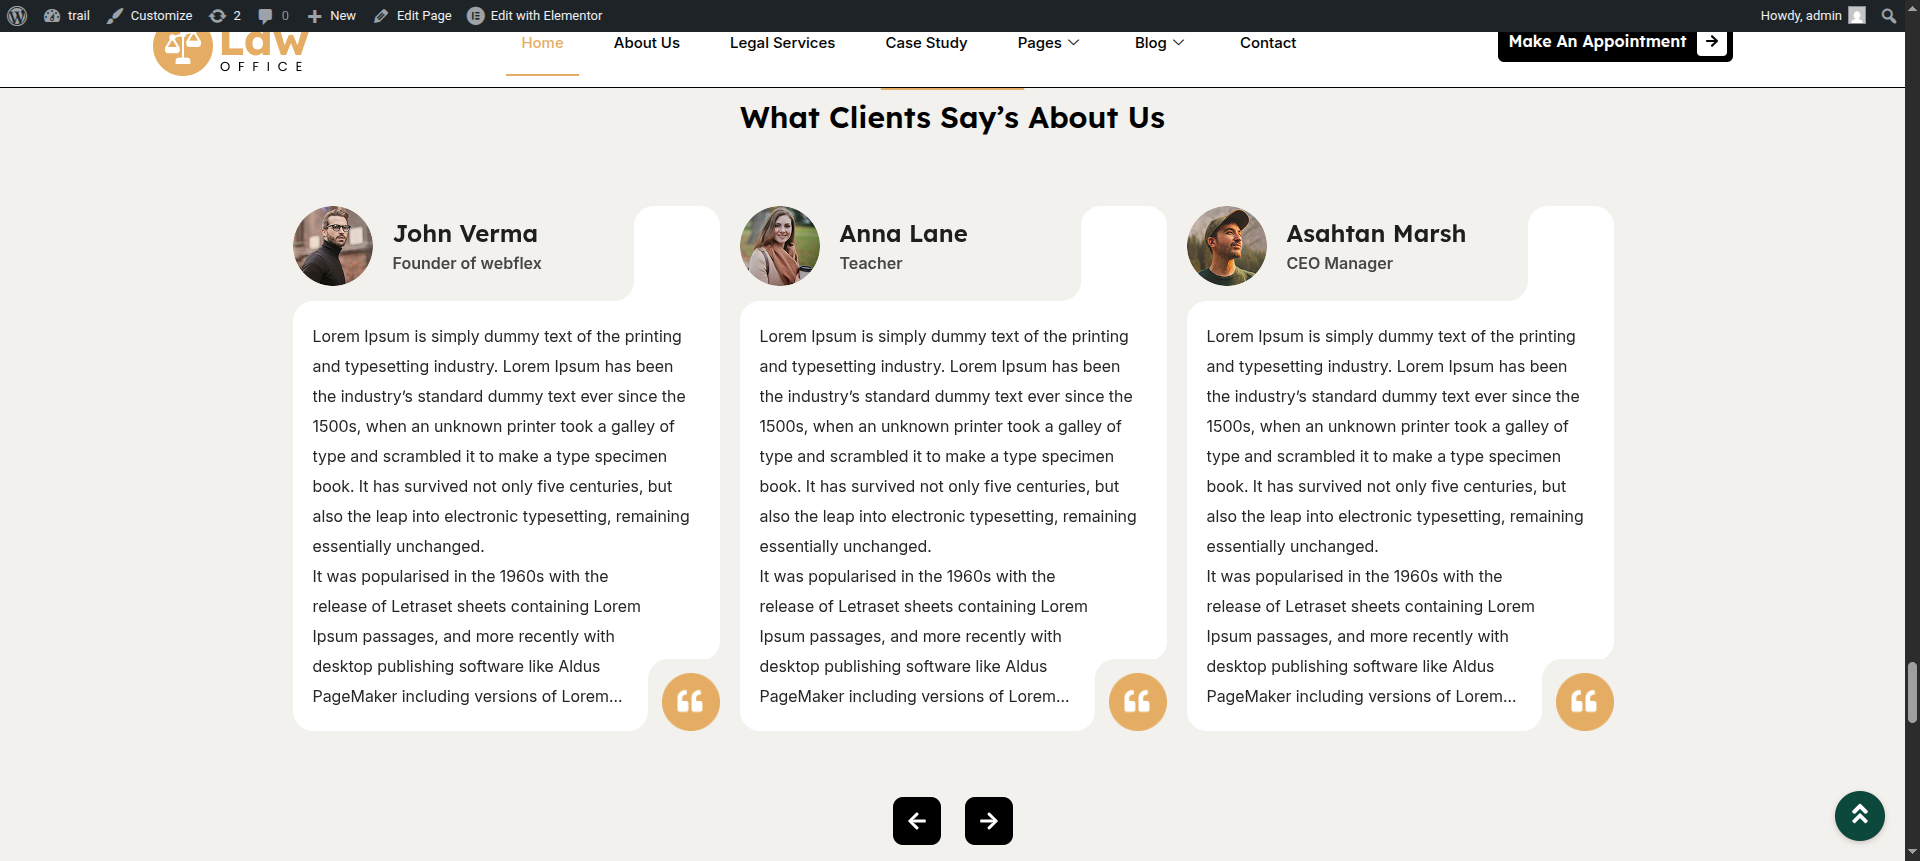
This section pertains to the Testimonials.
Initial Progress while hitting "edit with elementor" Discover "Testimonials" widget after inserting the widget add testimonial description, then add image and at last Name and designation of the person .
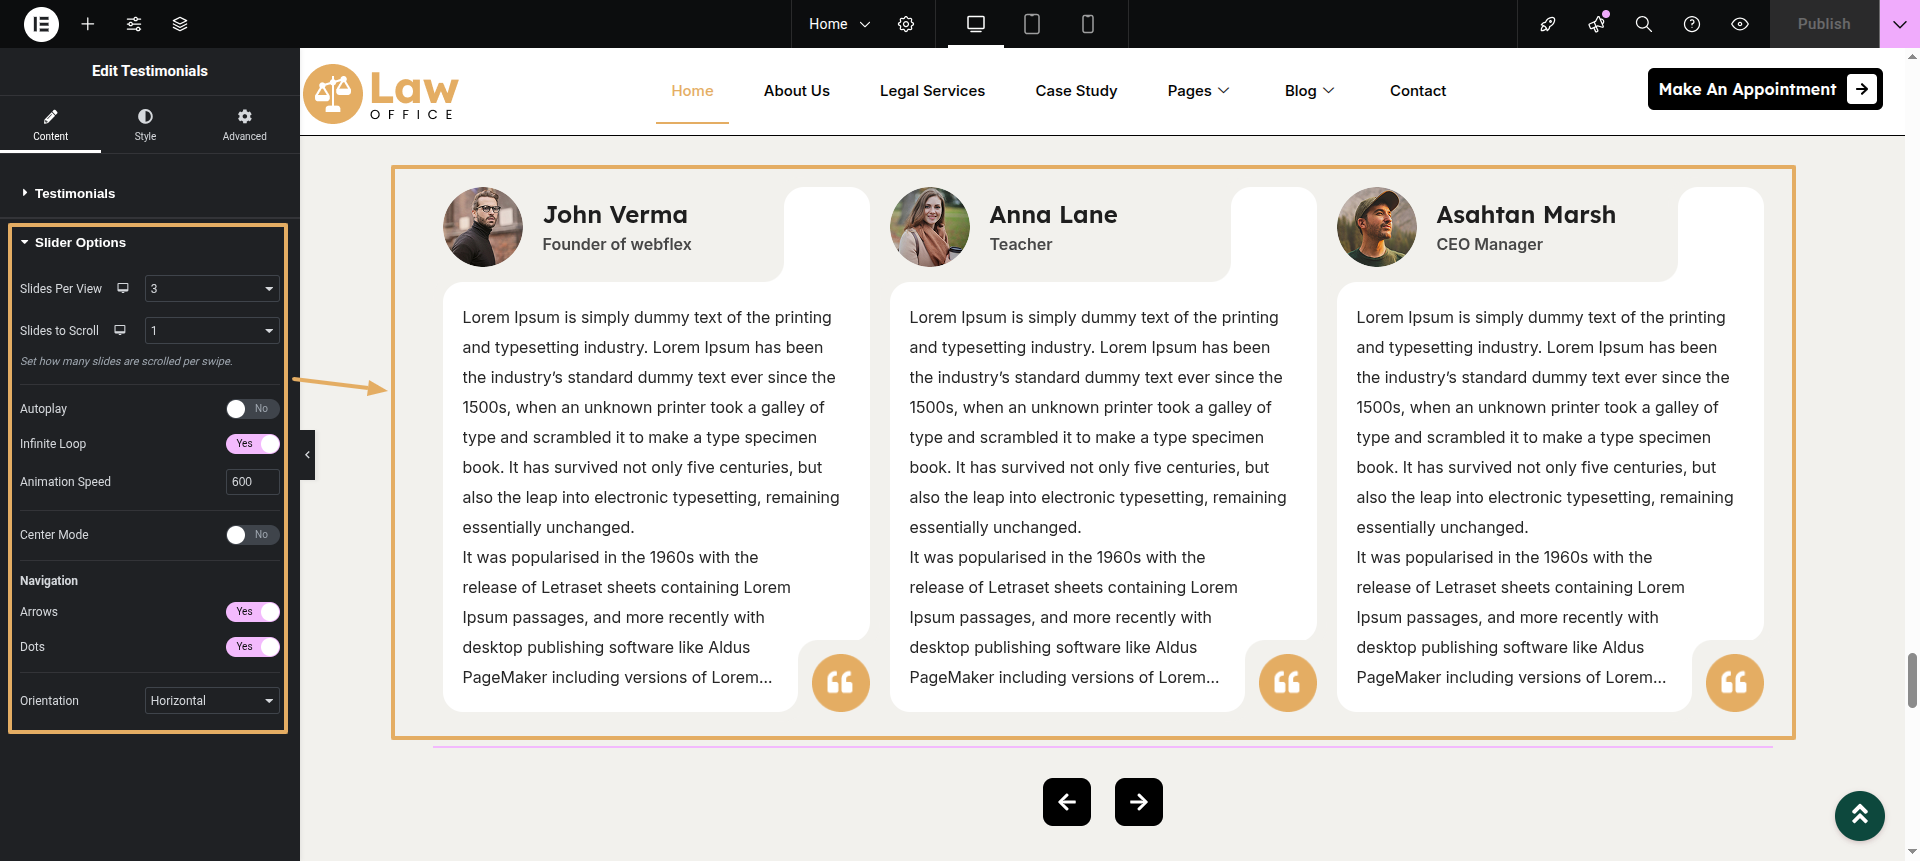
Slider options In slider options you can choose slides per view and enable or diable nav or pagination and adjust columns".
Final Progress See below for design insights.
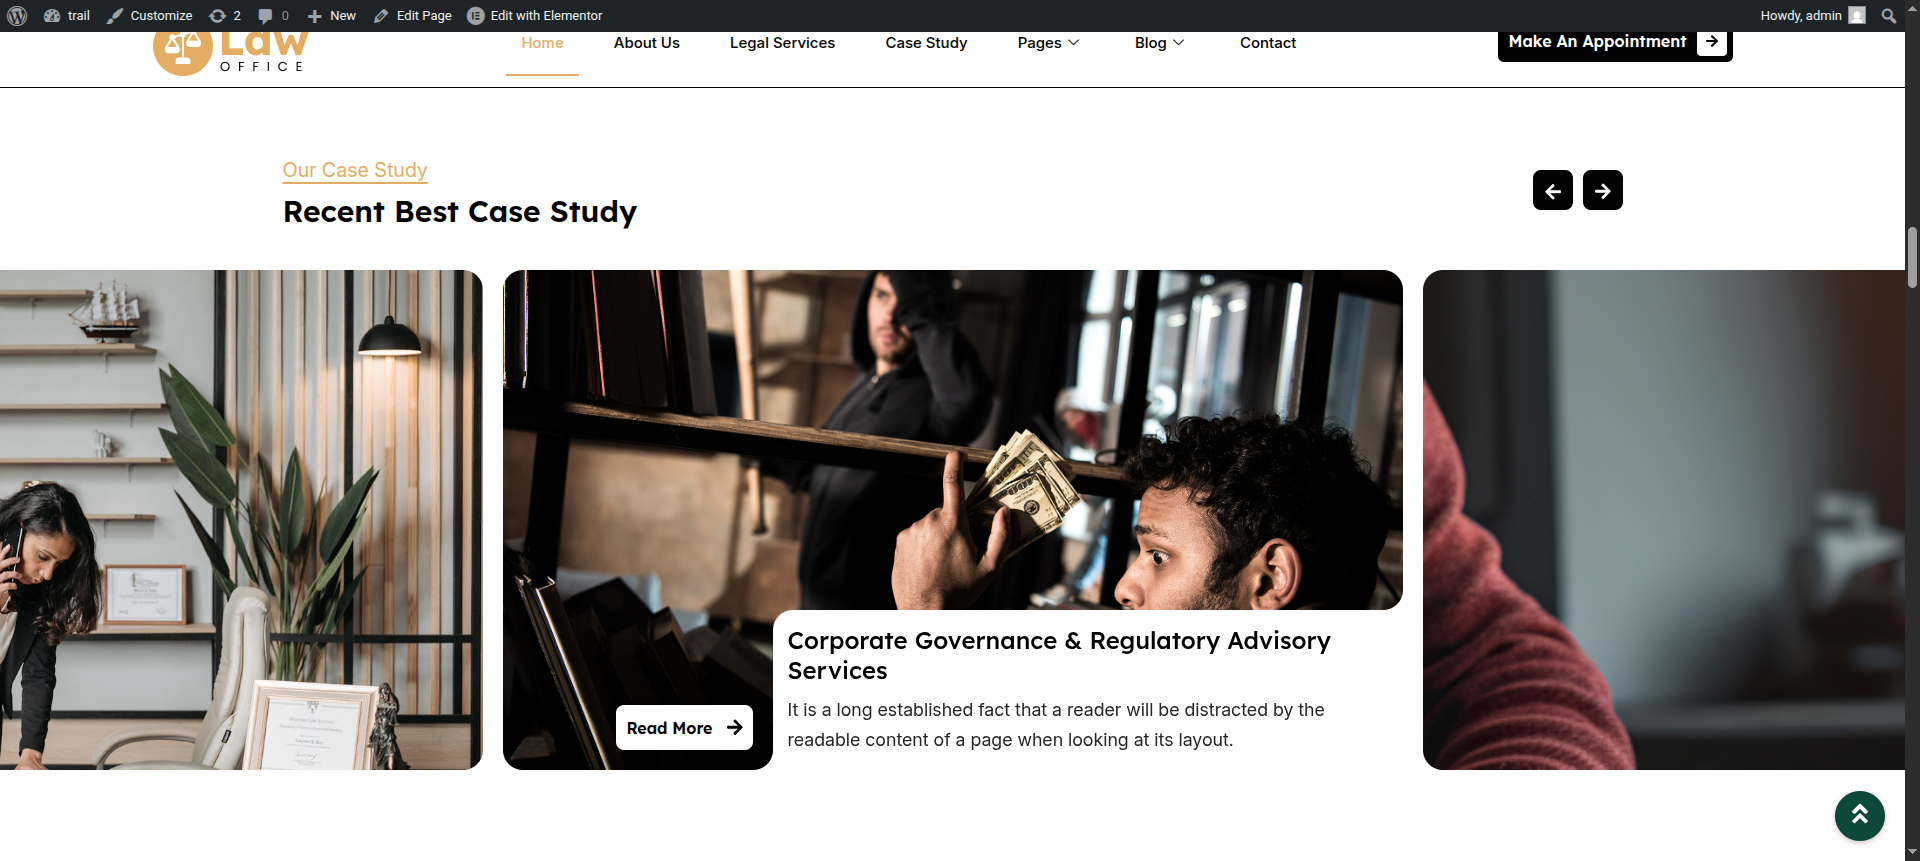
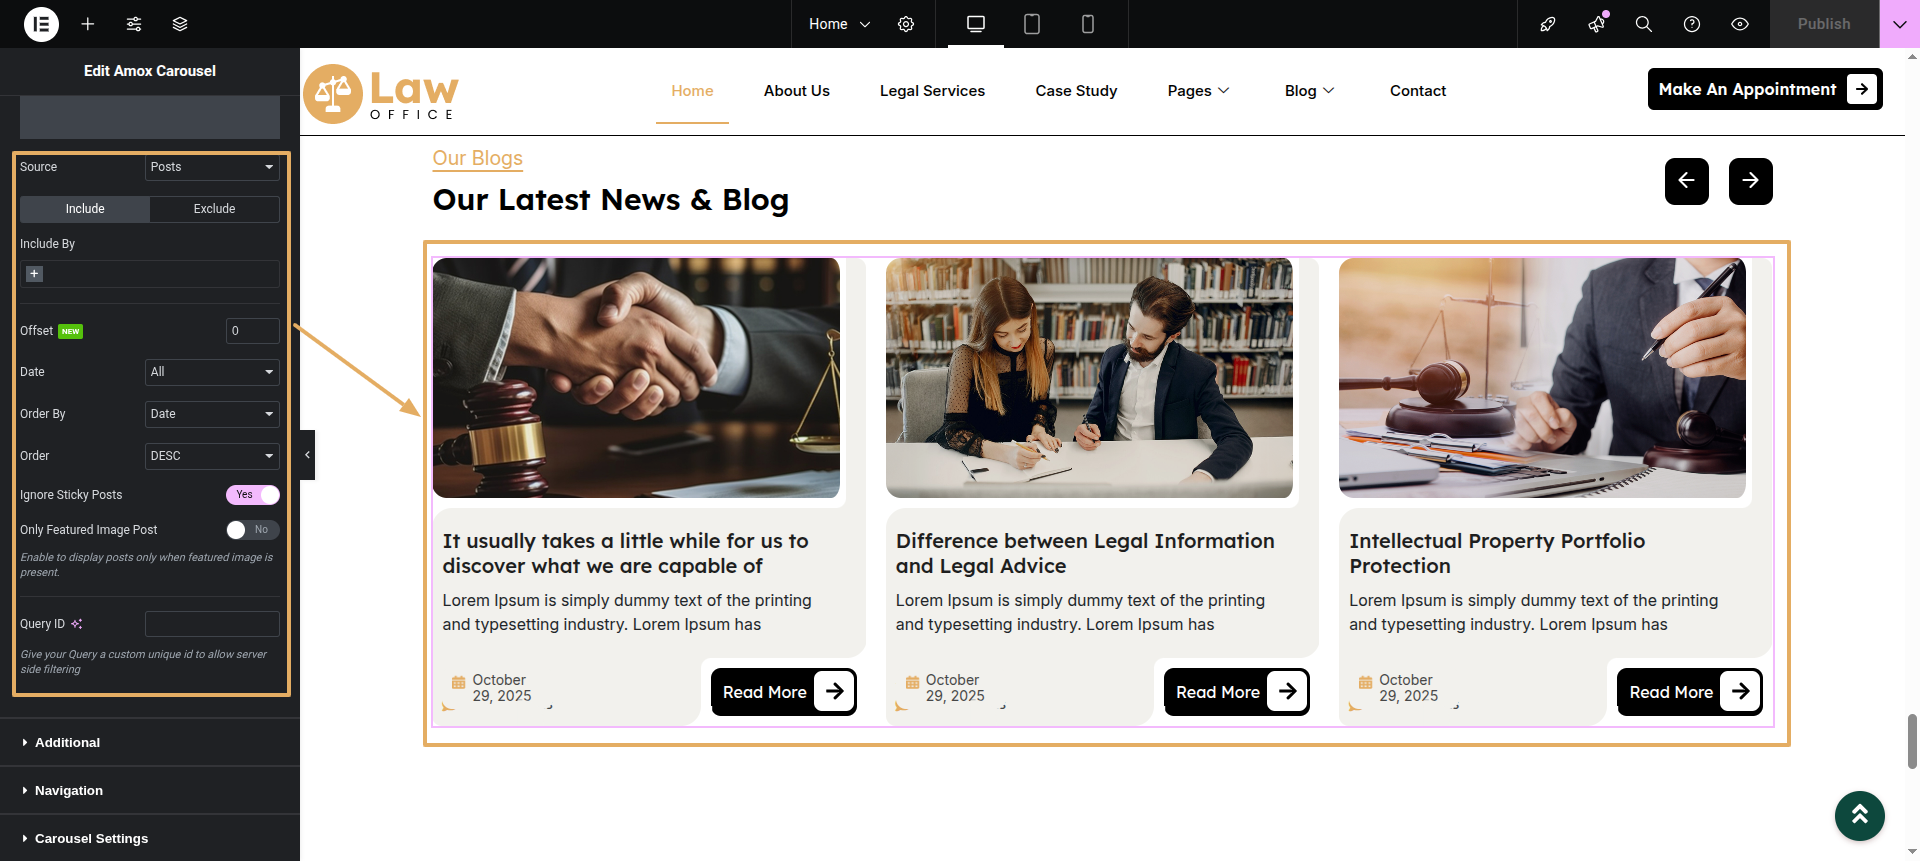
This section pertains to the Blogs.
Initial Progress while hitting "Dashboard" Discover "Posts" "Add New Post" after adding data click "Publish".
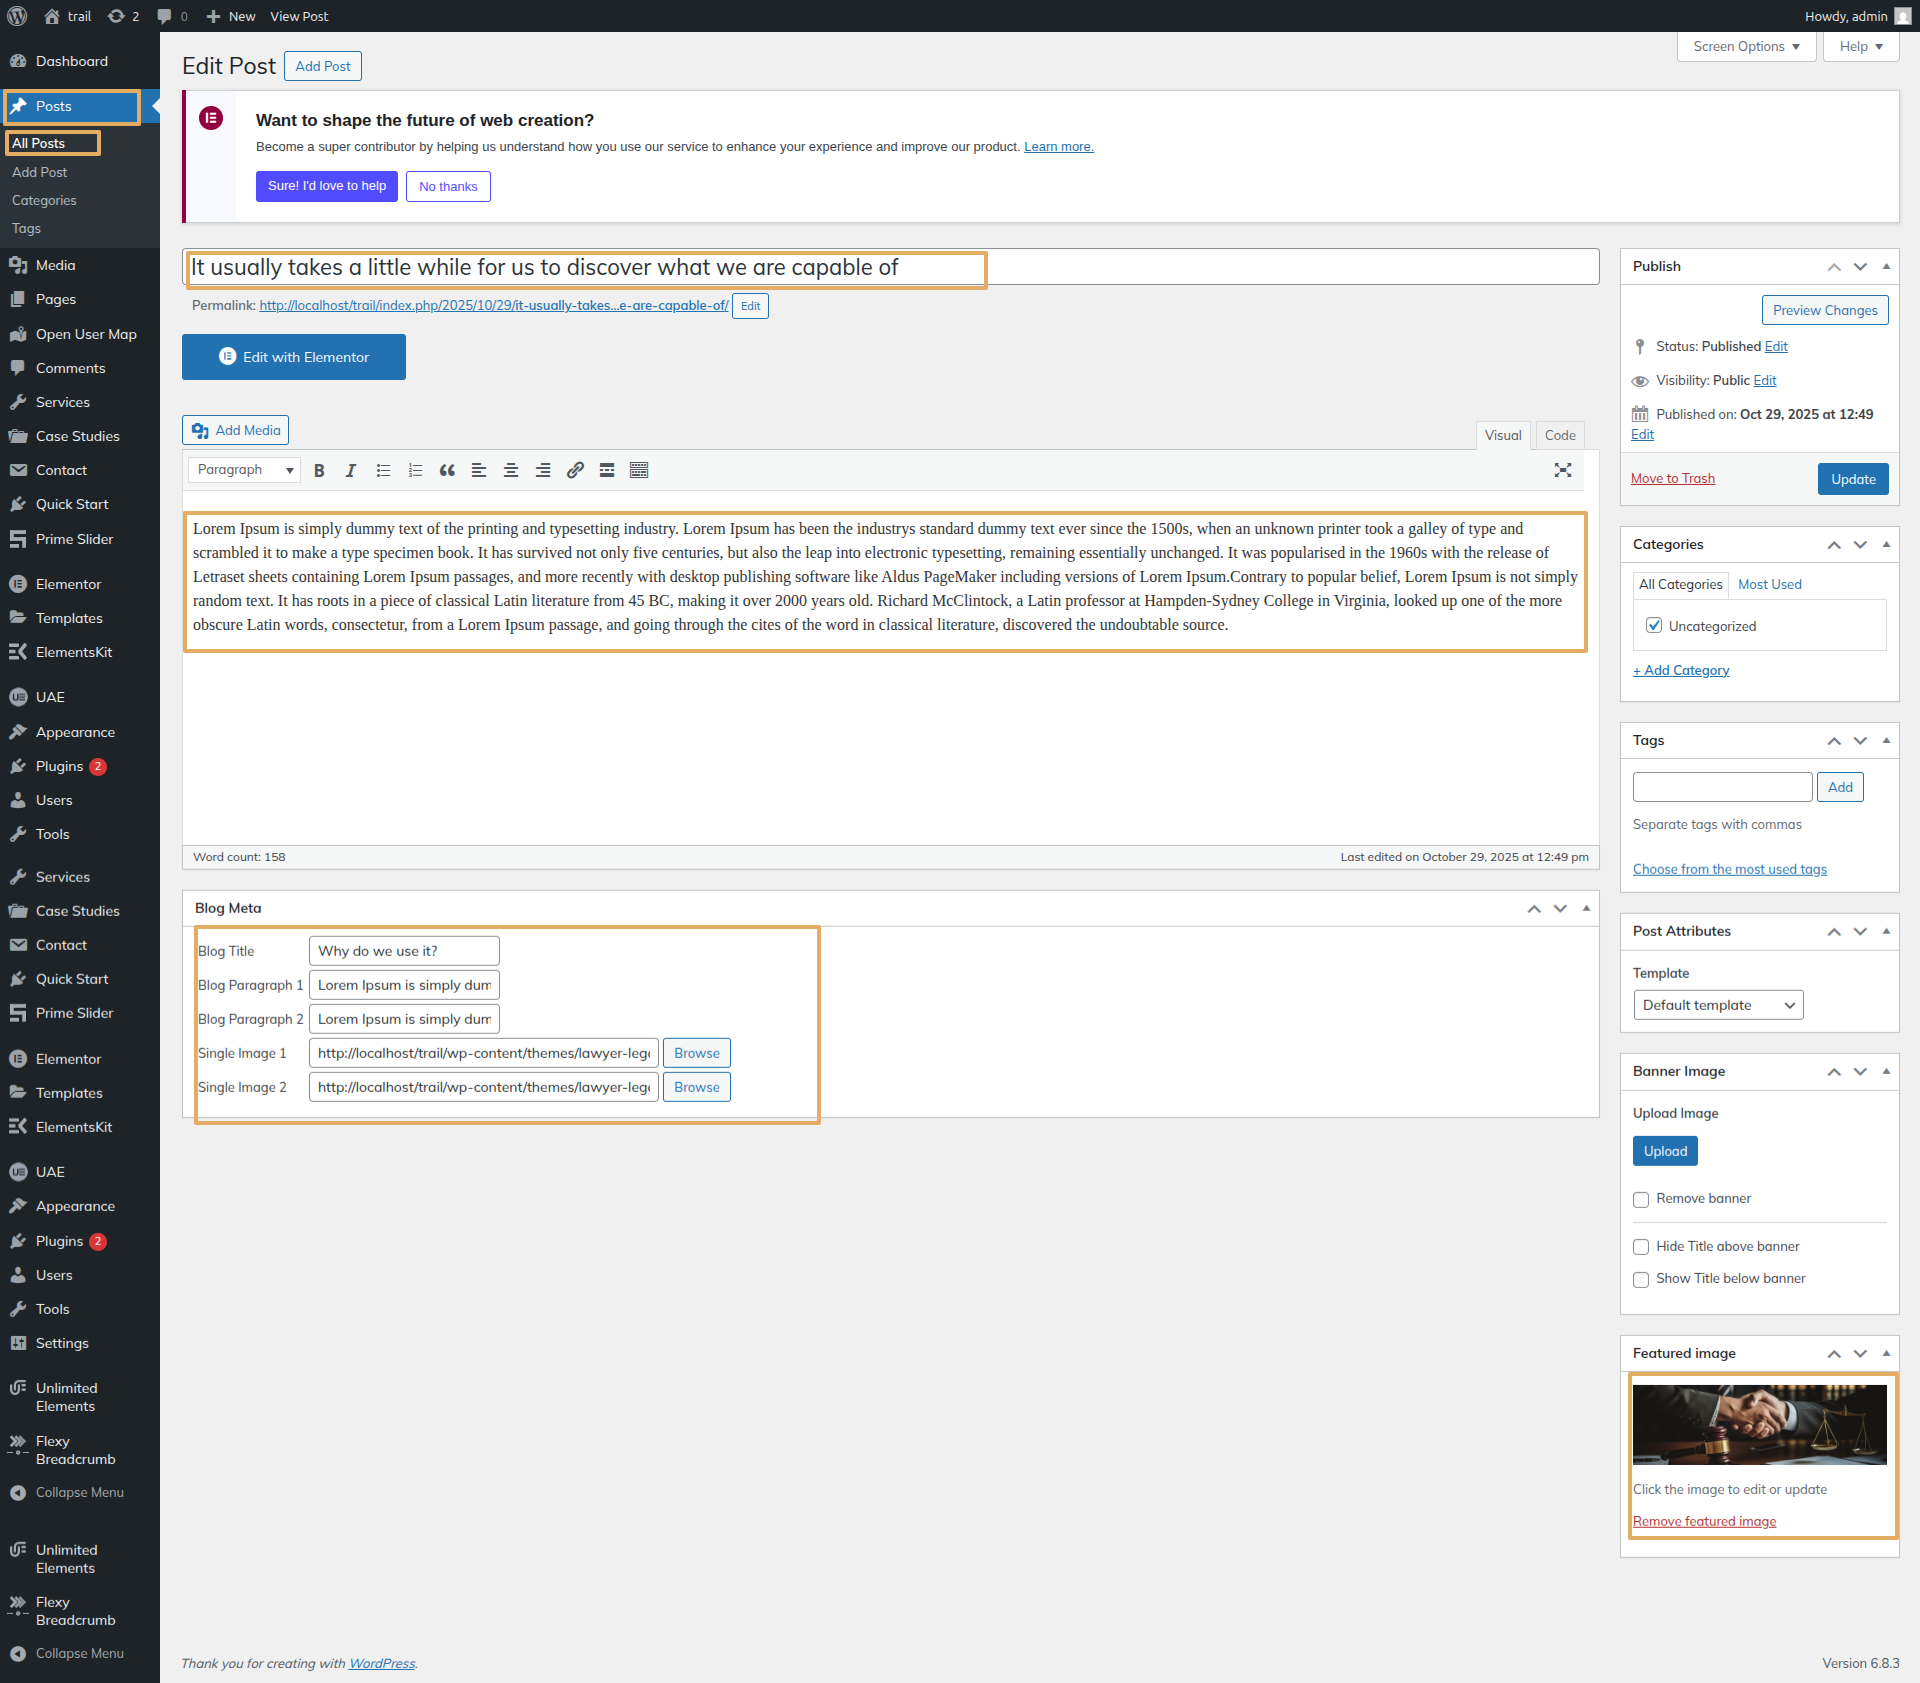
Next Progress while hitting "edit with elementor" Discover widget "Amox carousel" then add "Posts" in query Enable dtae from meta in widget" .
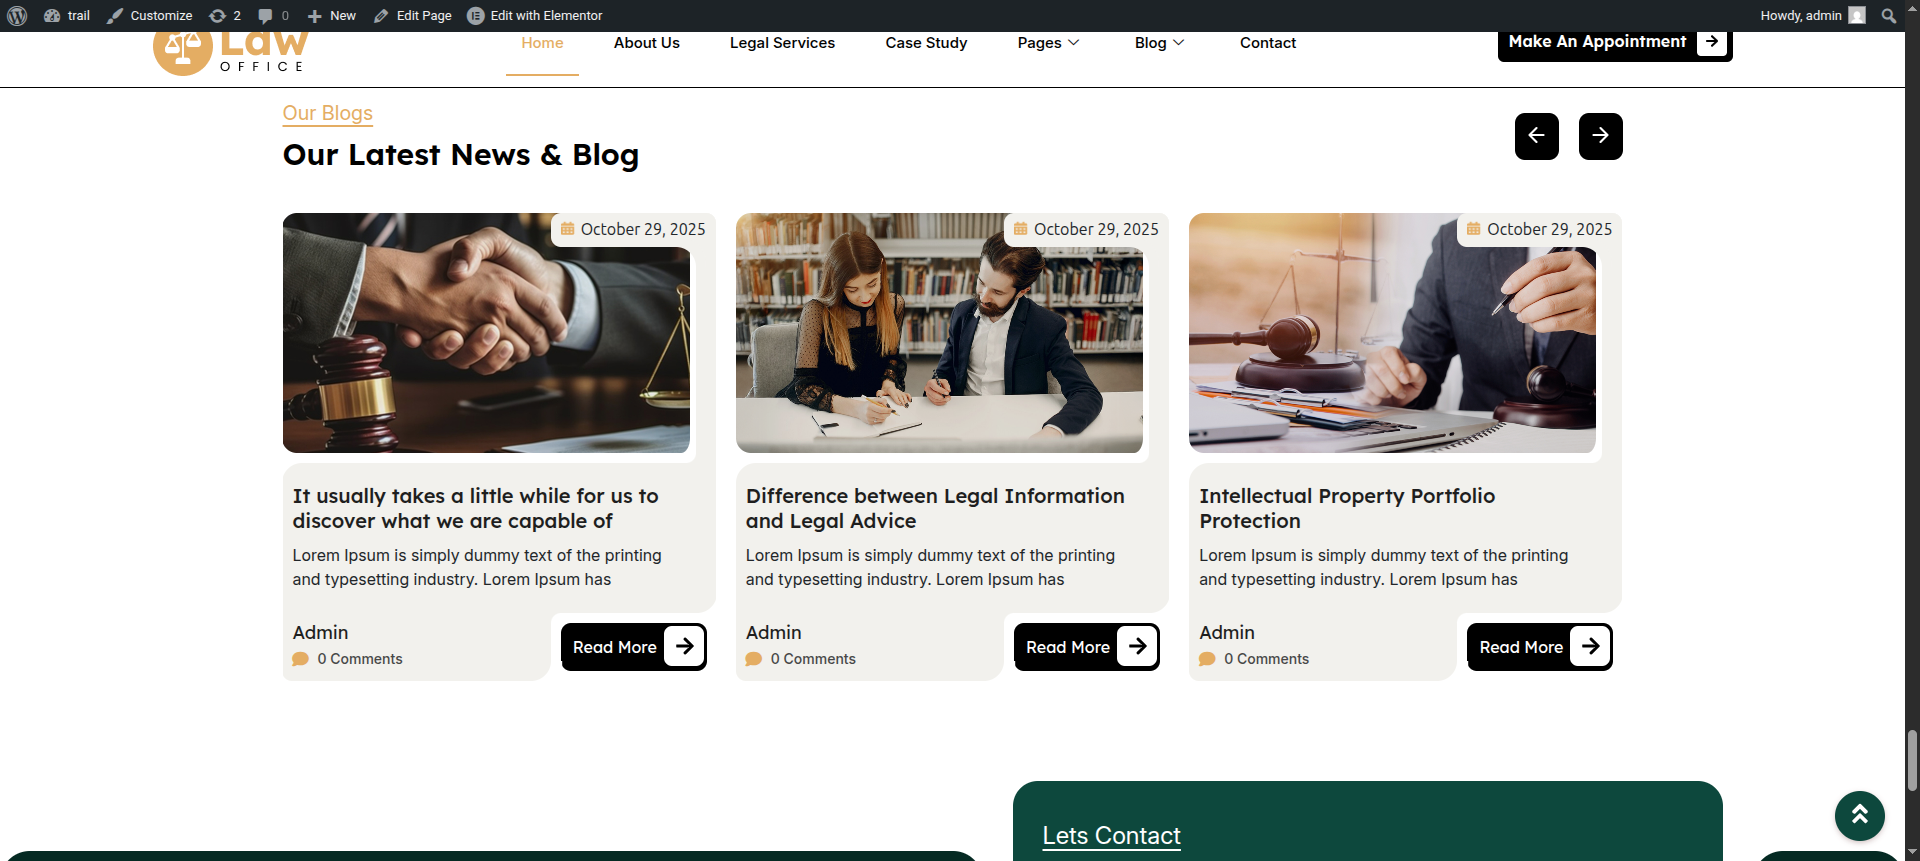
Final Output (Frontend Preview)
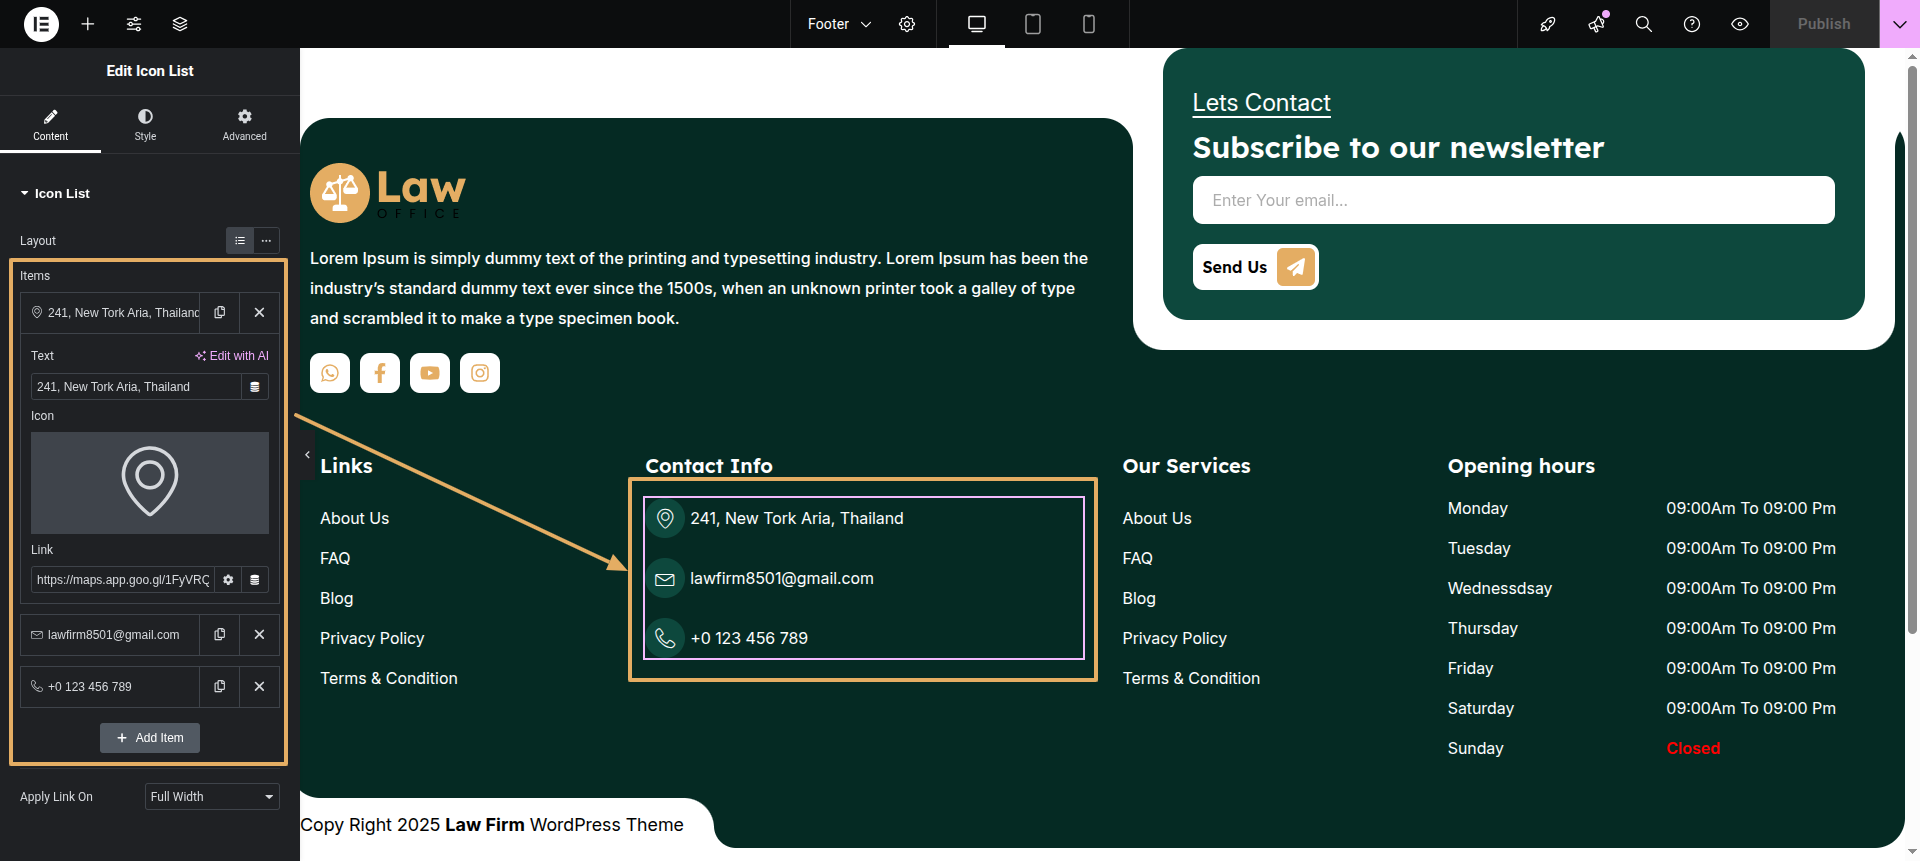
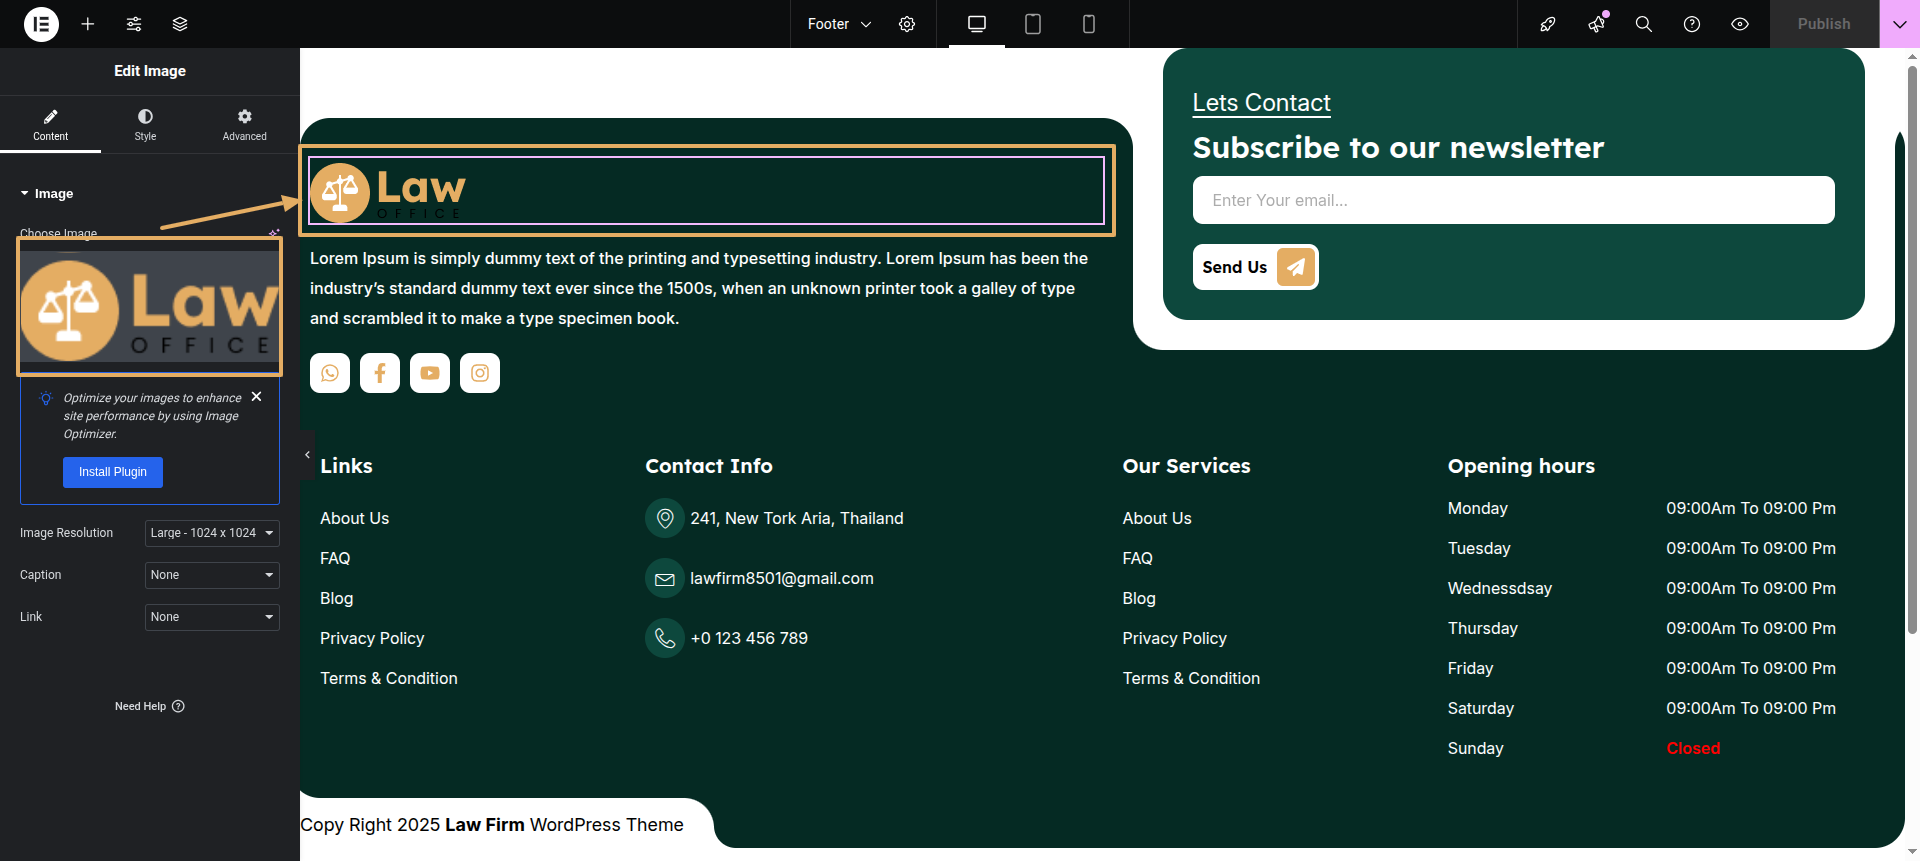
This section pertains to the Footer.
Initial Progress while hitting "edit with elementor" Discover "Testimonials" widget after inserting the widget add testimonial description, then add image and at last Name and designation of the person .
Slider options In slider options you can choose slides per view and enable or diable nav or pagination and adjust columns".
Final Progress See below for design insights.
Final Progress See below for design insights.
Final Progress See below for design insights.